


In A Rush?
How to Capture Stunning Property Photos with Your Smartphone
How to Capture Stunning Property Photos with Your Smartphone
Topics
1. Lights & Ceiling Fans --- 2. Blinds & Windows --- 3. Quick Staging
4. Taking the Shot --- 5. Shooting Outside --- 6. Final Touches
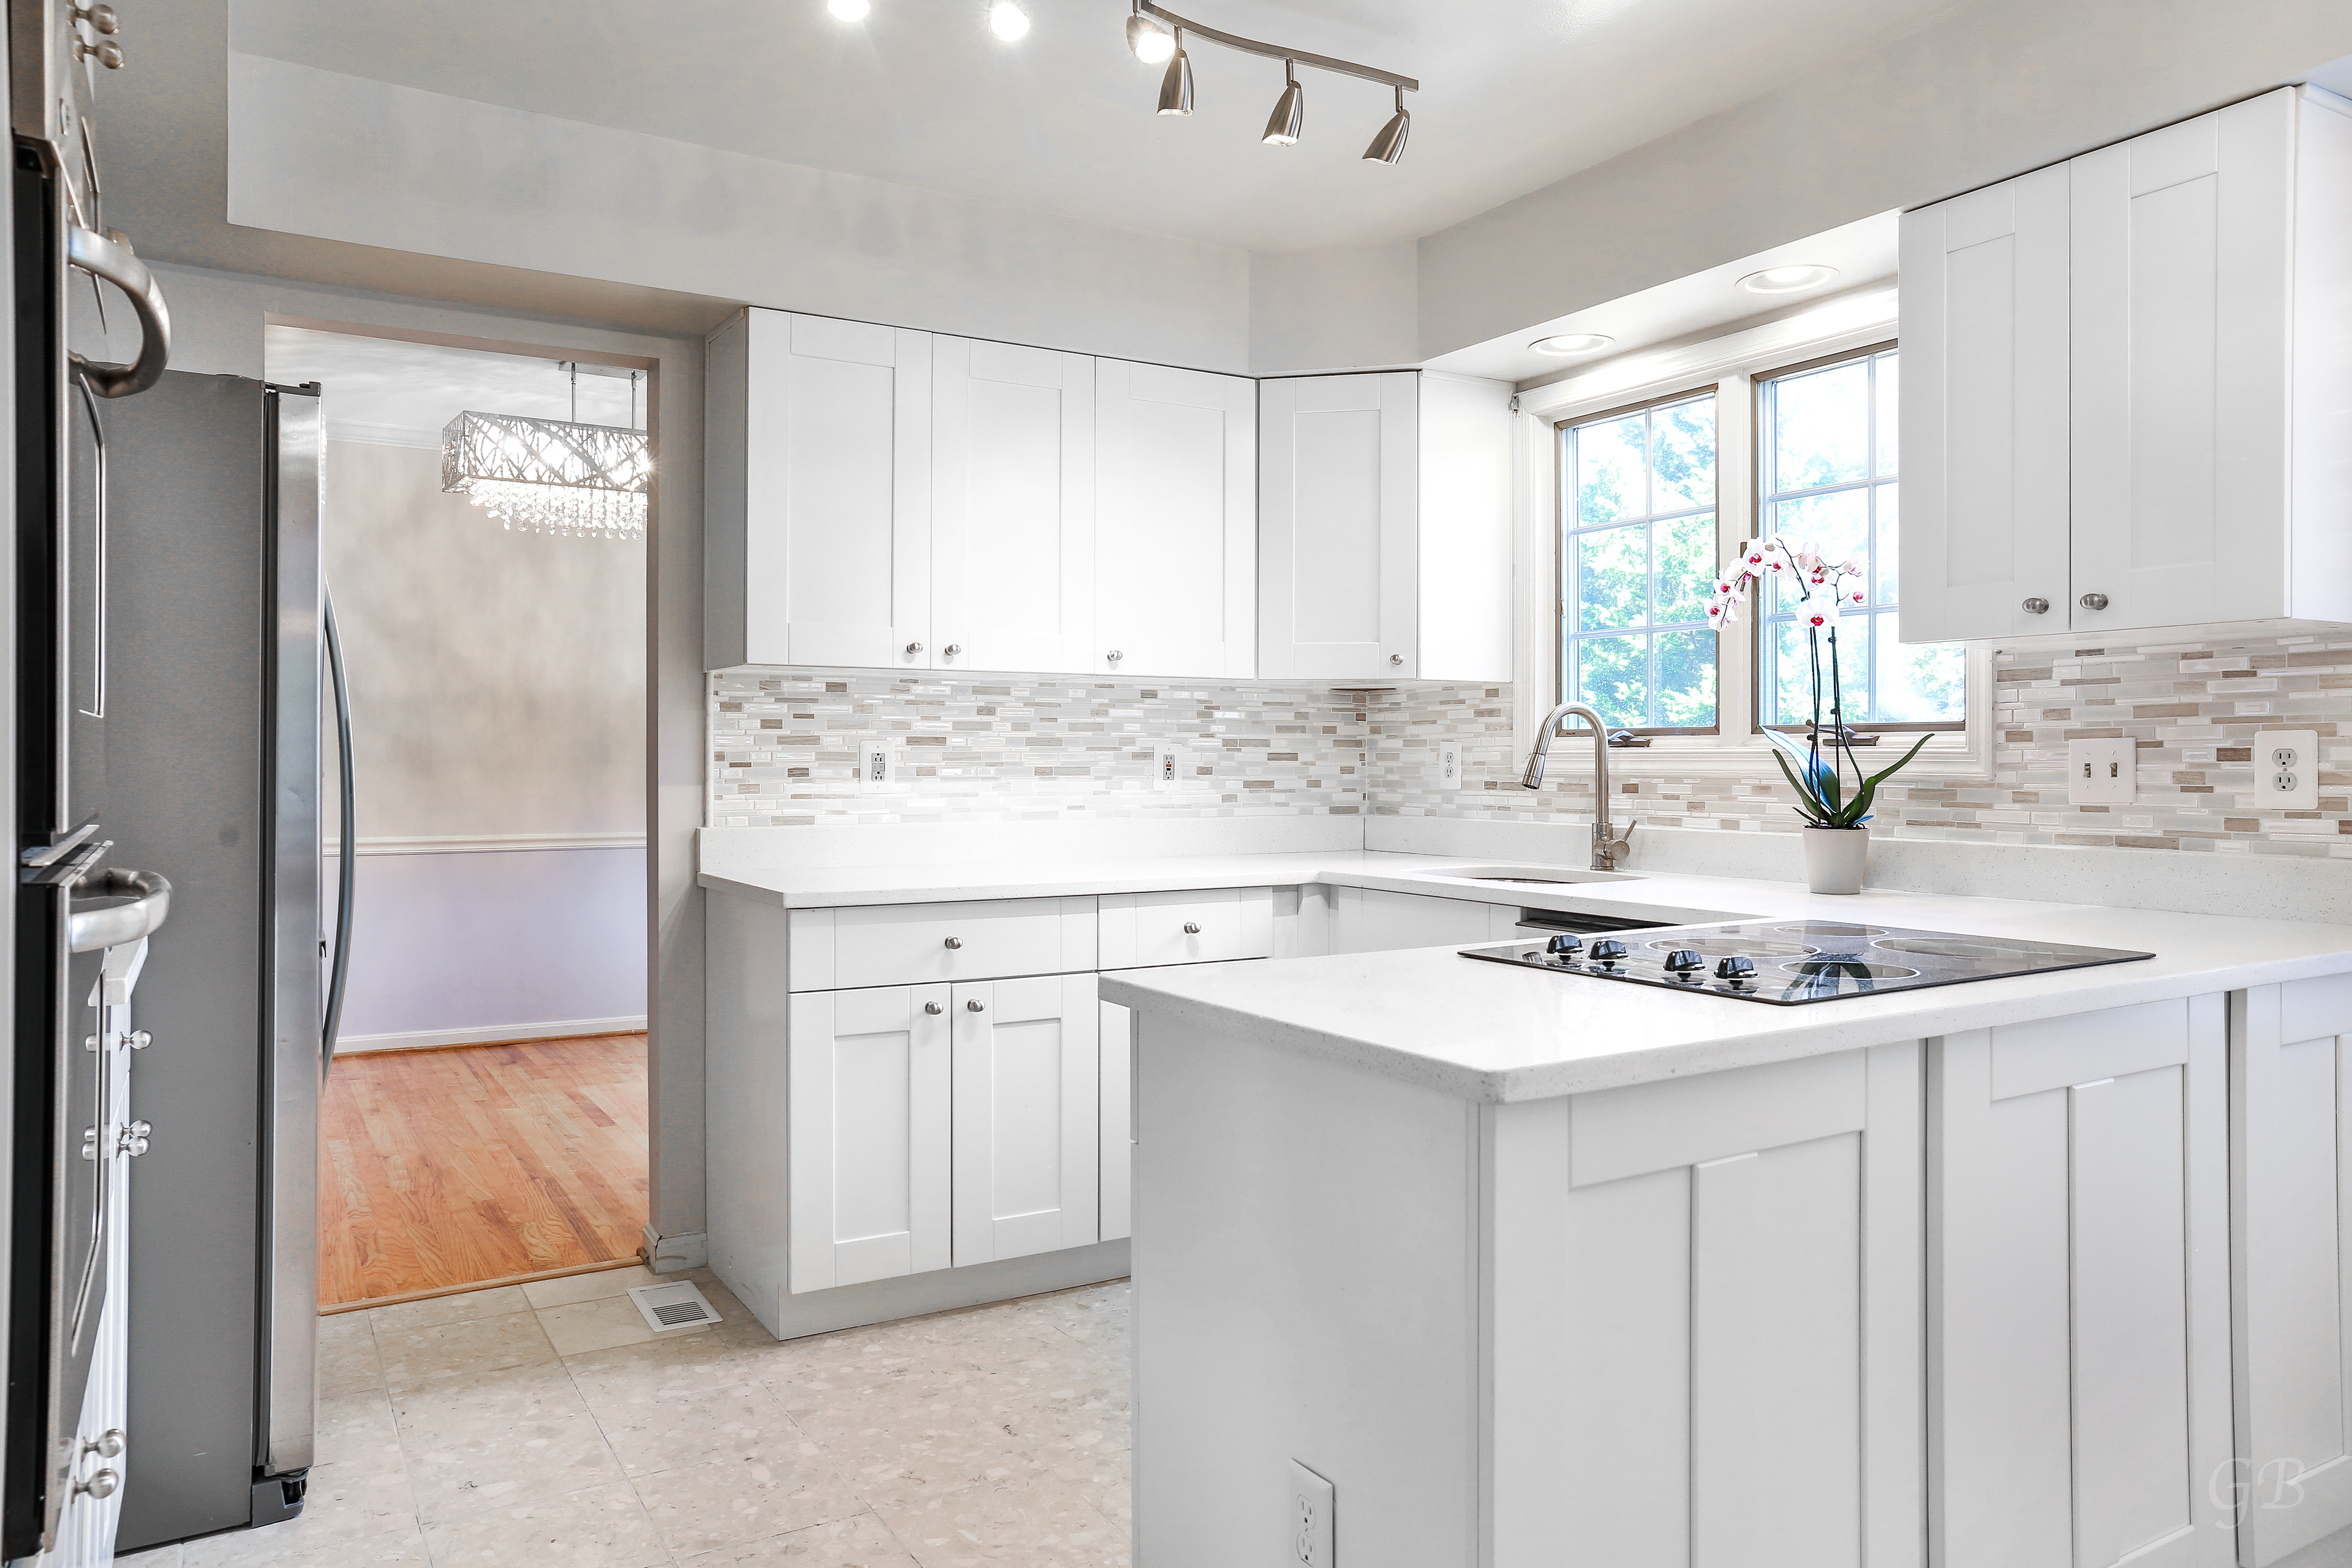
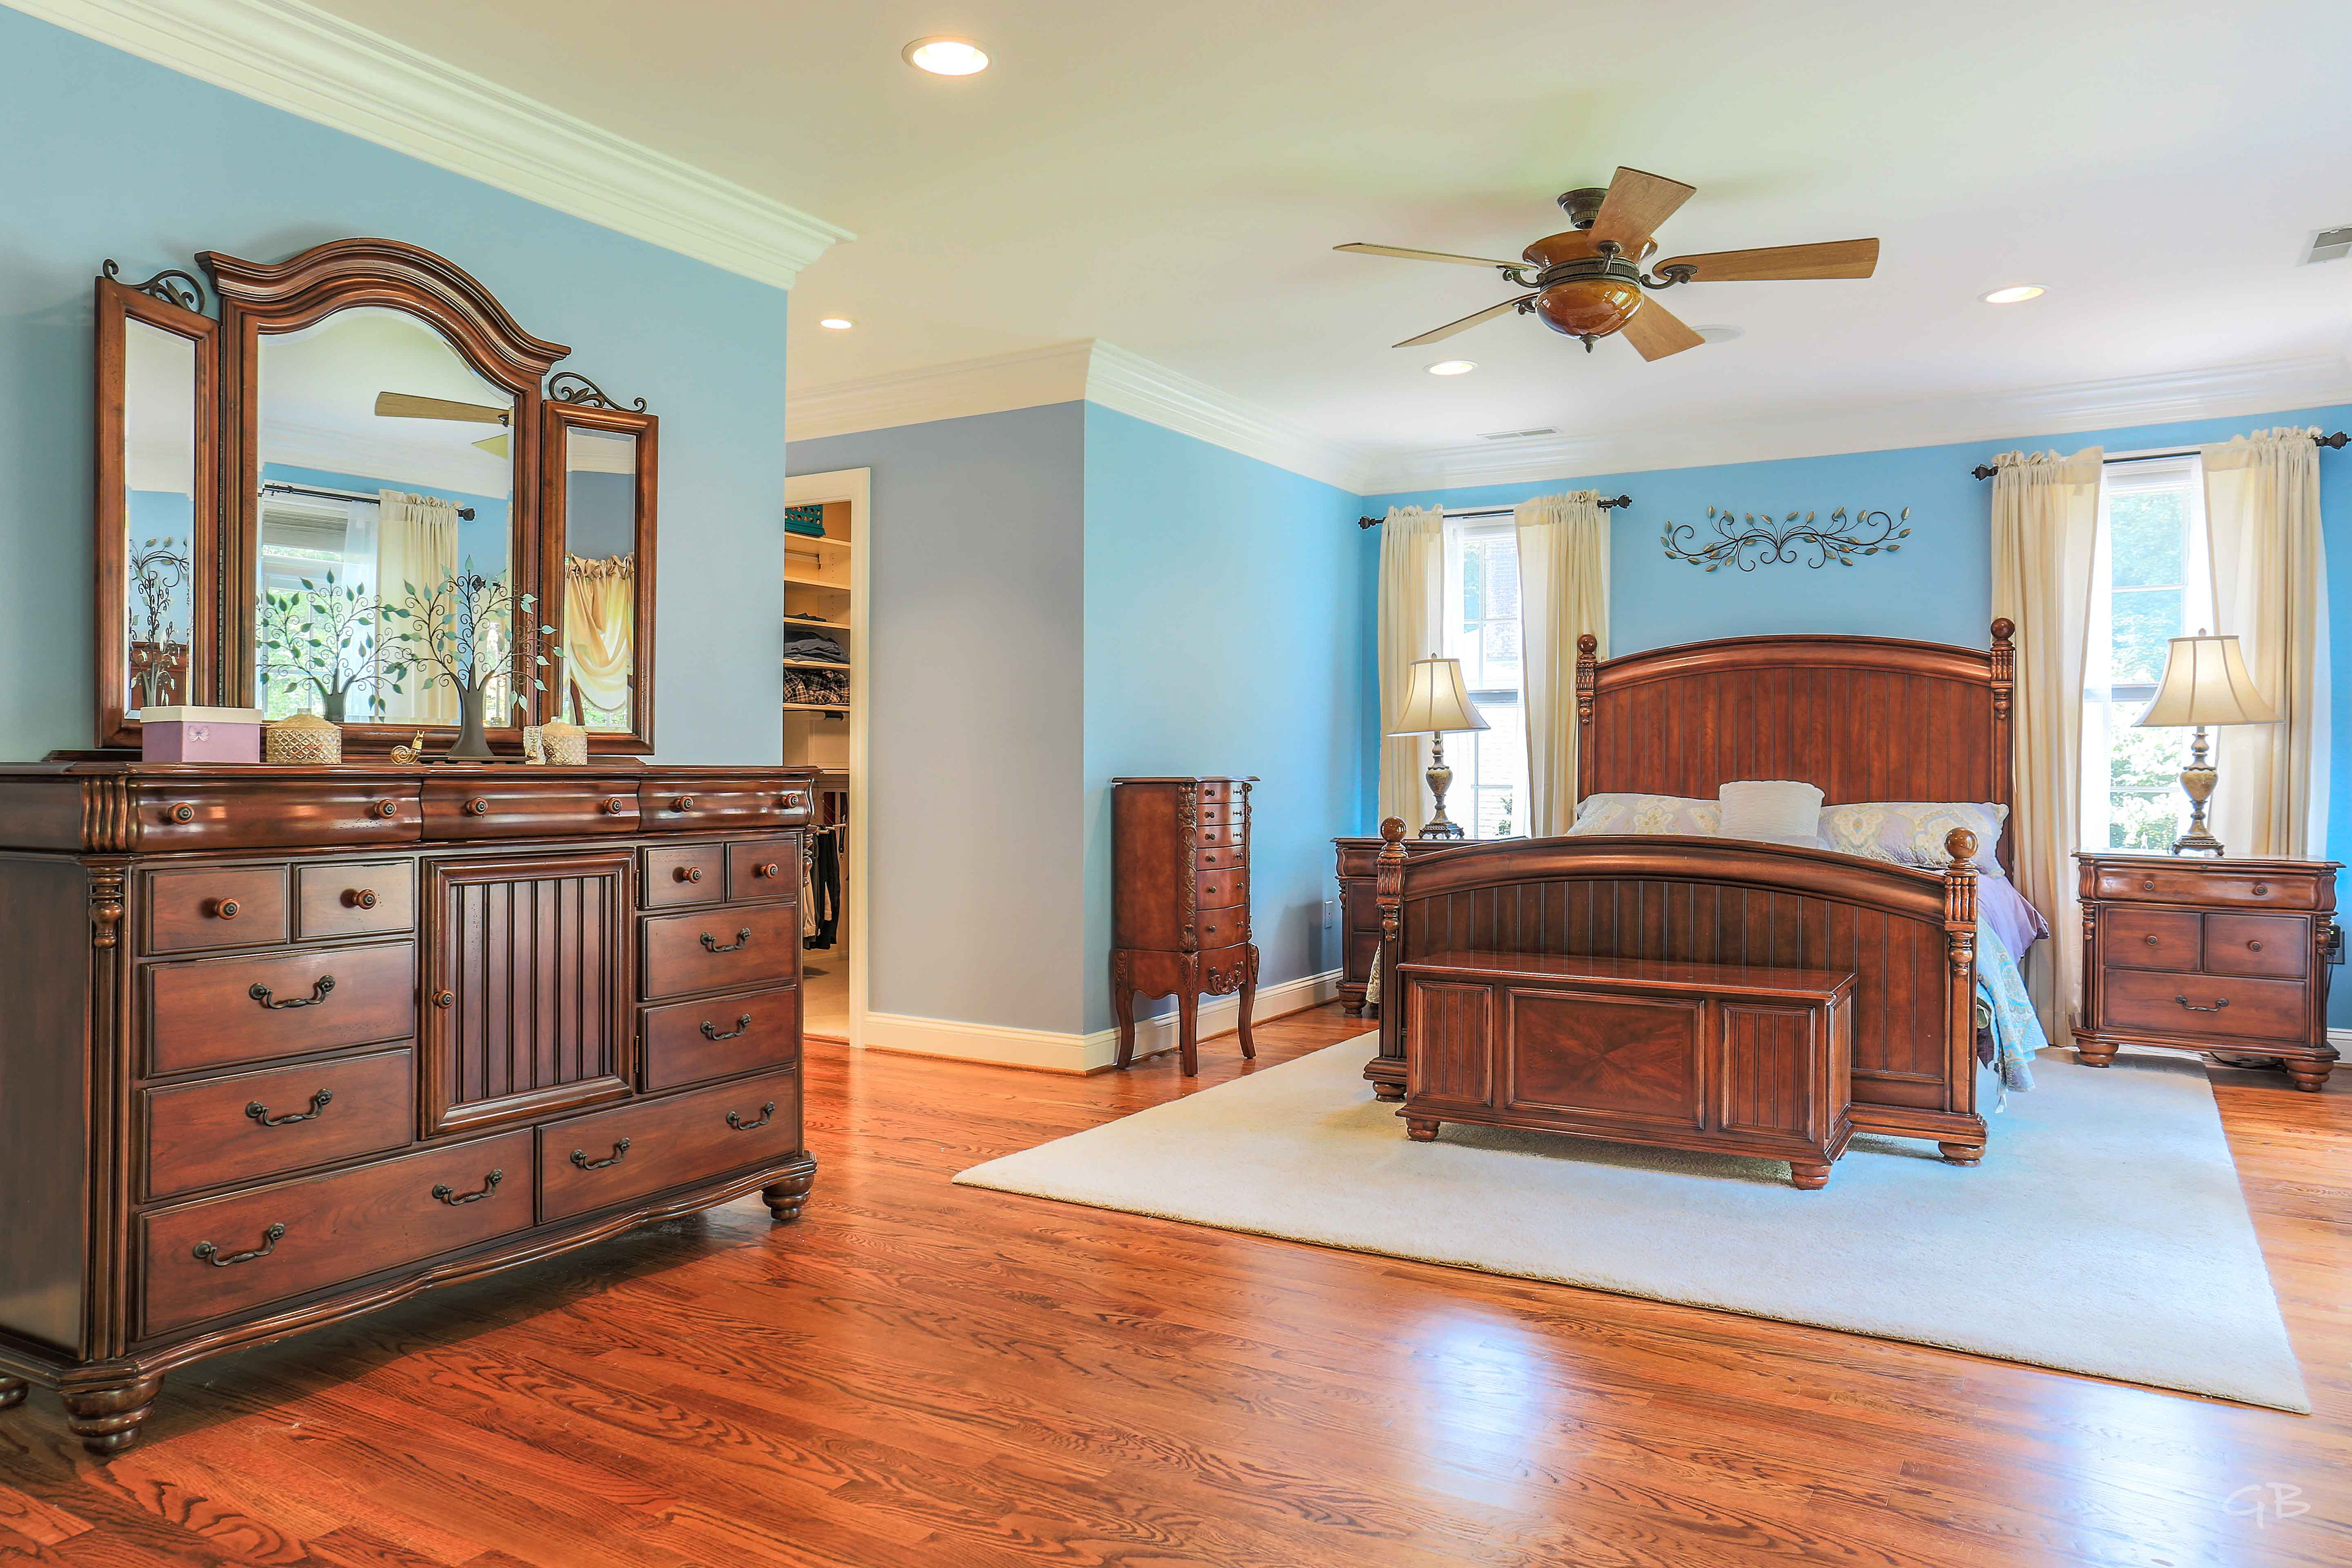
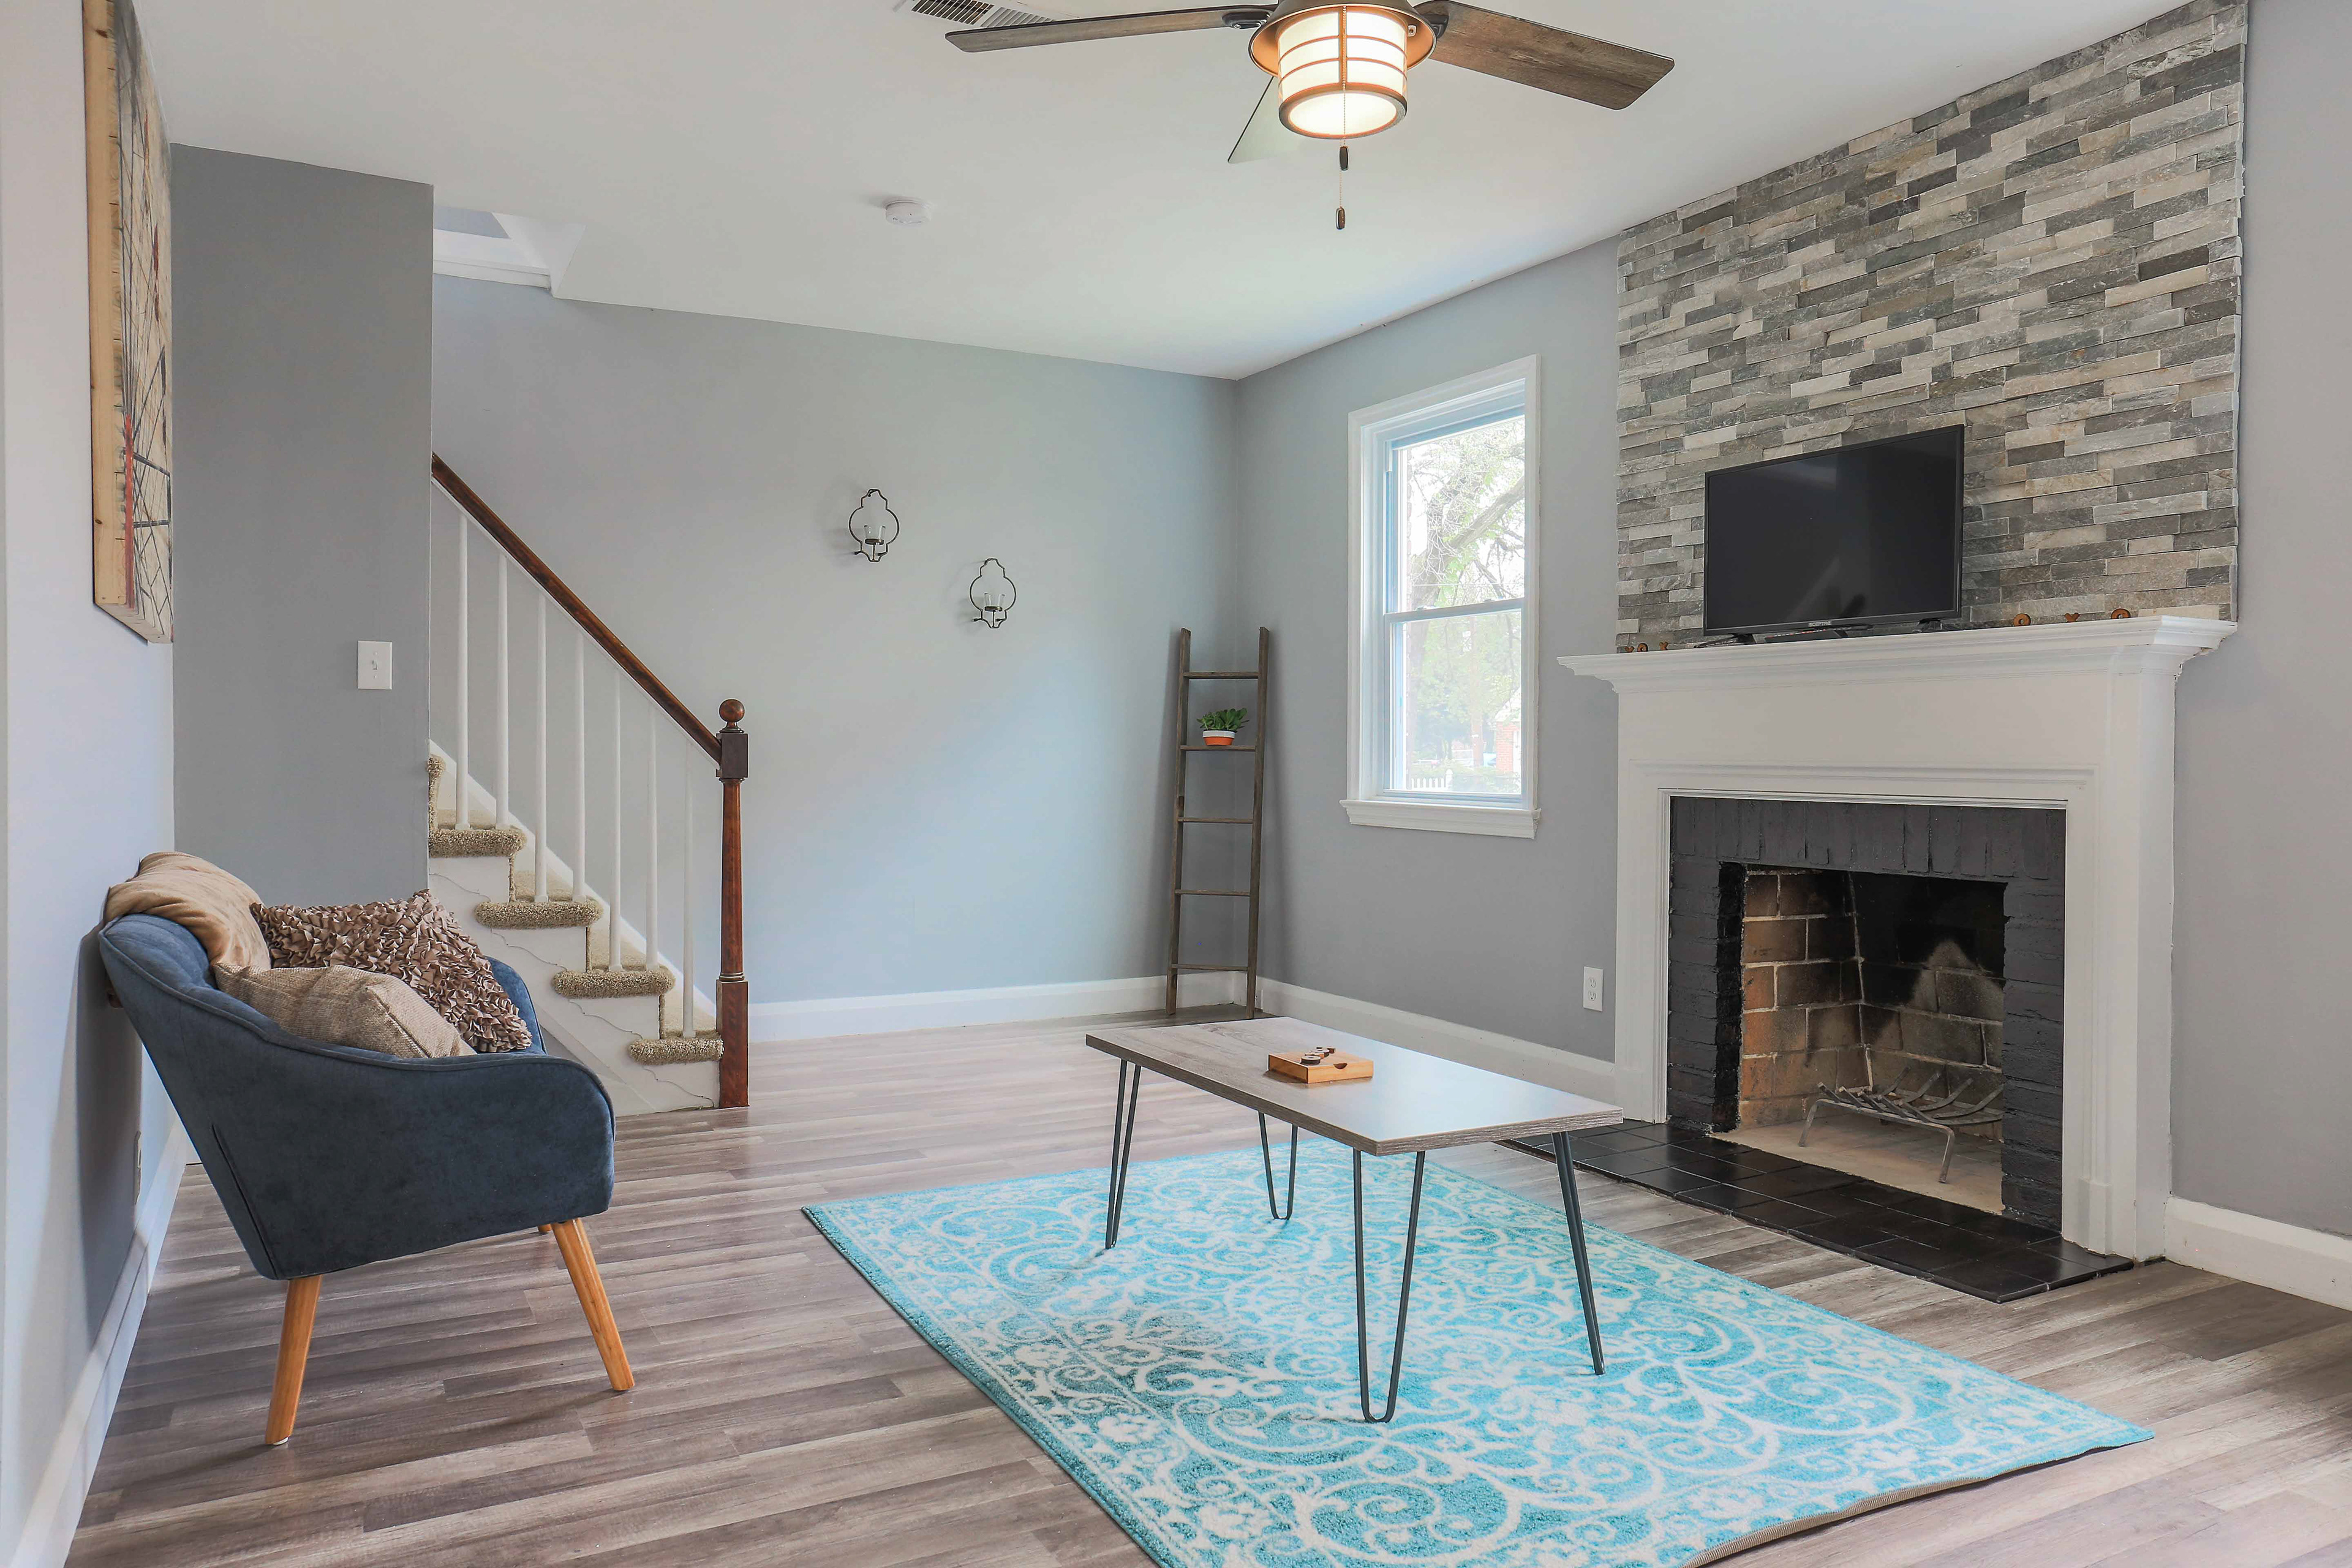
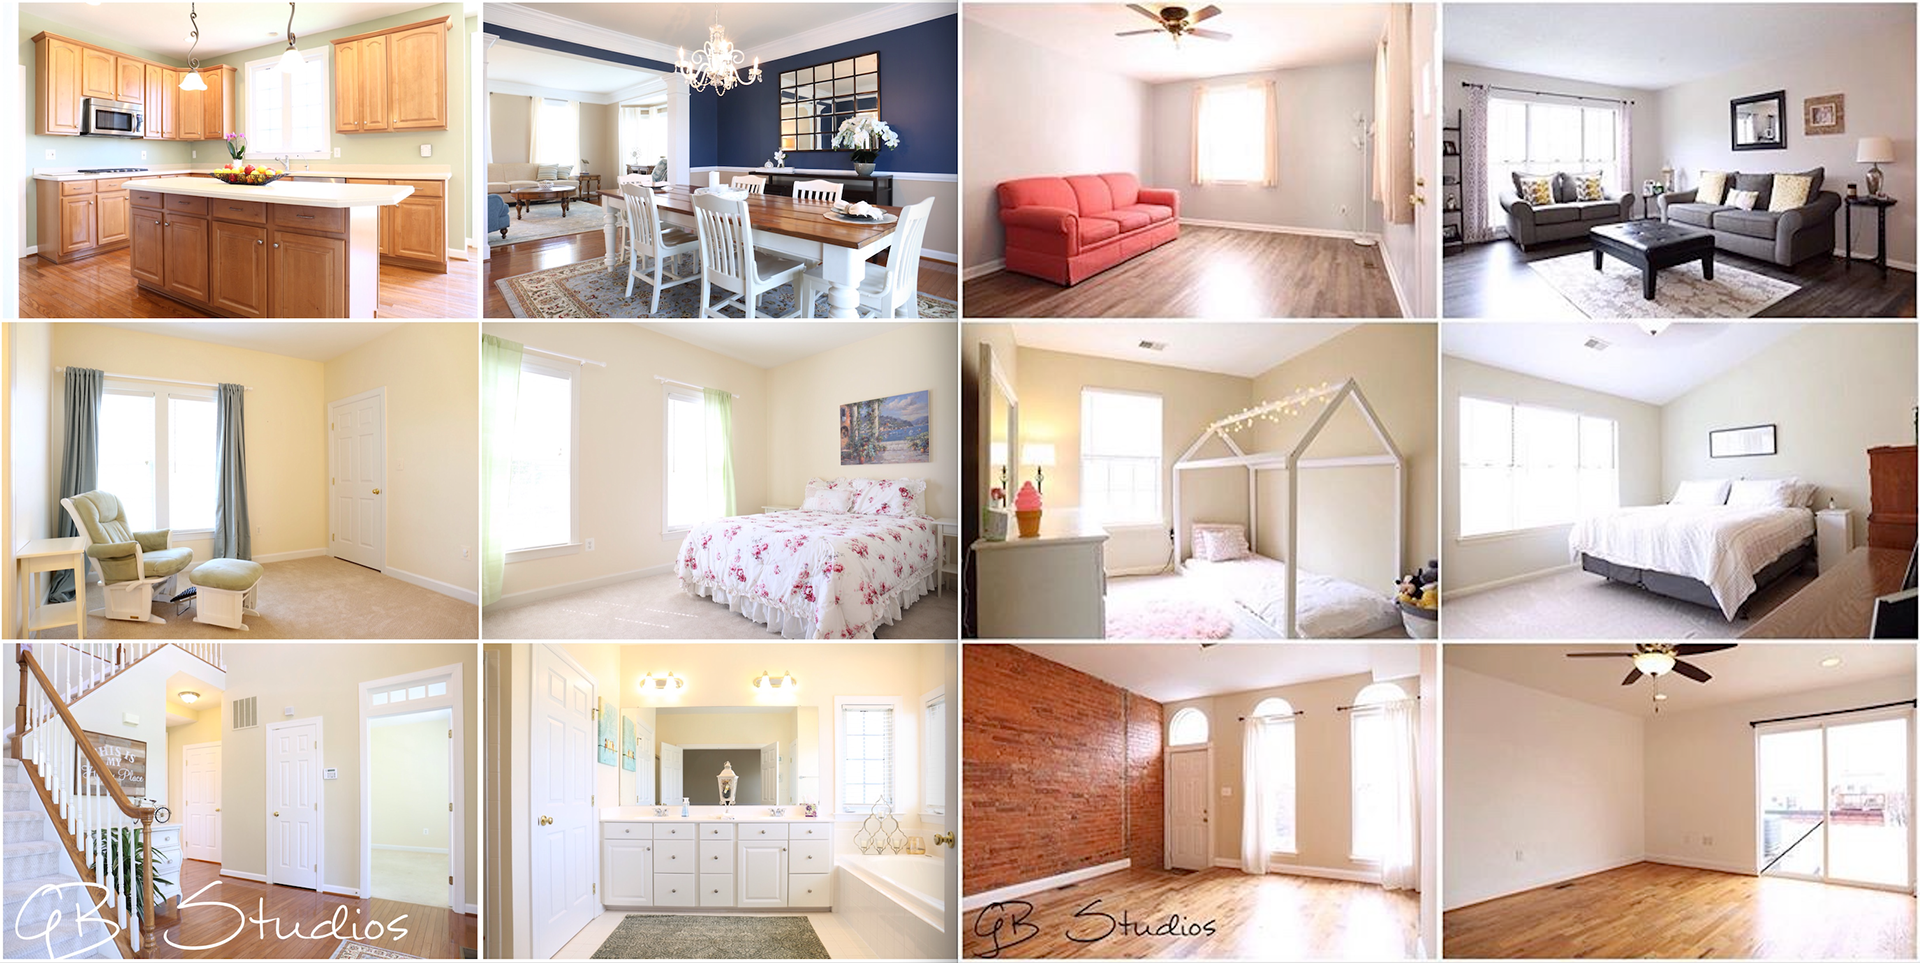
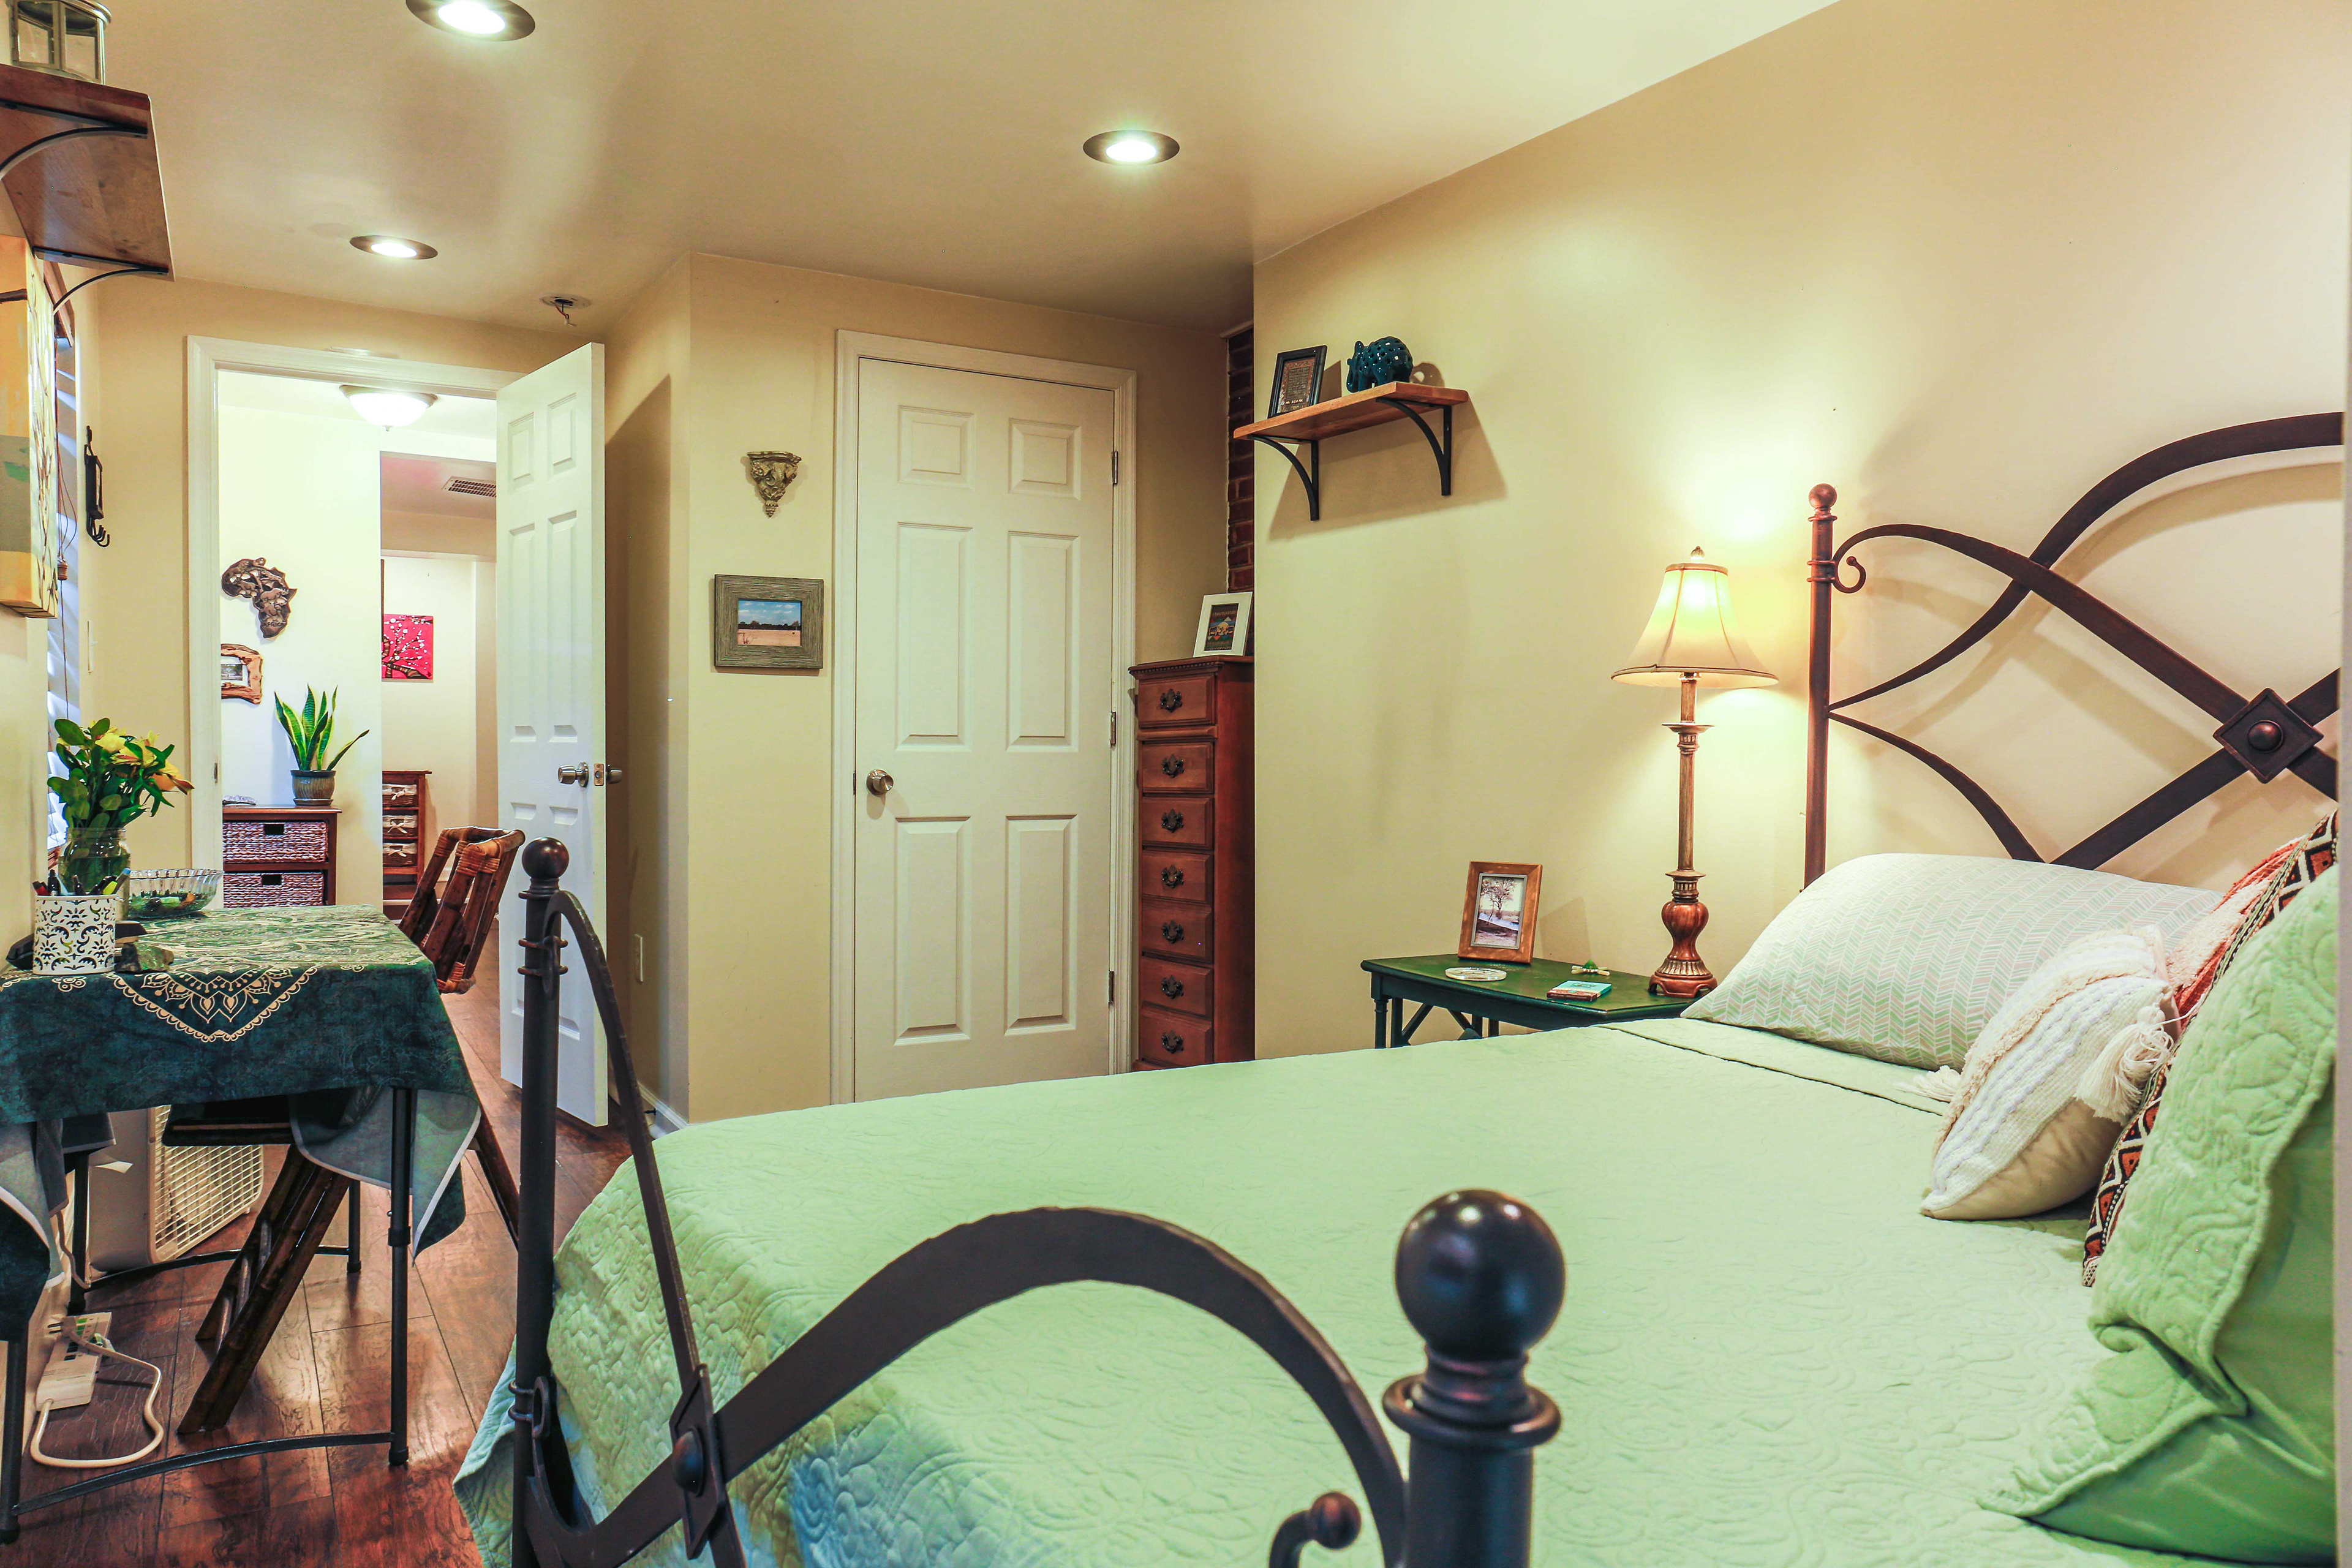
1. Lights & Ceiling Fans
Illuminate the property with warmth and abundance!
Turn on all the lights in the house, including stovetop lights, bedside lamps, and any accent lighting. The brighter, the better—let the space truly shine! At the same time, switch off all ceiling fans to avoid any distracting motion blur in the final photos. Perfect!
*** Place Cursor/Finger Over Images for Additional Notes ***

Lamp Lights Accent the Room

Overhead Light Fills the Room
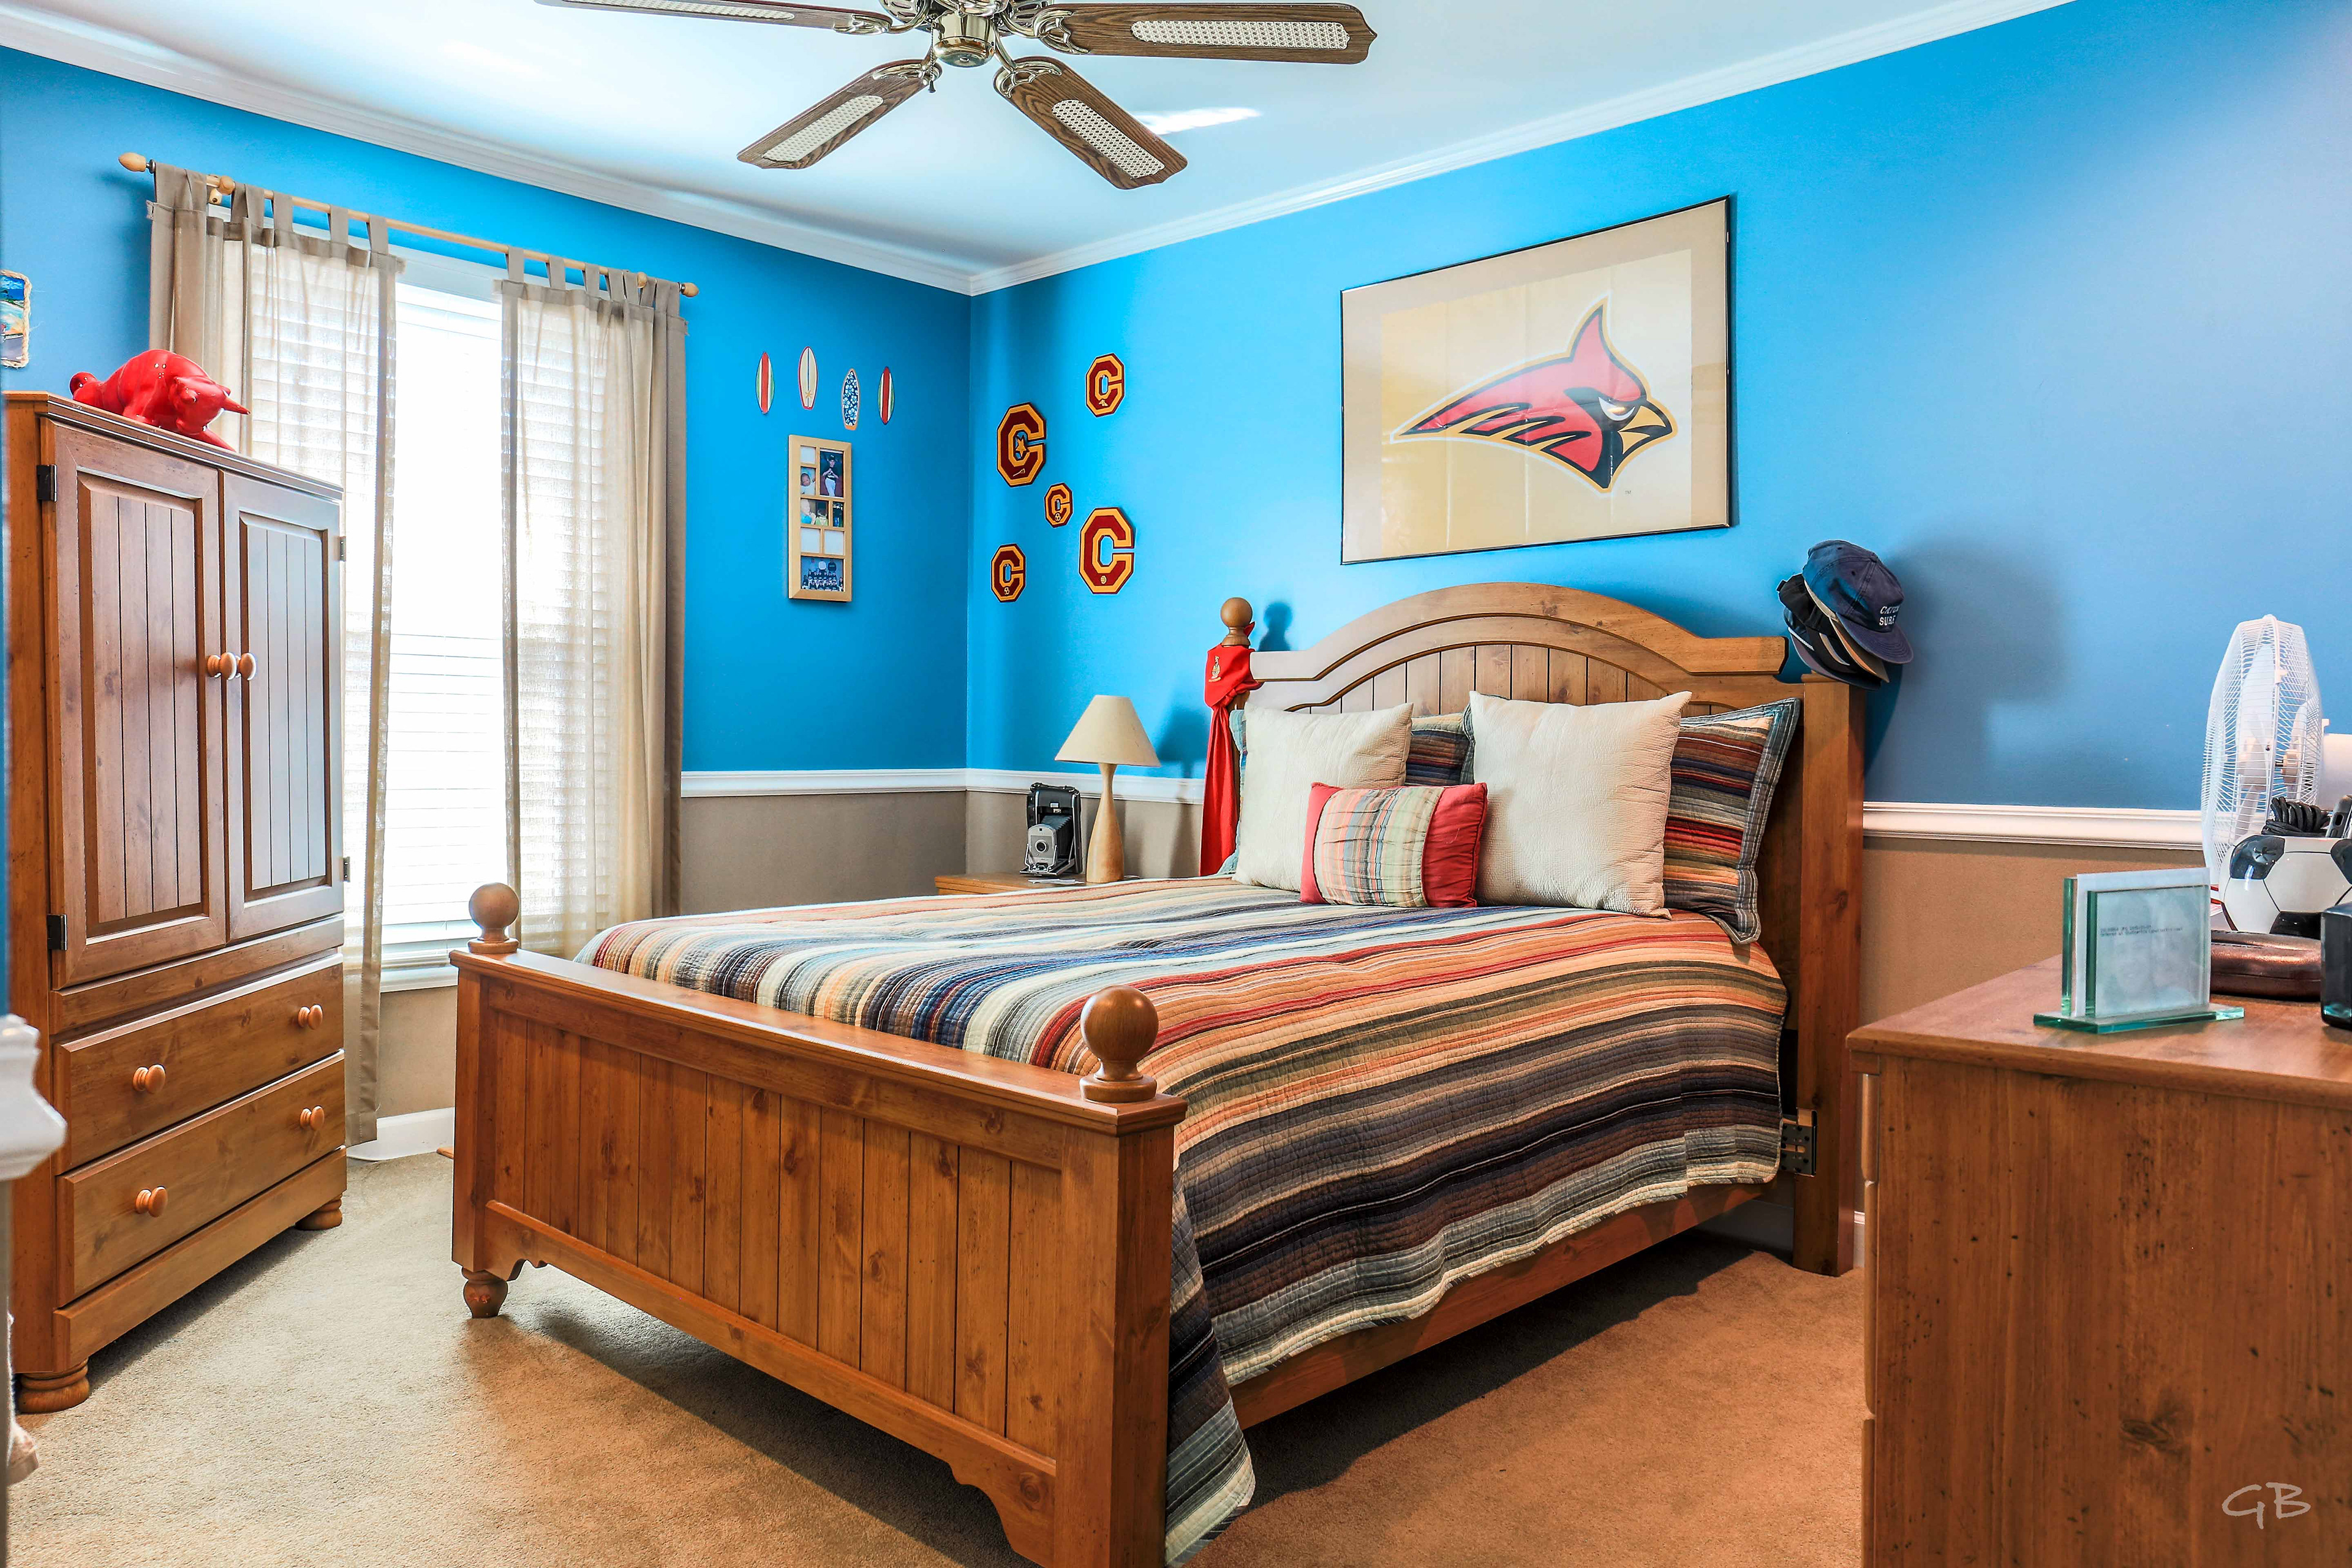
No Distracting Fan Motion Blur
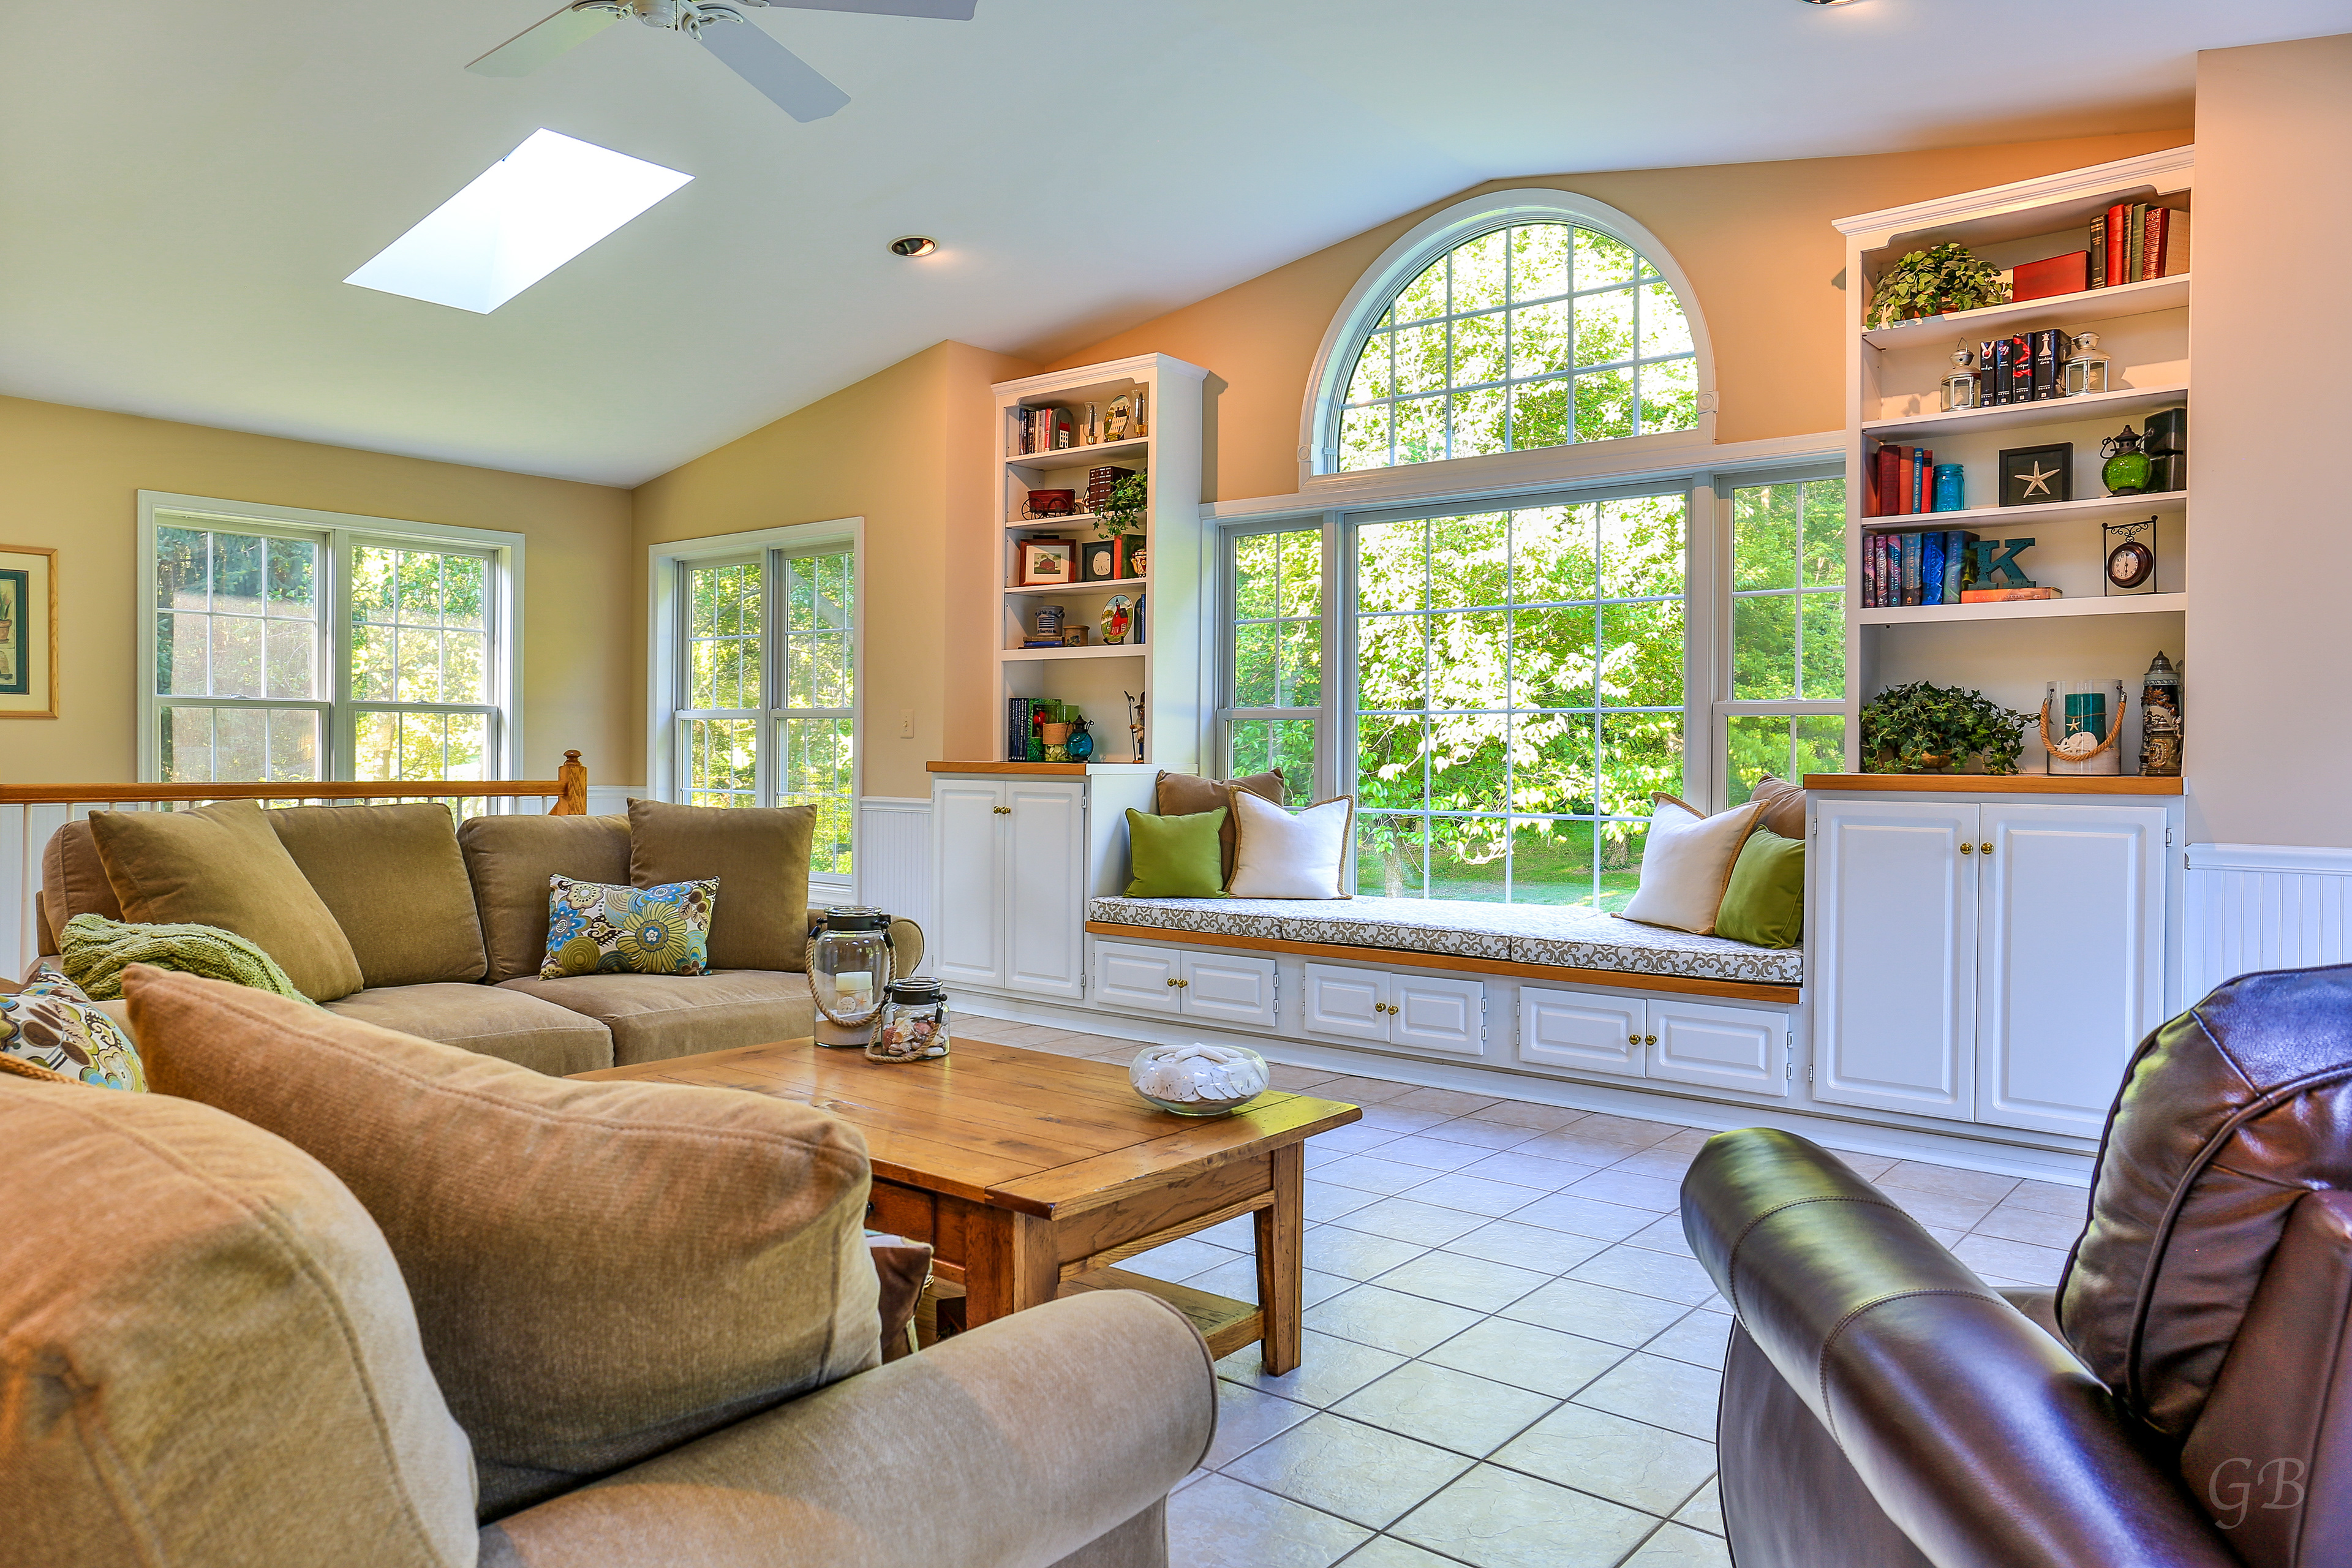
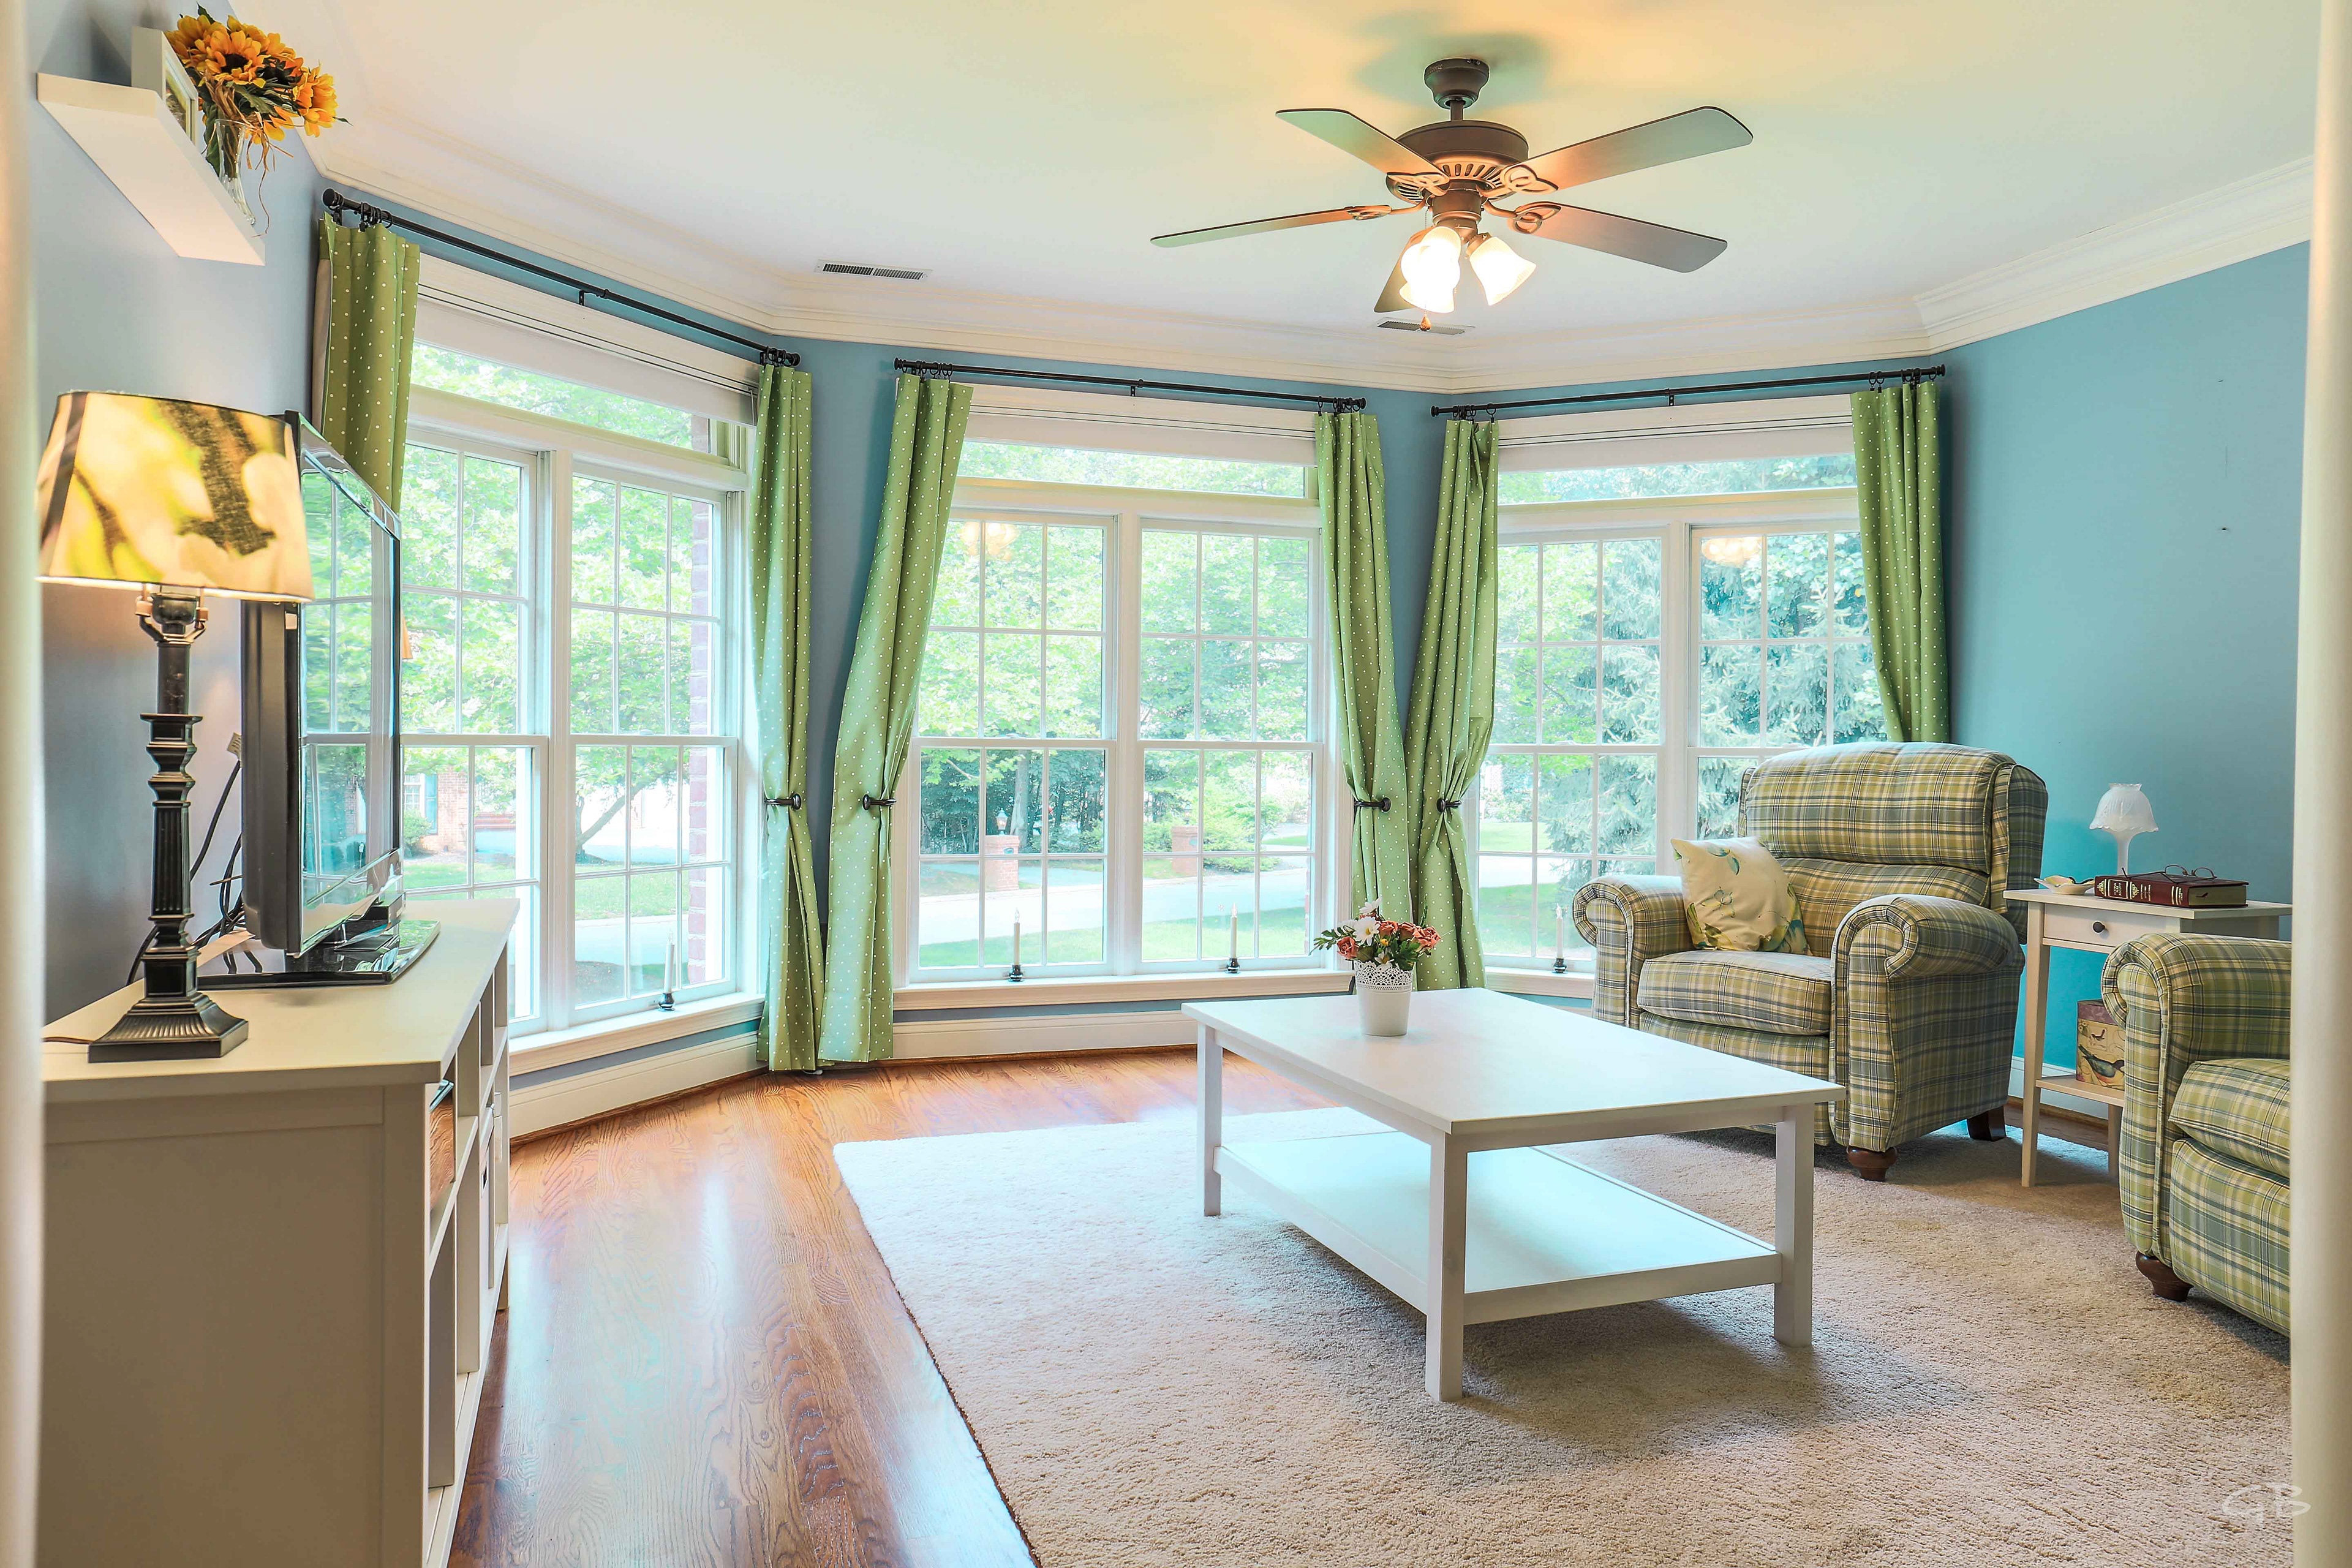
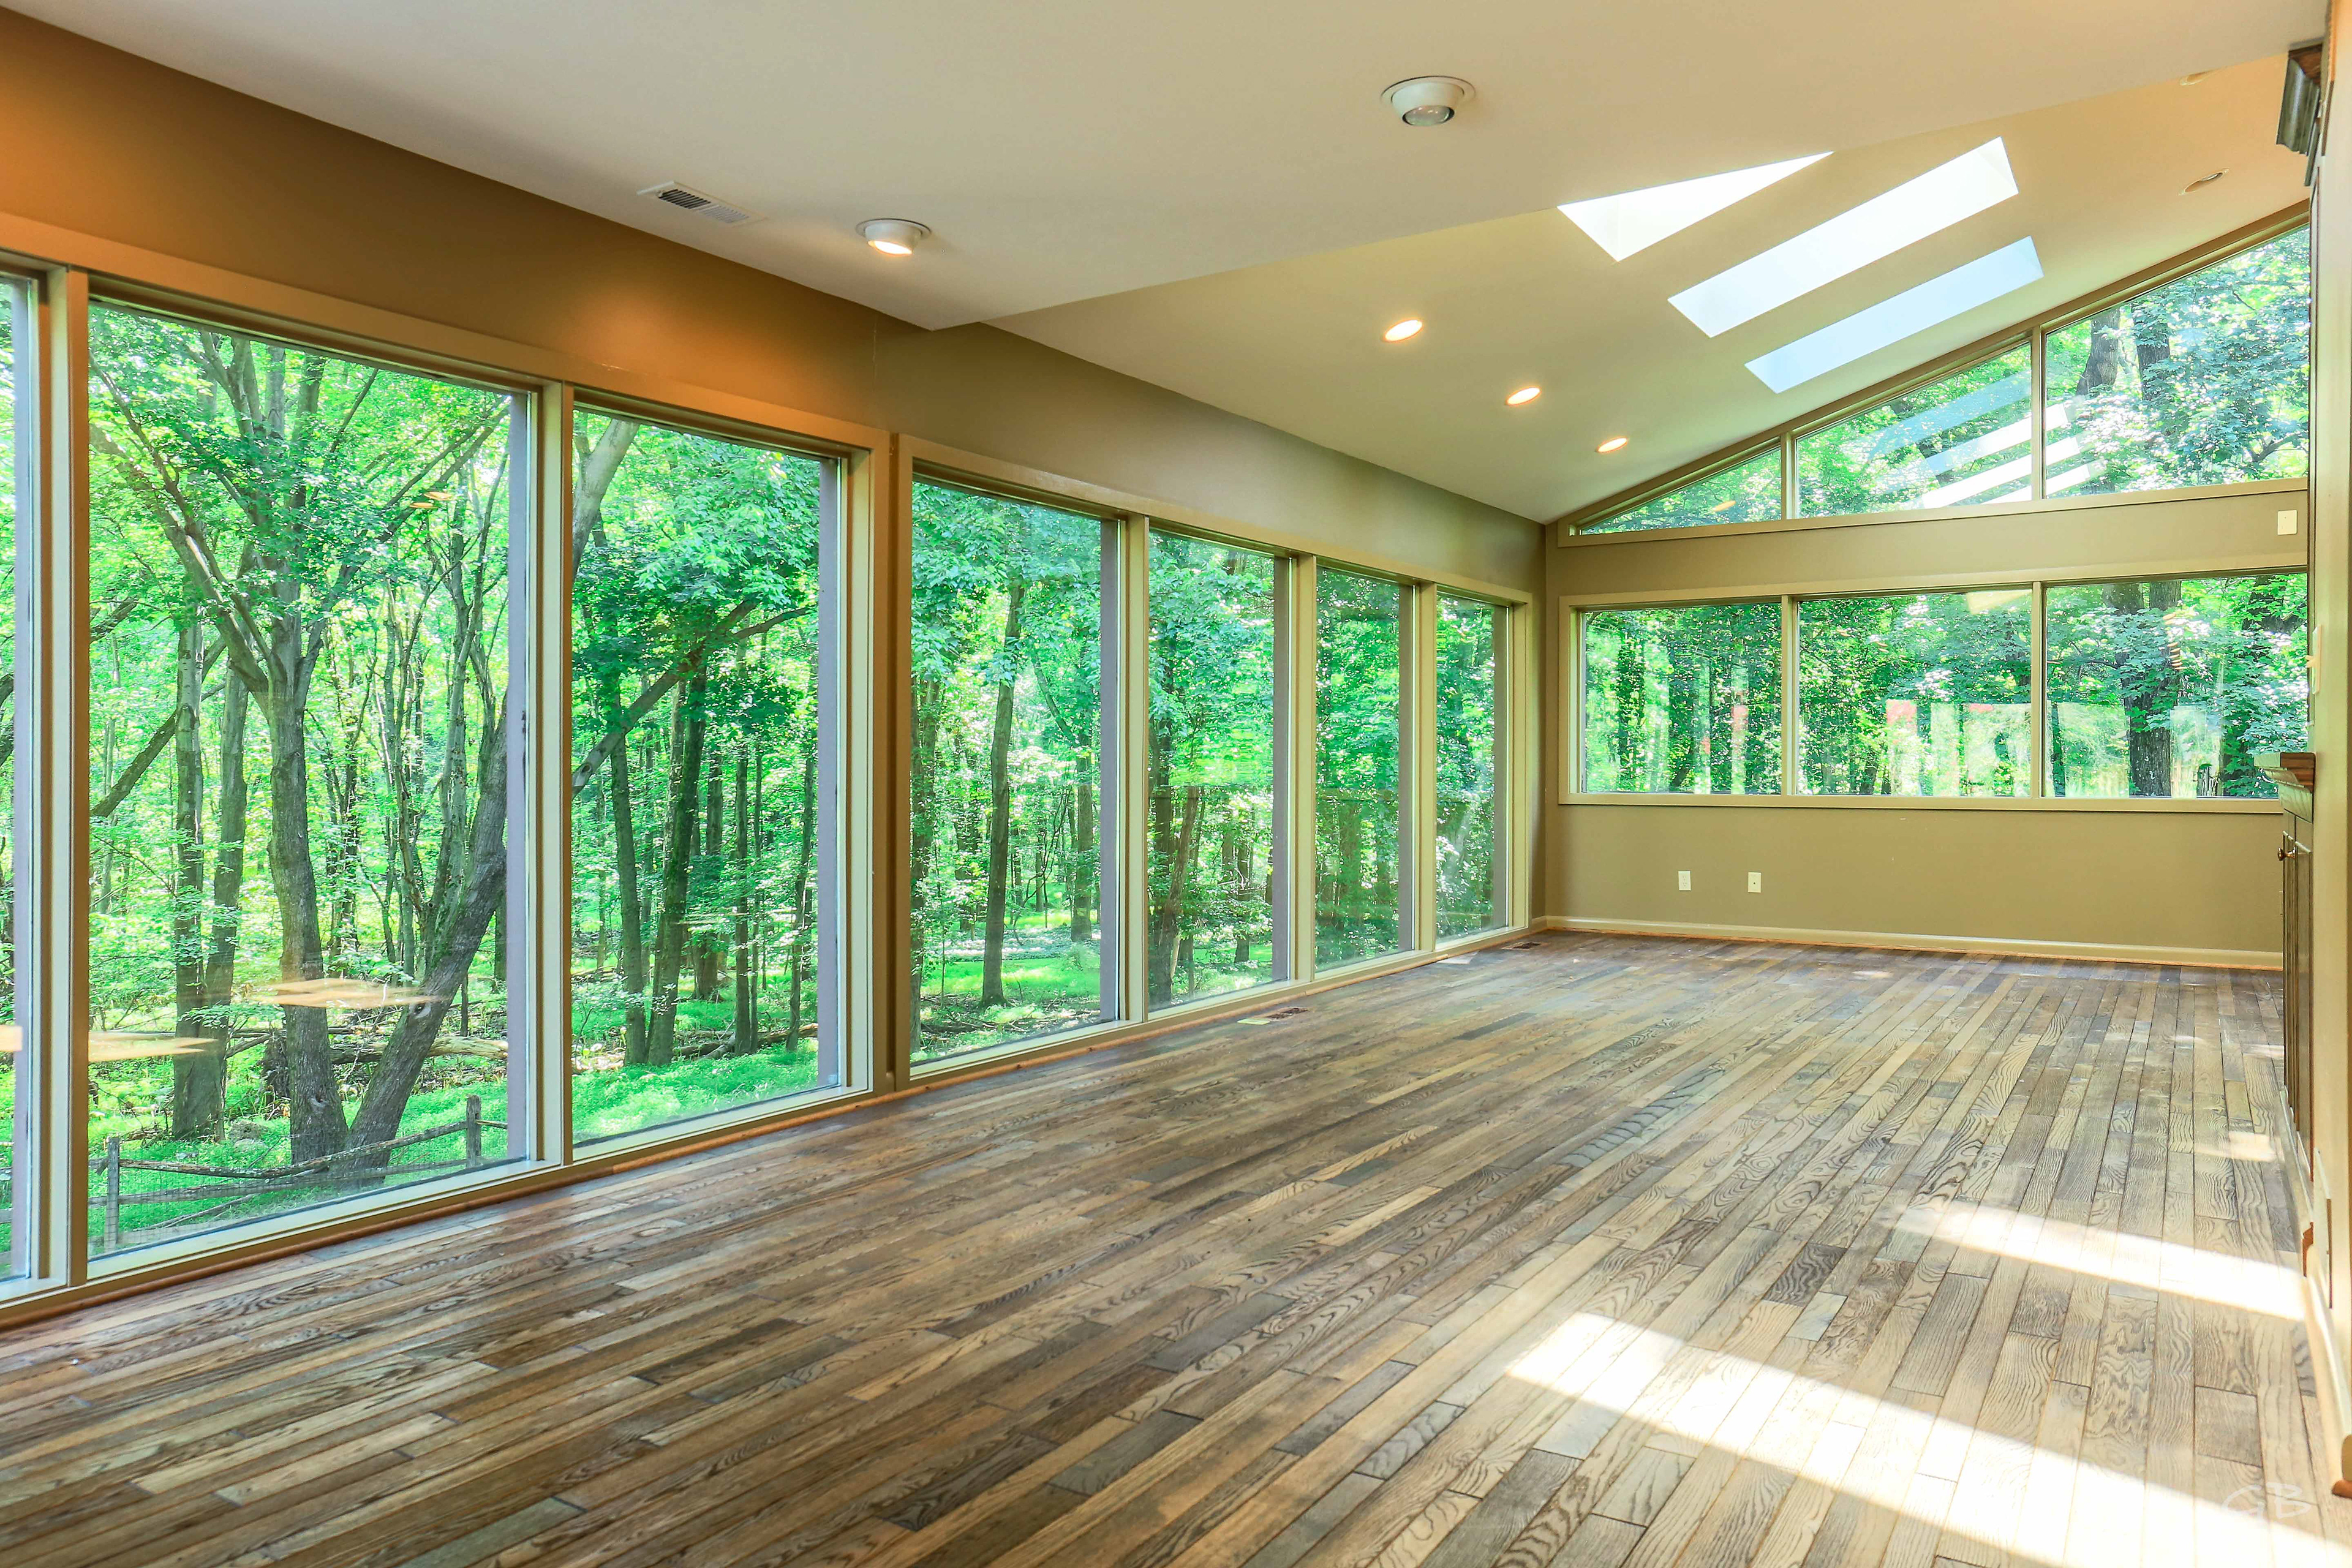
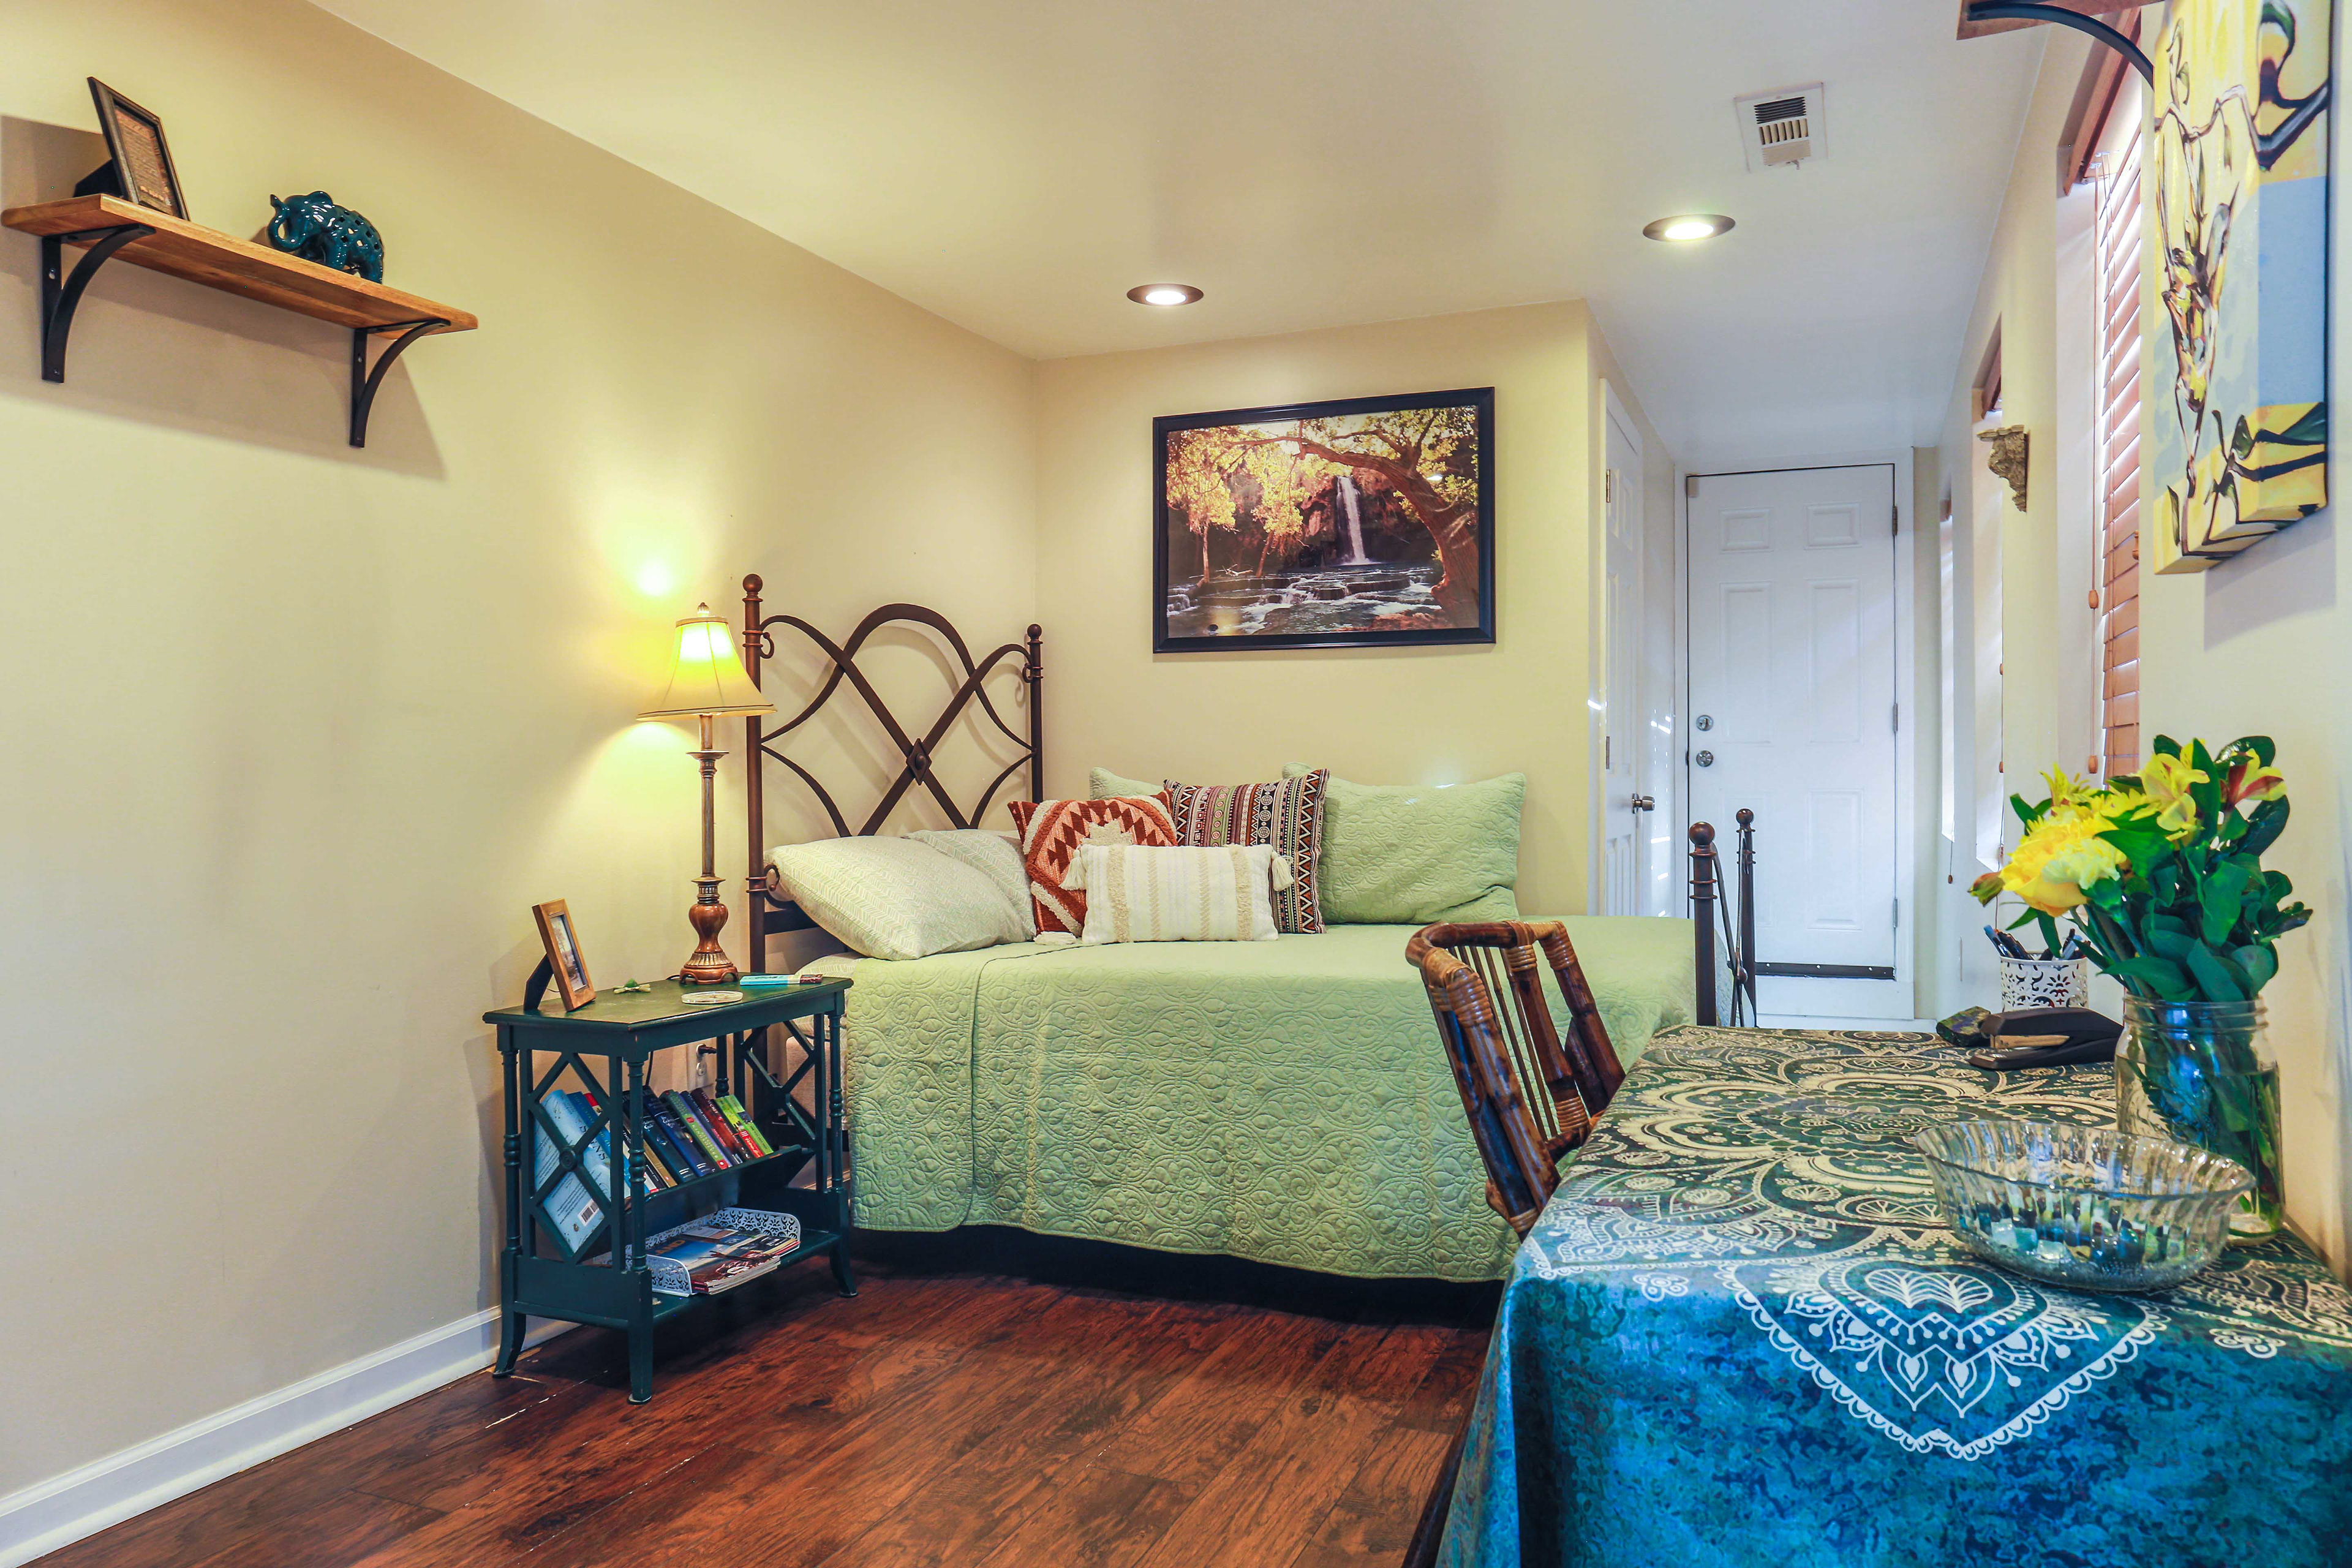
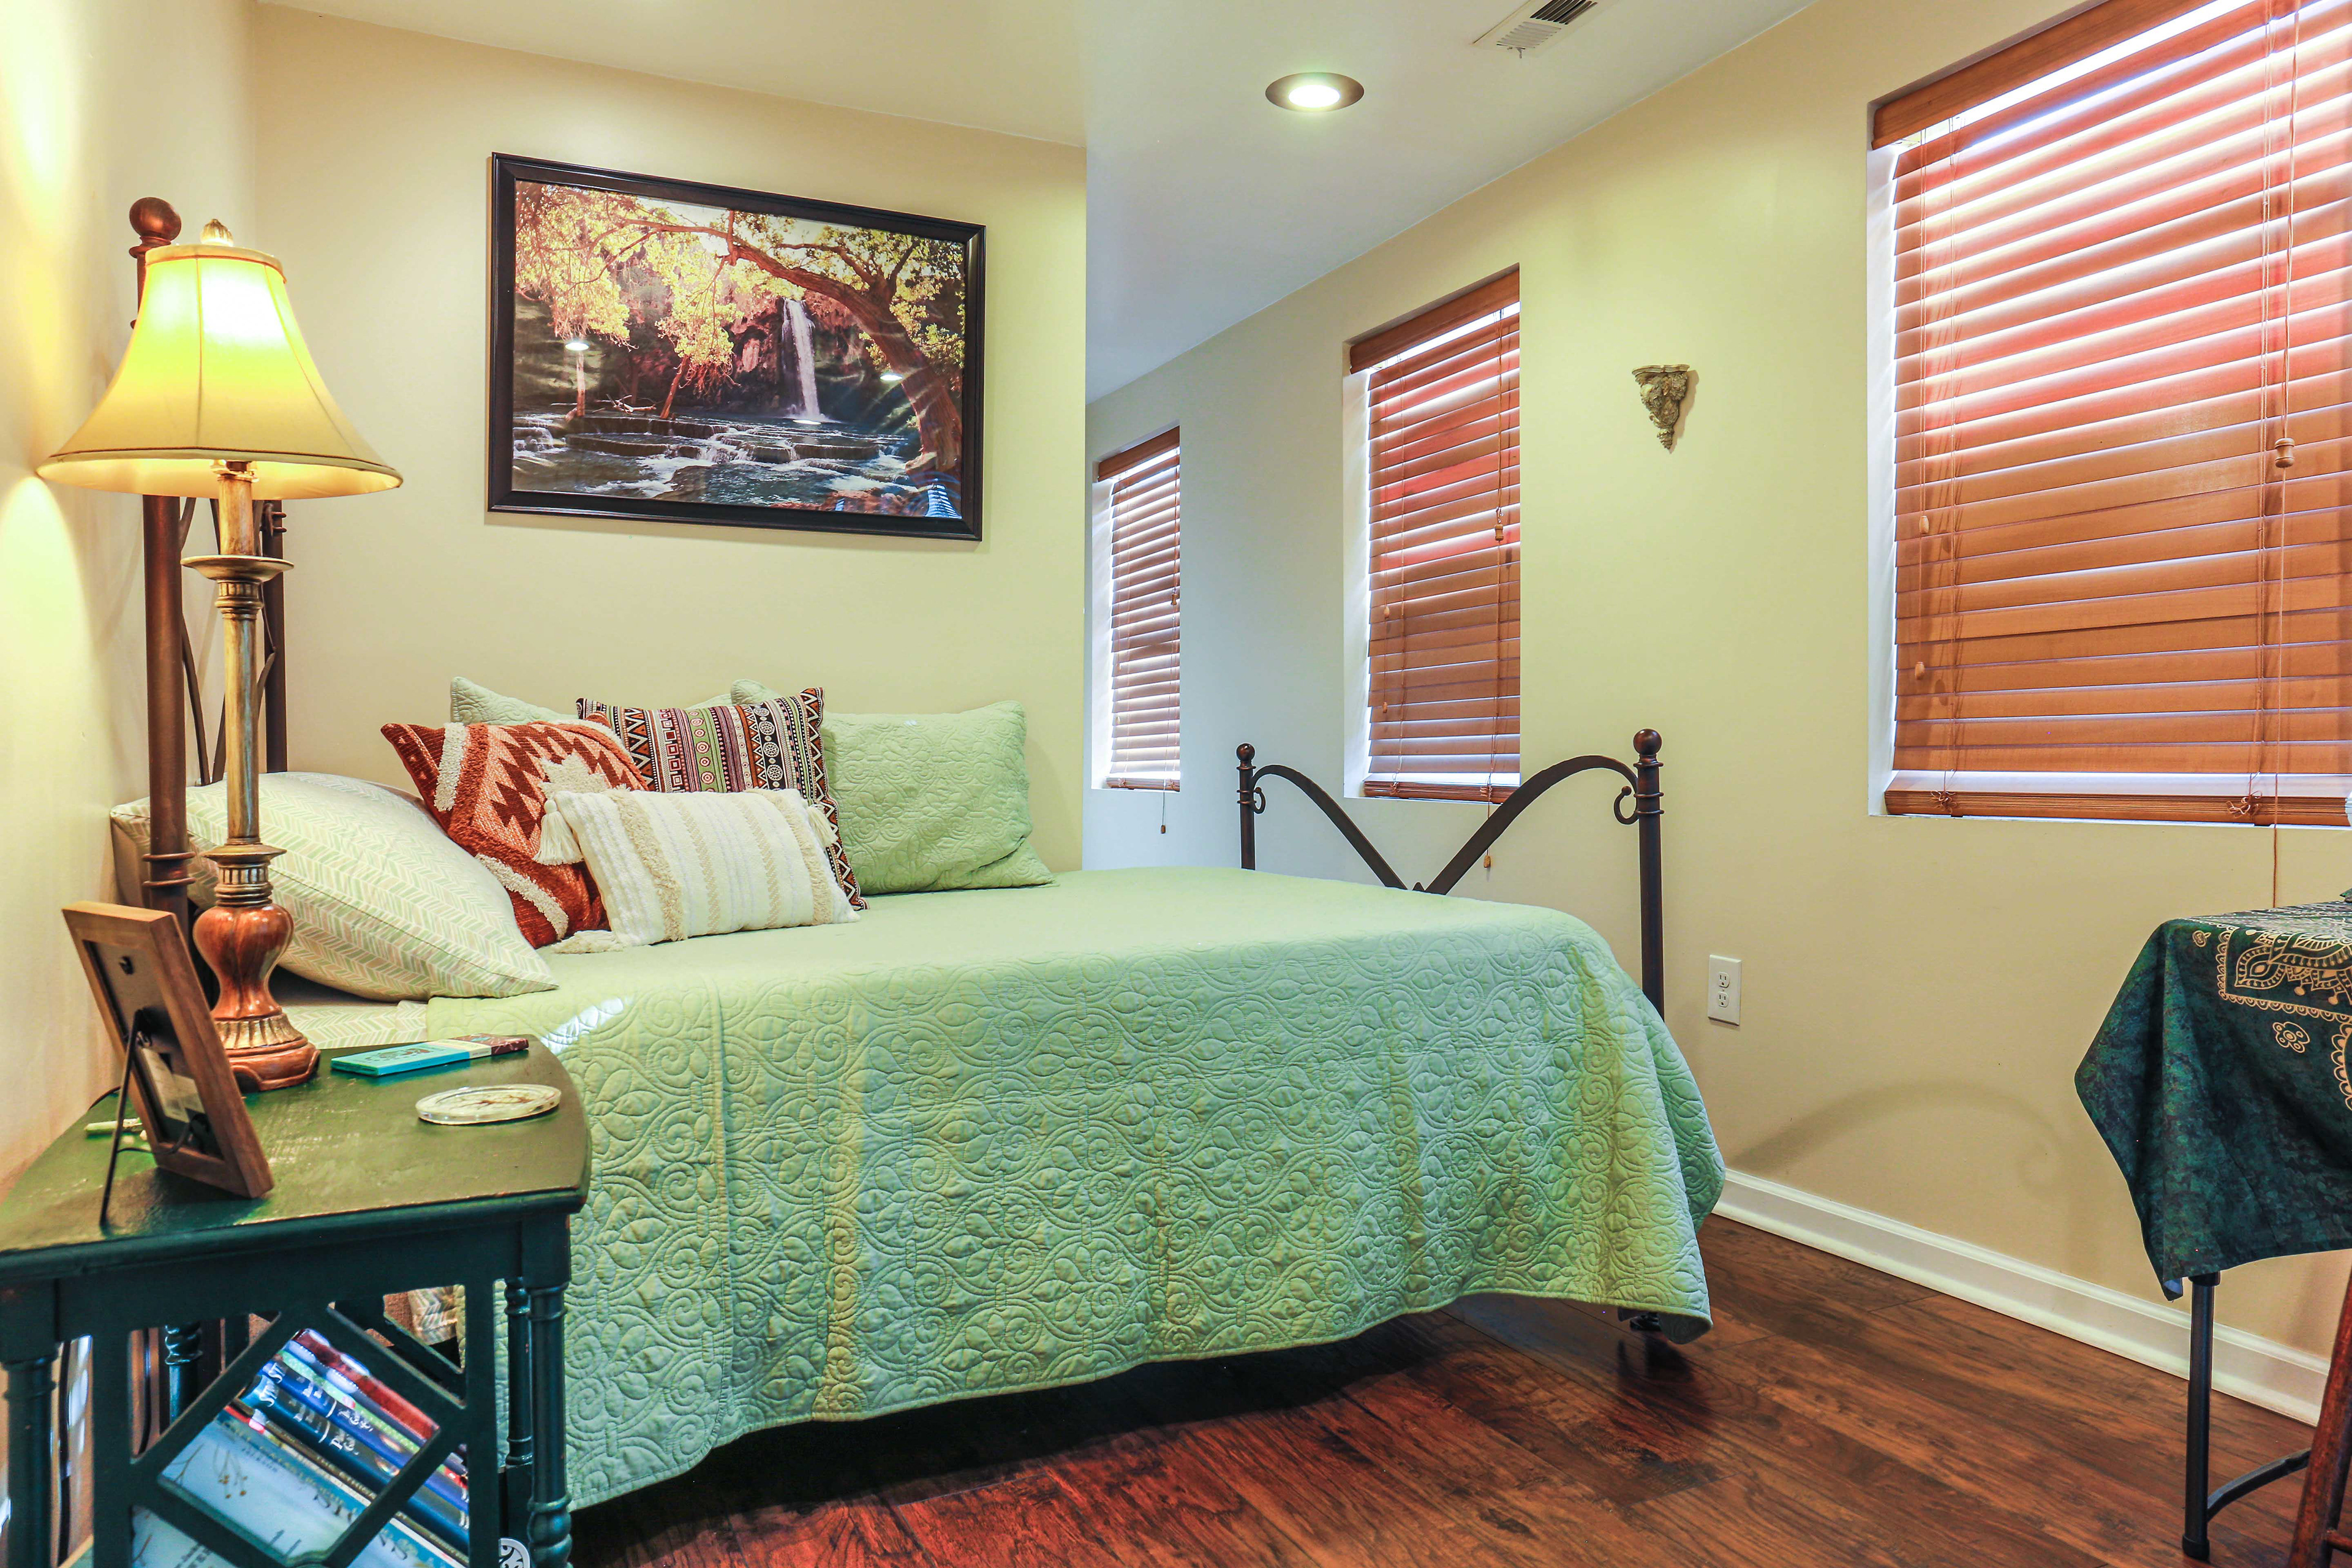
2. Blinds & Windows
Utilize natural light for stunning photos. The way you manage natural light can make all the difference in your photos. Depending on where the sun is positioned, try lowering the blinds either fully or halfway, then adjust them to a 45-degree angle. This trick lets soft beams of light stream across the floor, creating a beautifully brightened space while filtering the sunlight. By doing this, you avoid "blown-out" windows, which can distract from the overall composition of your image.
Of course, there are exceptions! If you're aiming for that dreamy, glowing effect, you might want to embrace the full sunlight without filtering. But in some situations, blinds may not even be an option—so trust your instincts and adapt.
And hey, don’t stress too much! If you’re in a hurry, blown-out windows aren’t the end of the world. For a more balanced look, consider shooting on a cloudy day or when the sun is directly overhead (though this isn’t ideal for outdoor photography).
The key takeaway? Be intentional about how much natural light you let in. With a little practice and experimentation, you’ll find what works best for the vibe you’re going for. You’ve got this!
Blinds Down.

Shaded Tree Coverage.
Rear Window Blinds at 45.

Sun is on the Opposite side of the House.
Windows Close to Being Blown Out.
Compare to Blown Out Shots I took Below.
Blown Out Windows. Ethereal Glow. Yet the Hotspot is Distracting.
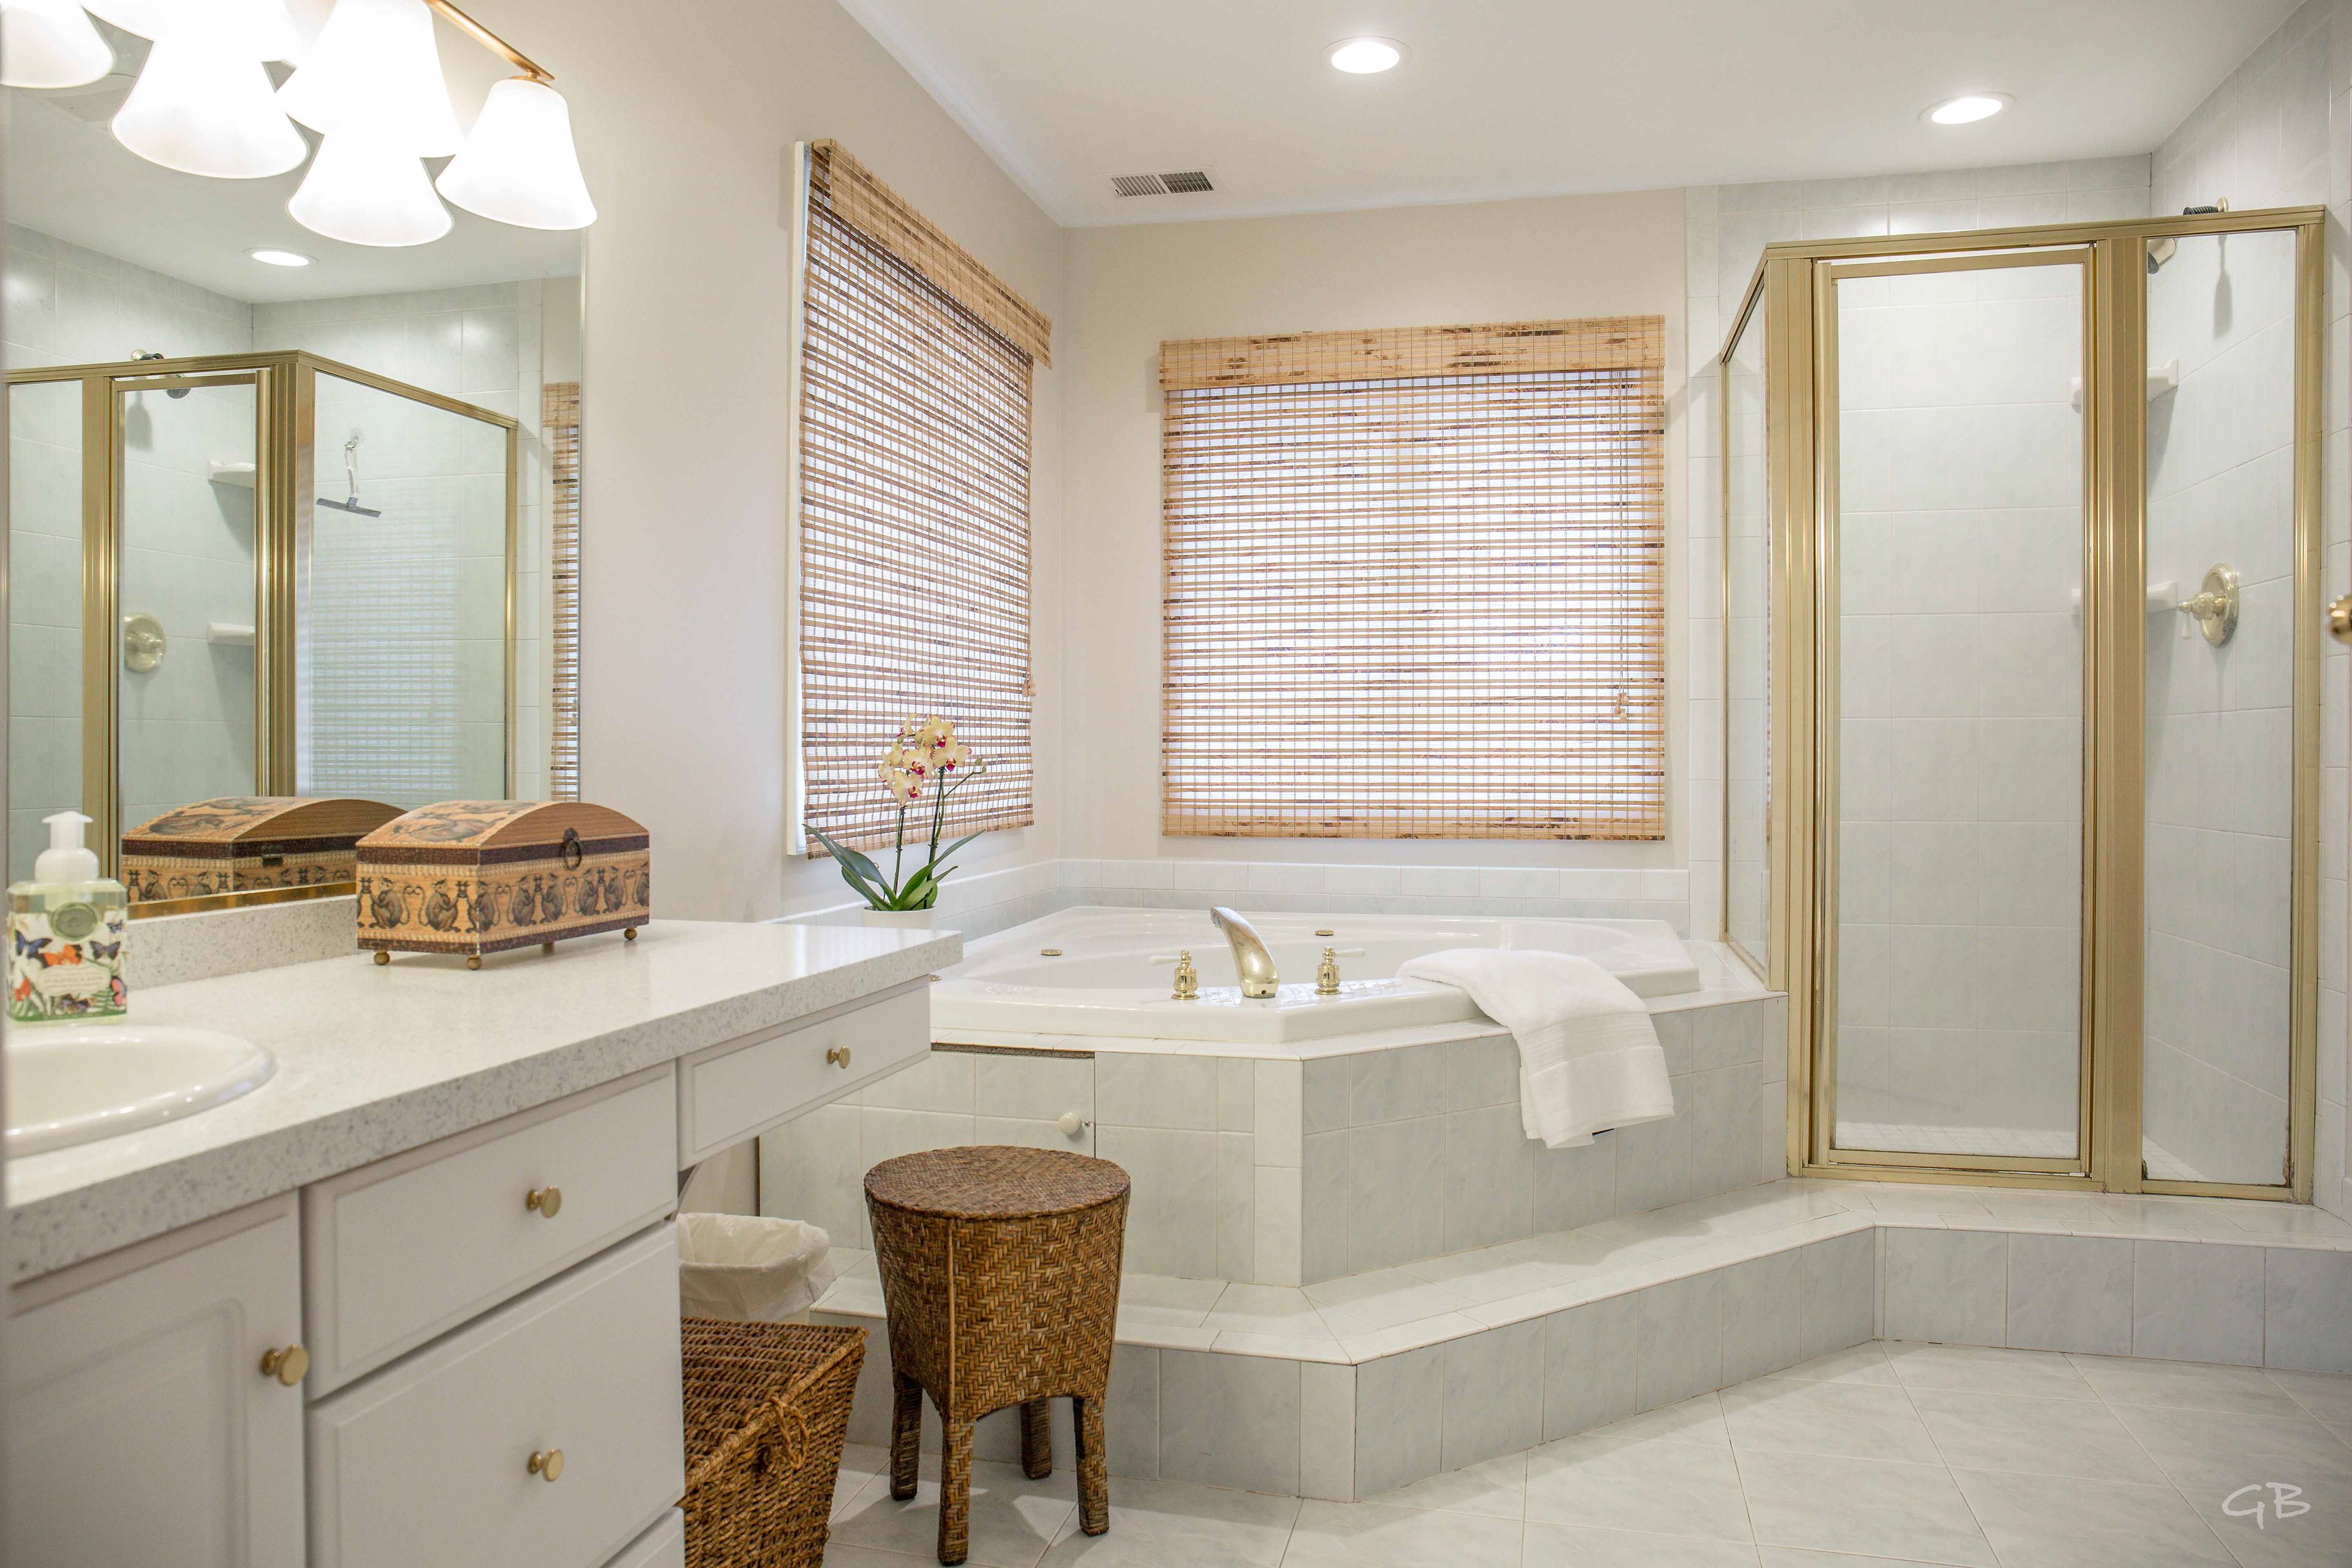
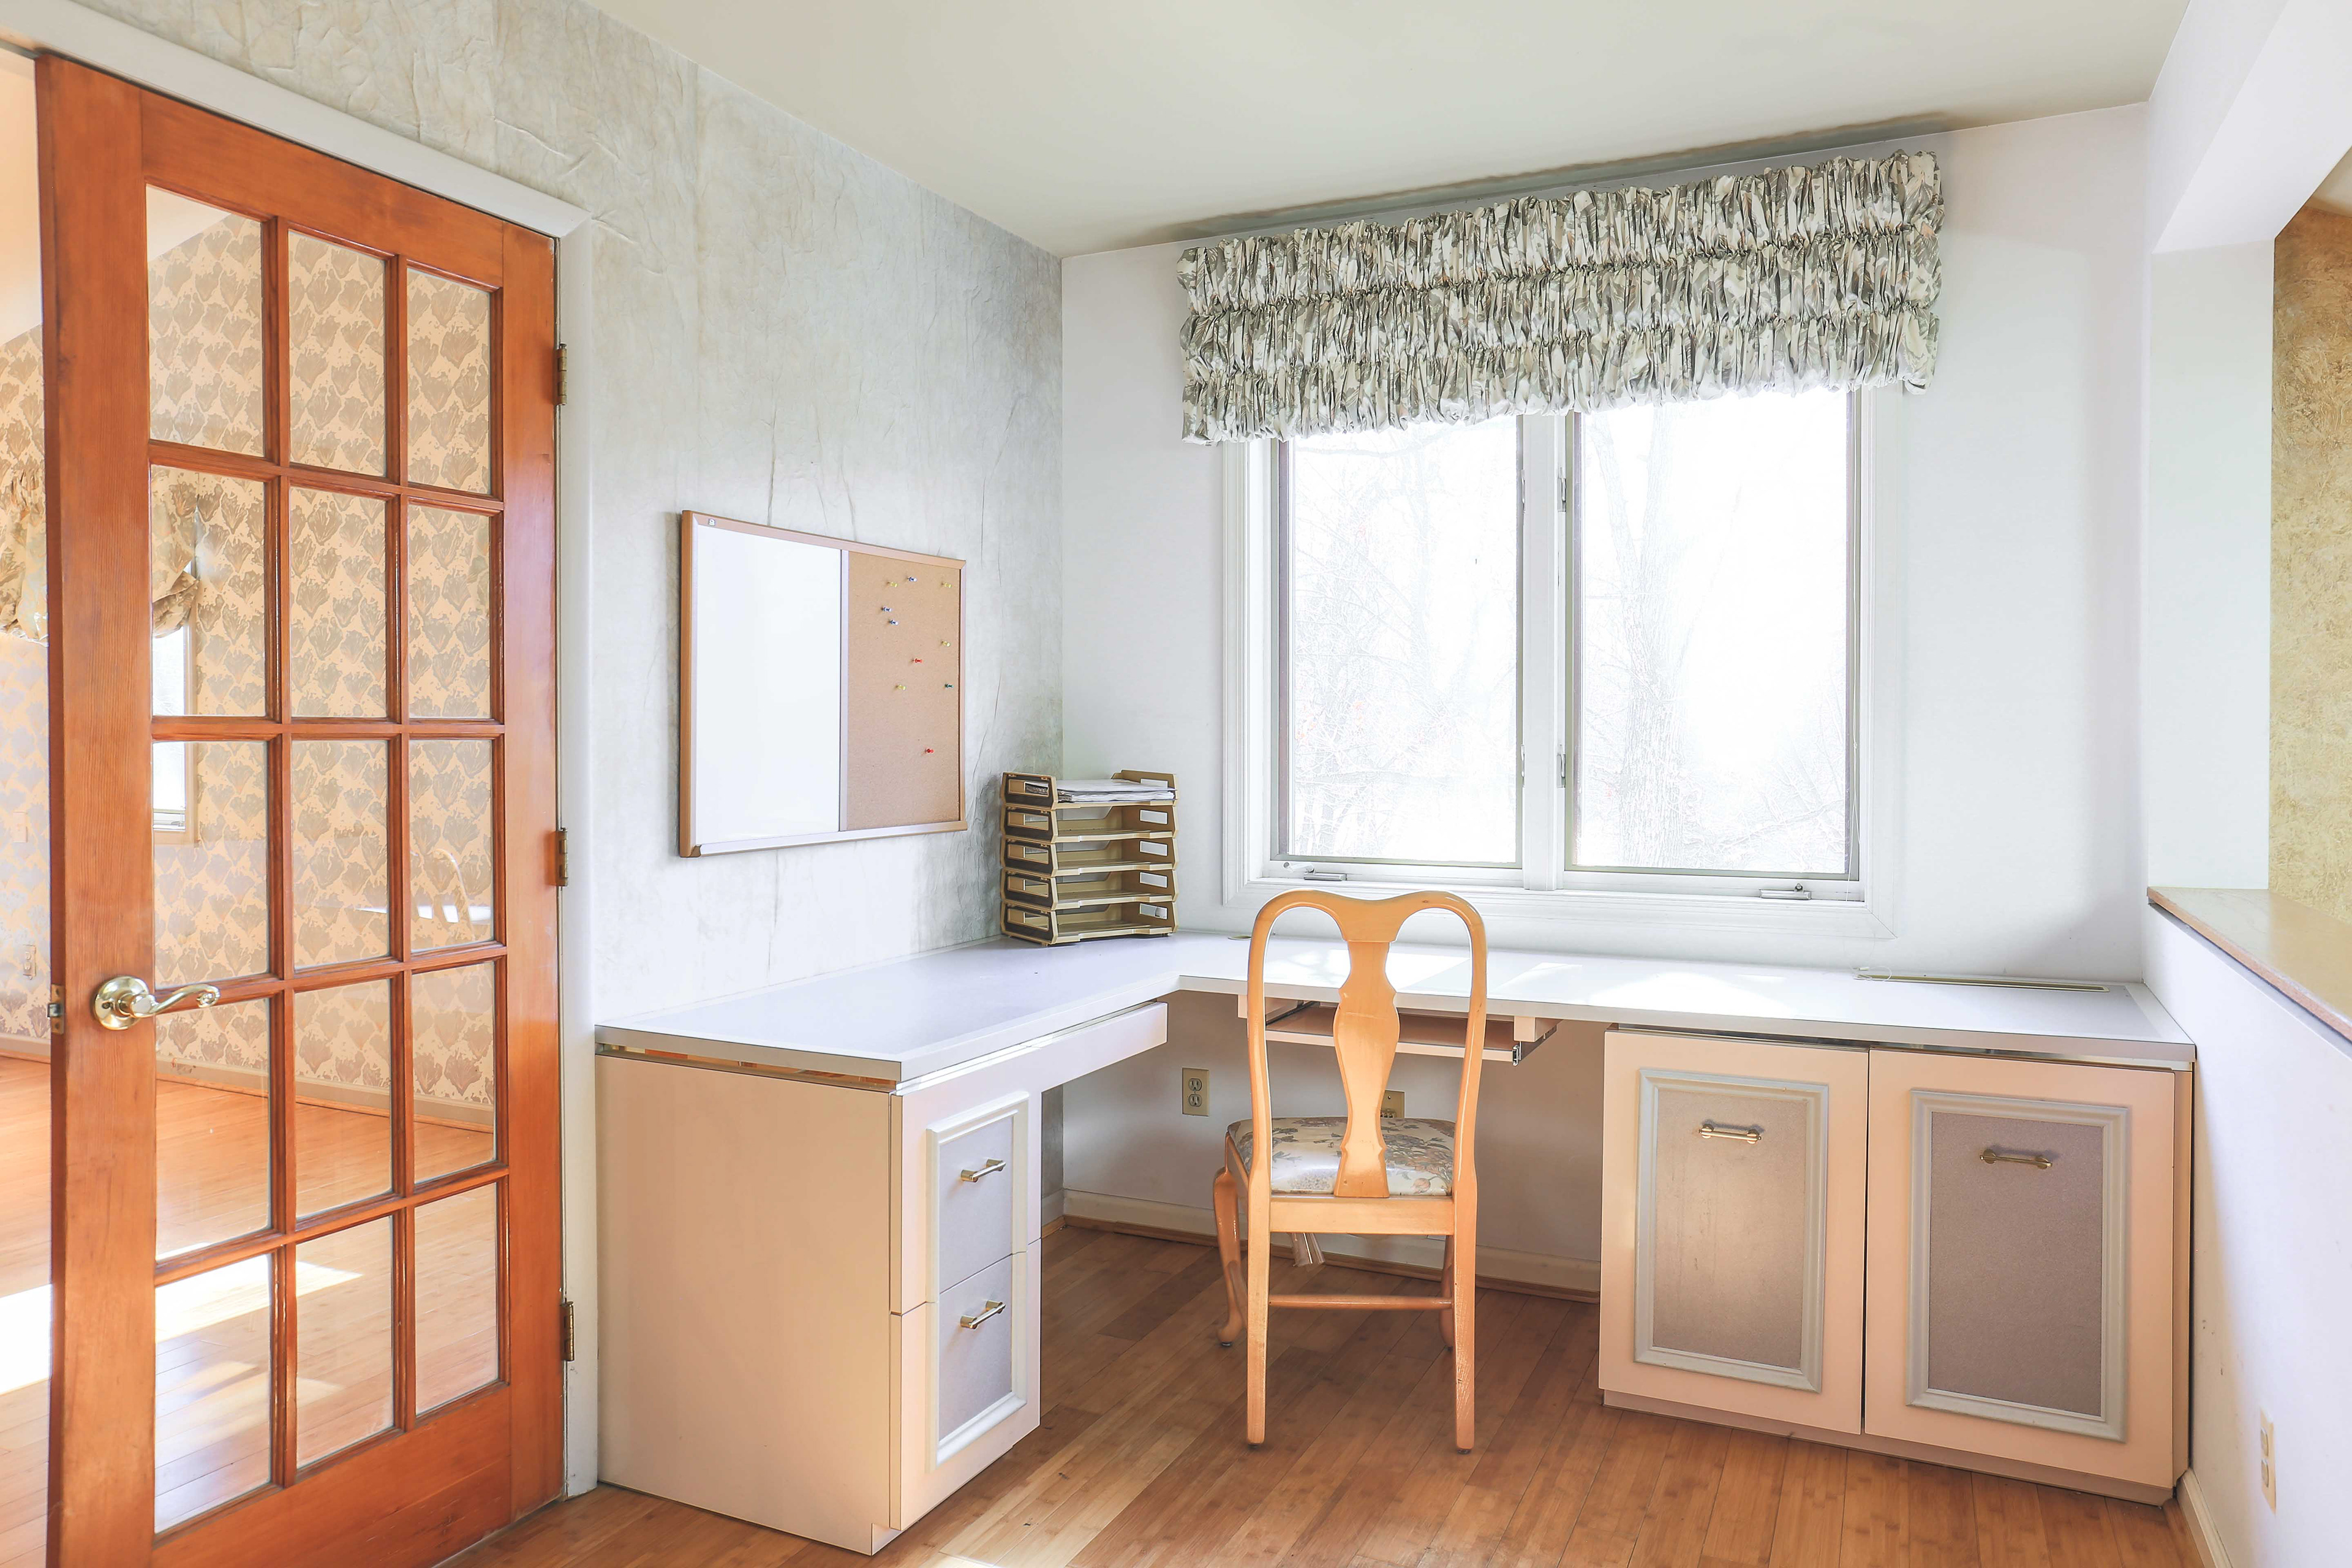
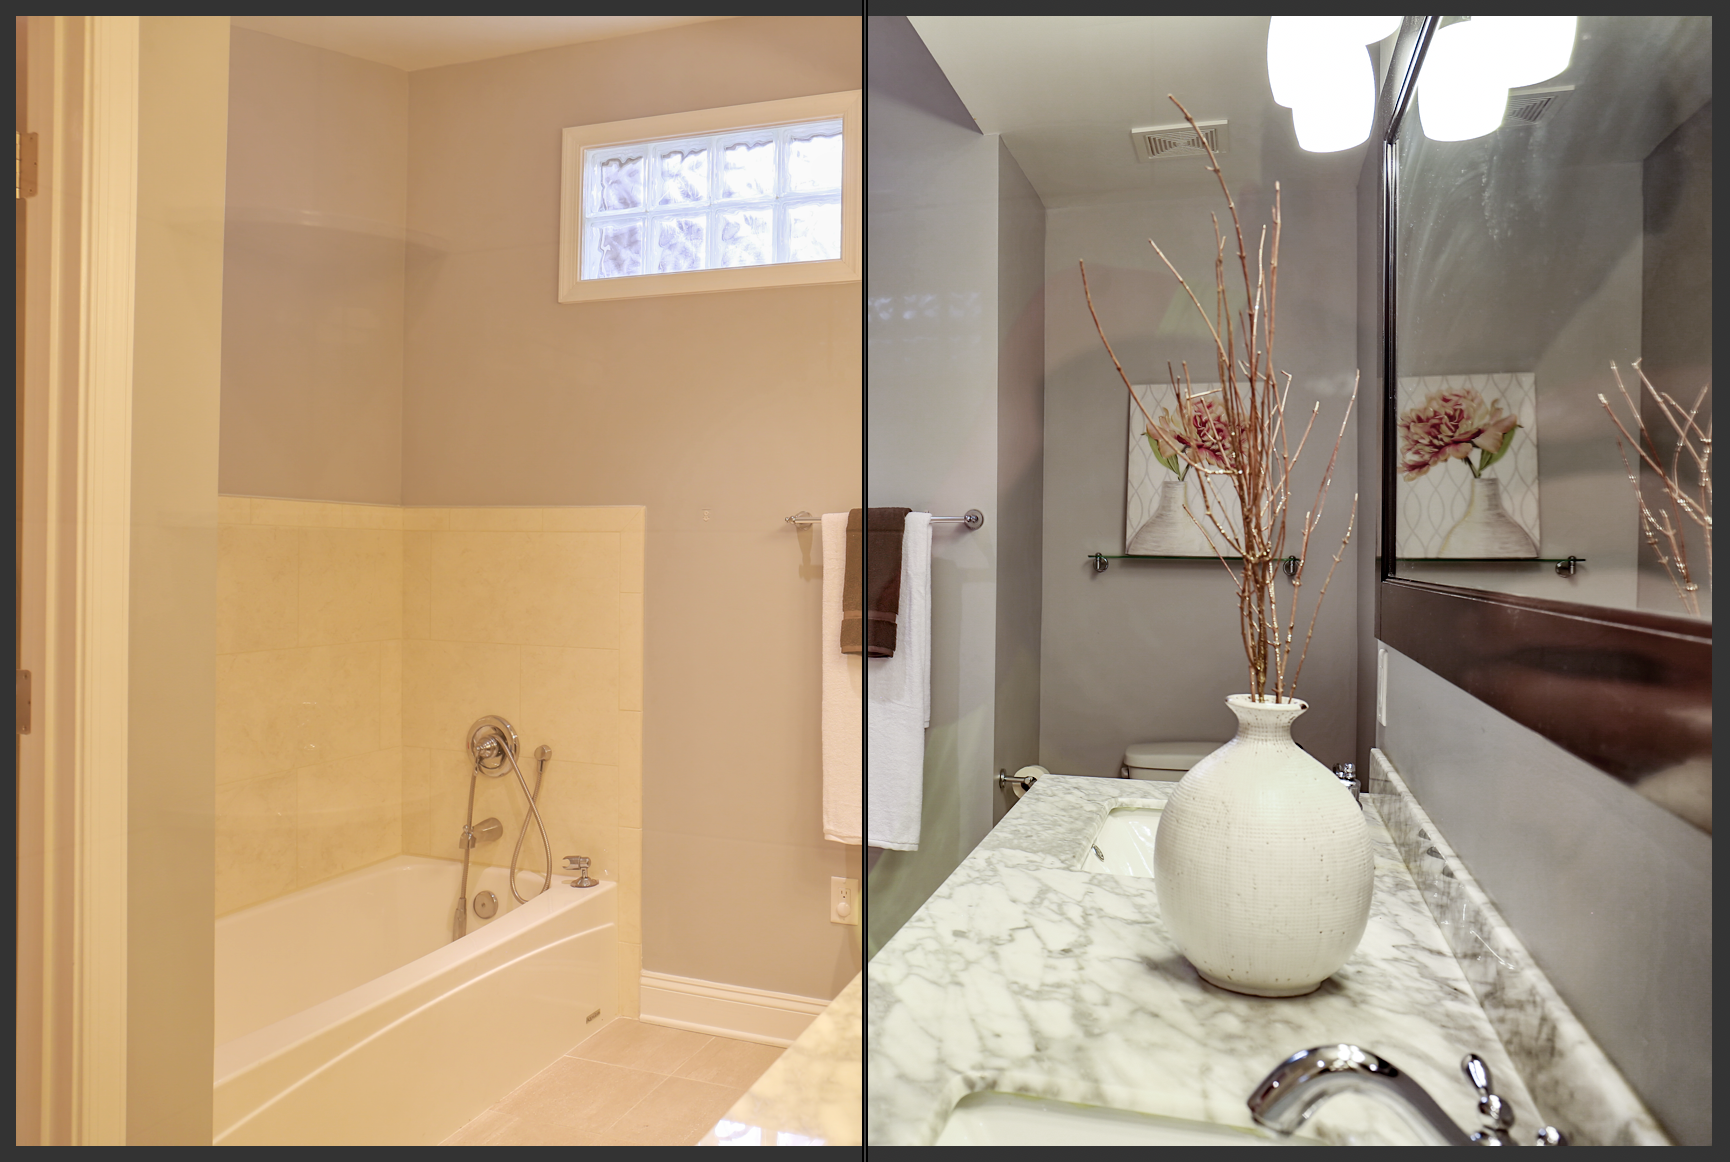
3. Staging
Heard of Feng-Shui? Adding splashes of color to a home can make it feel alive and inviting. Feel free to play with any potted or faux plants to liven up each room. To make the property feel more spacious and free, you'll want to clear any excess items off of the countertops and windowsills - such as the giant bucket of utensils in the kitchen or the toothbrushes and air fresheners in the bathroom. Additionally, make sure to close the toilet seats - it looks cleaner - and put a full roll of TP on. It's amazing how the Psychology of seeing a full roll of toilet paper can subconsciously speak welcome & abundance!

See that Little Color Splash?
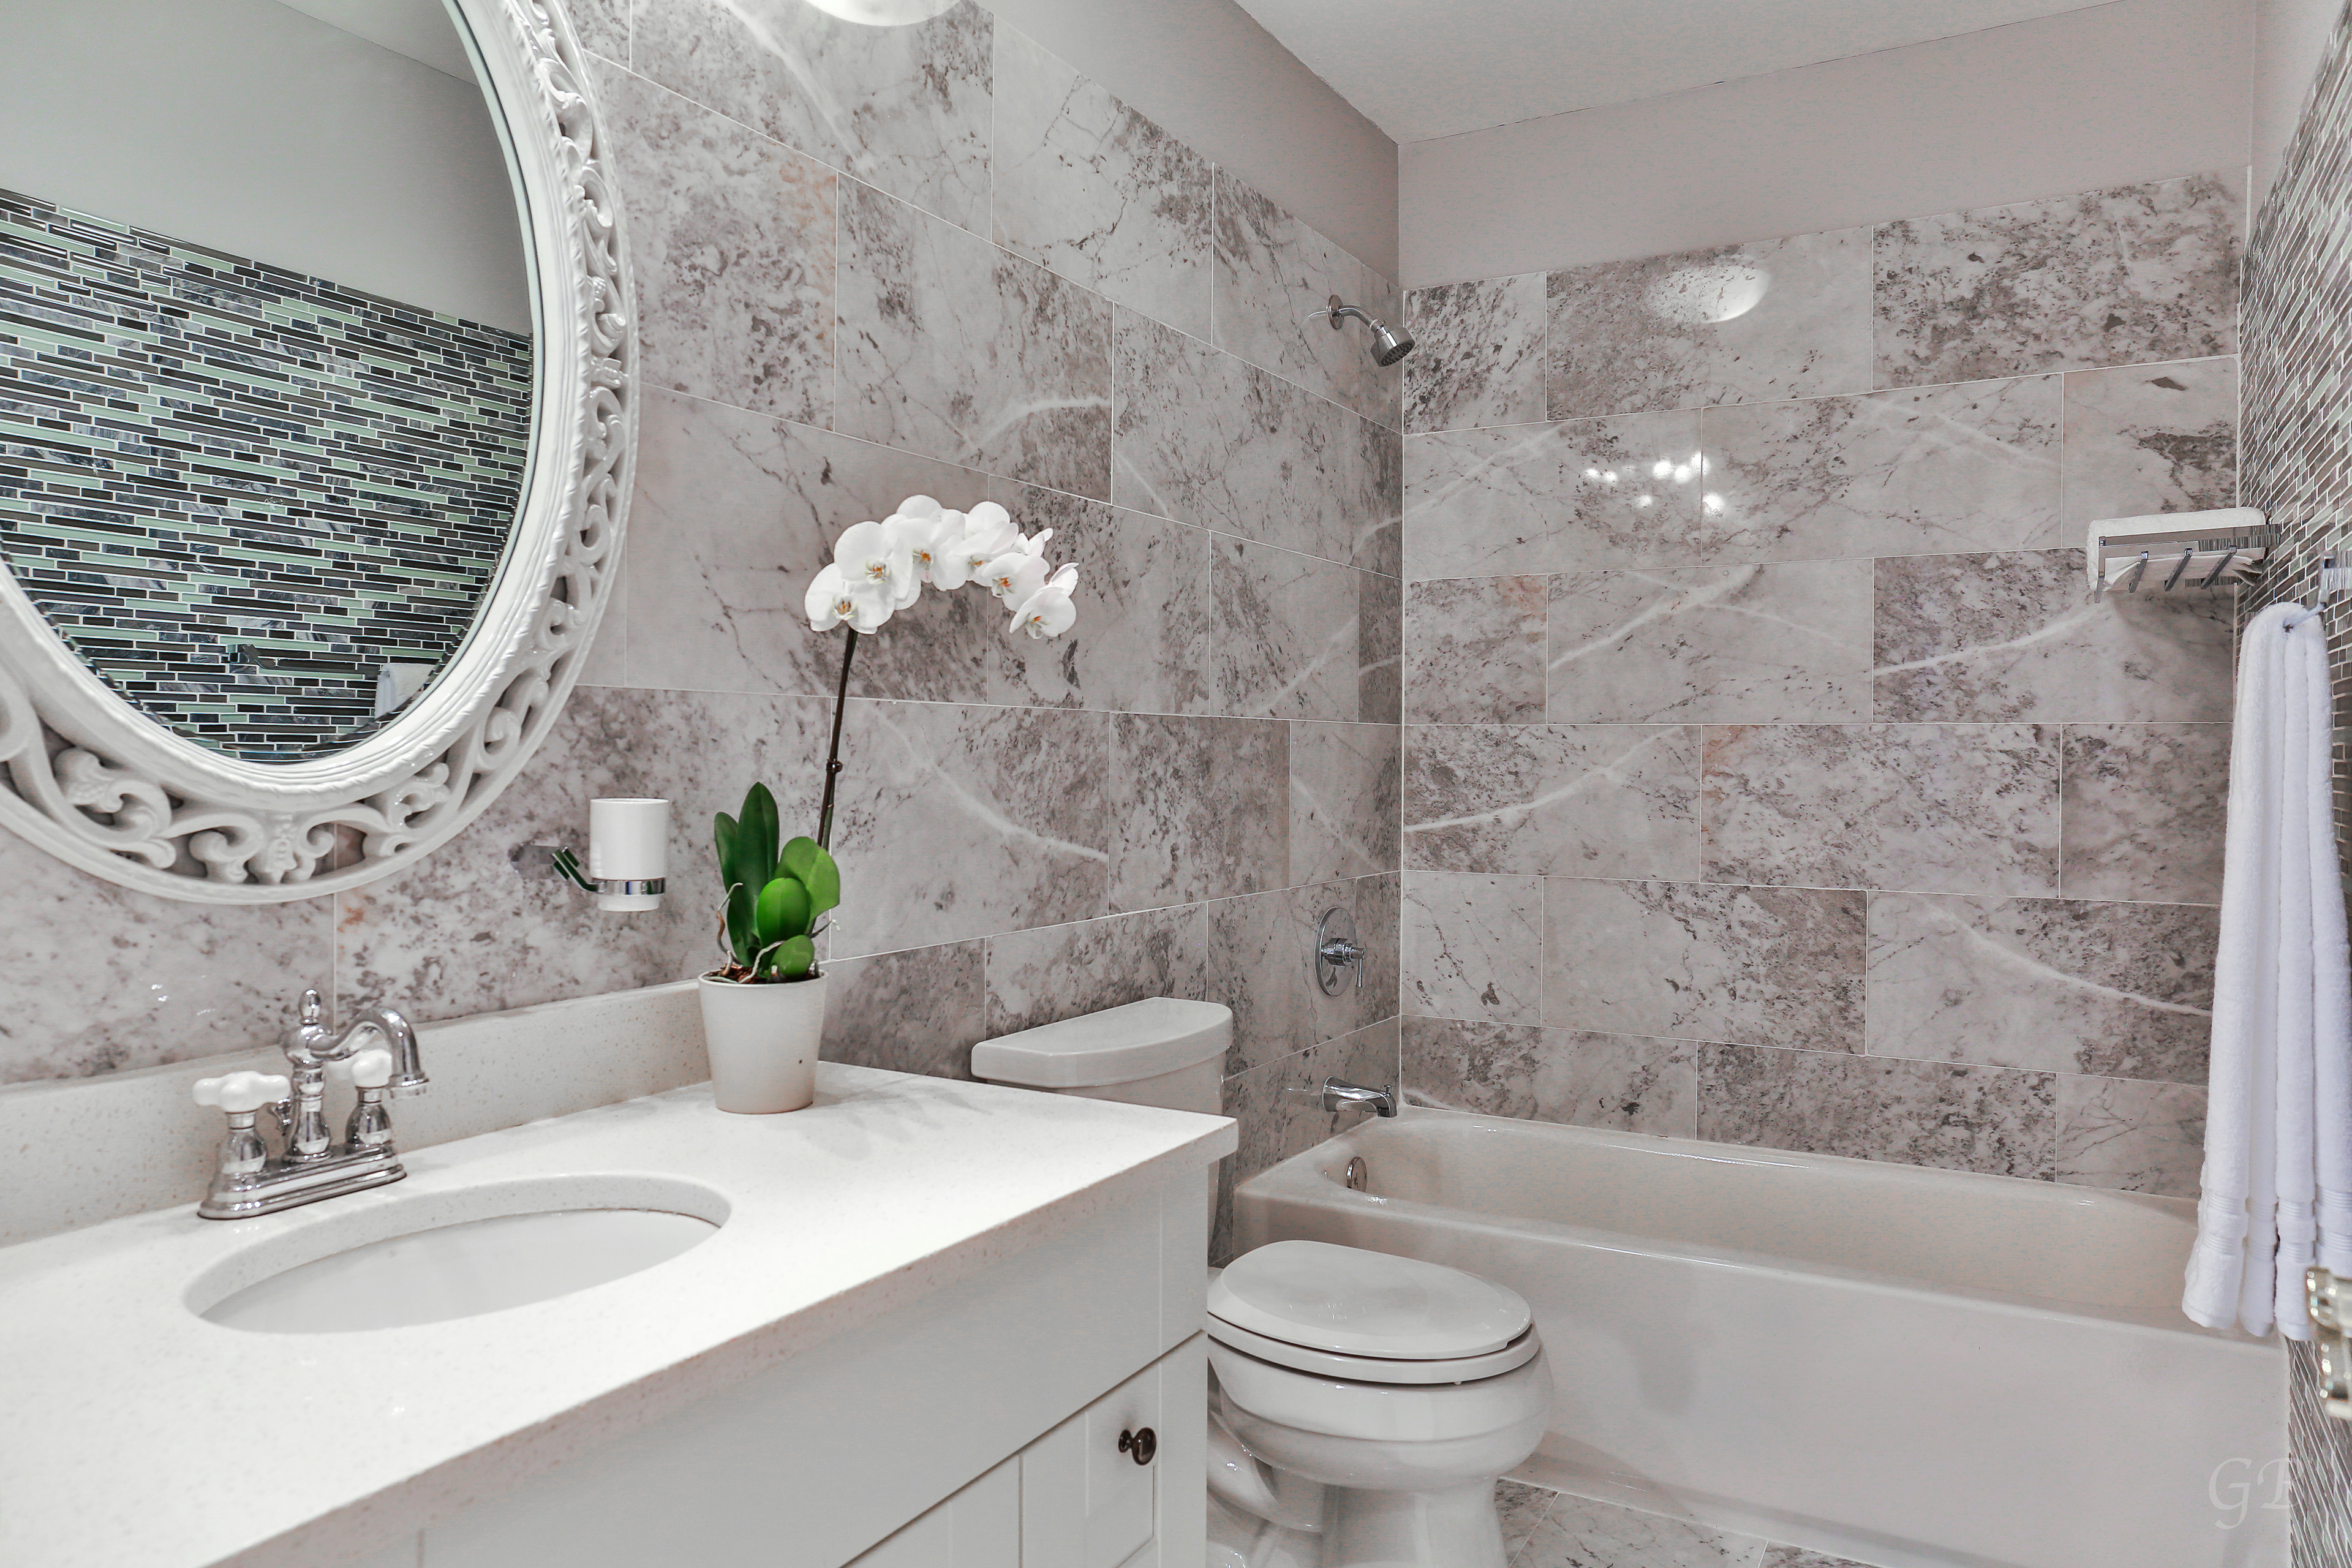
Same Faux Plant!
Clean Counters with a Simple Accent Color Splash.
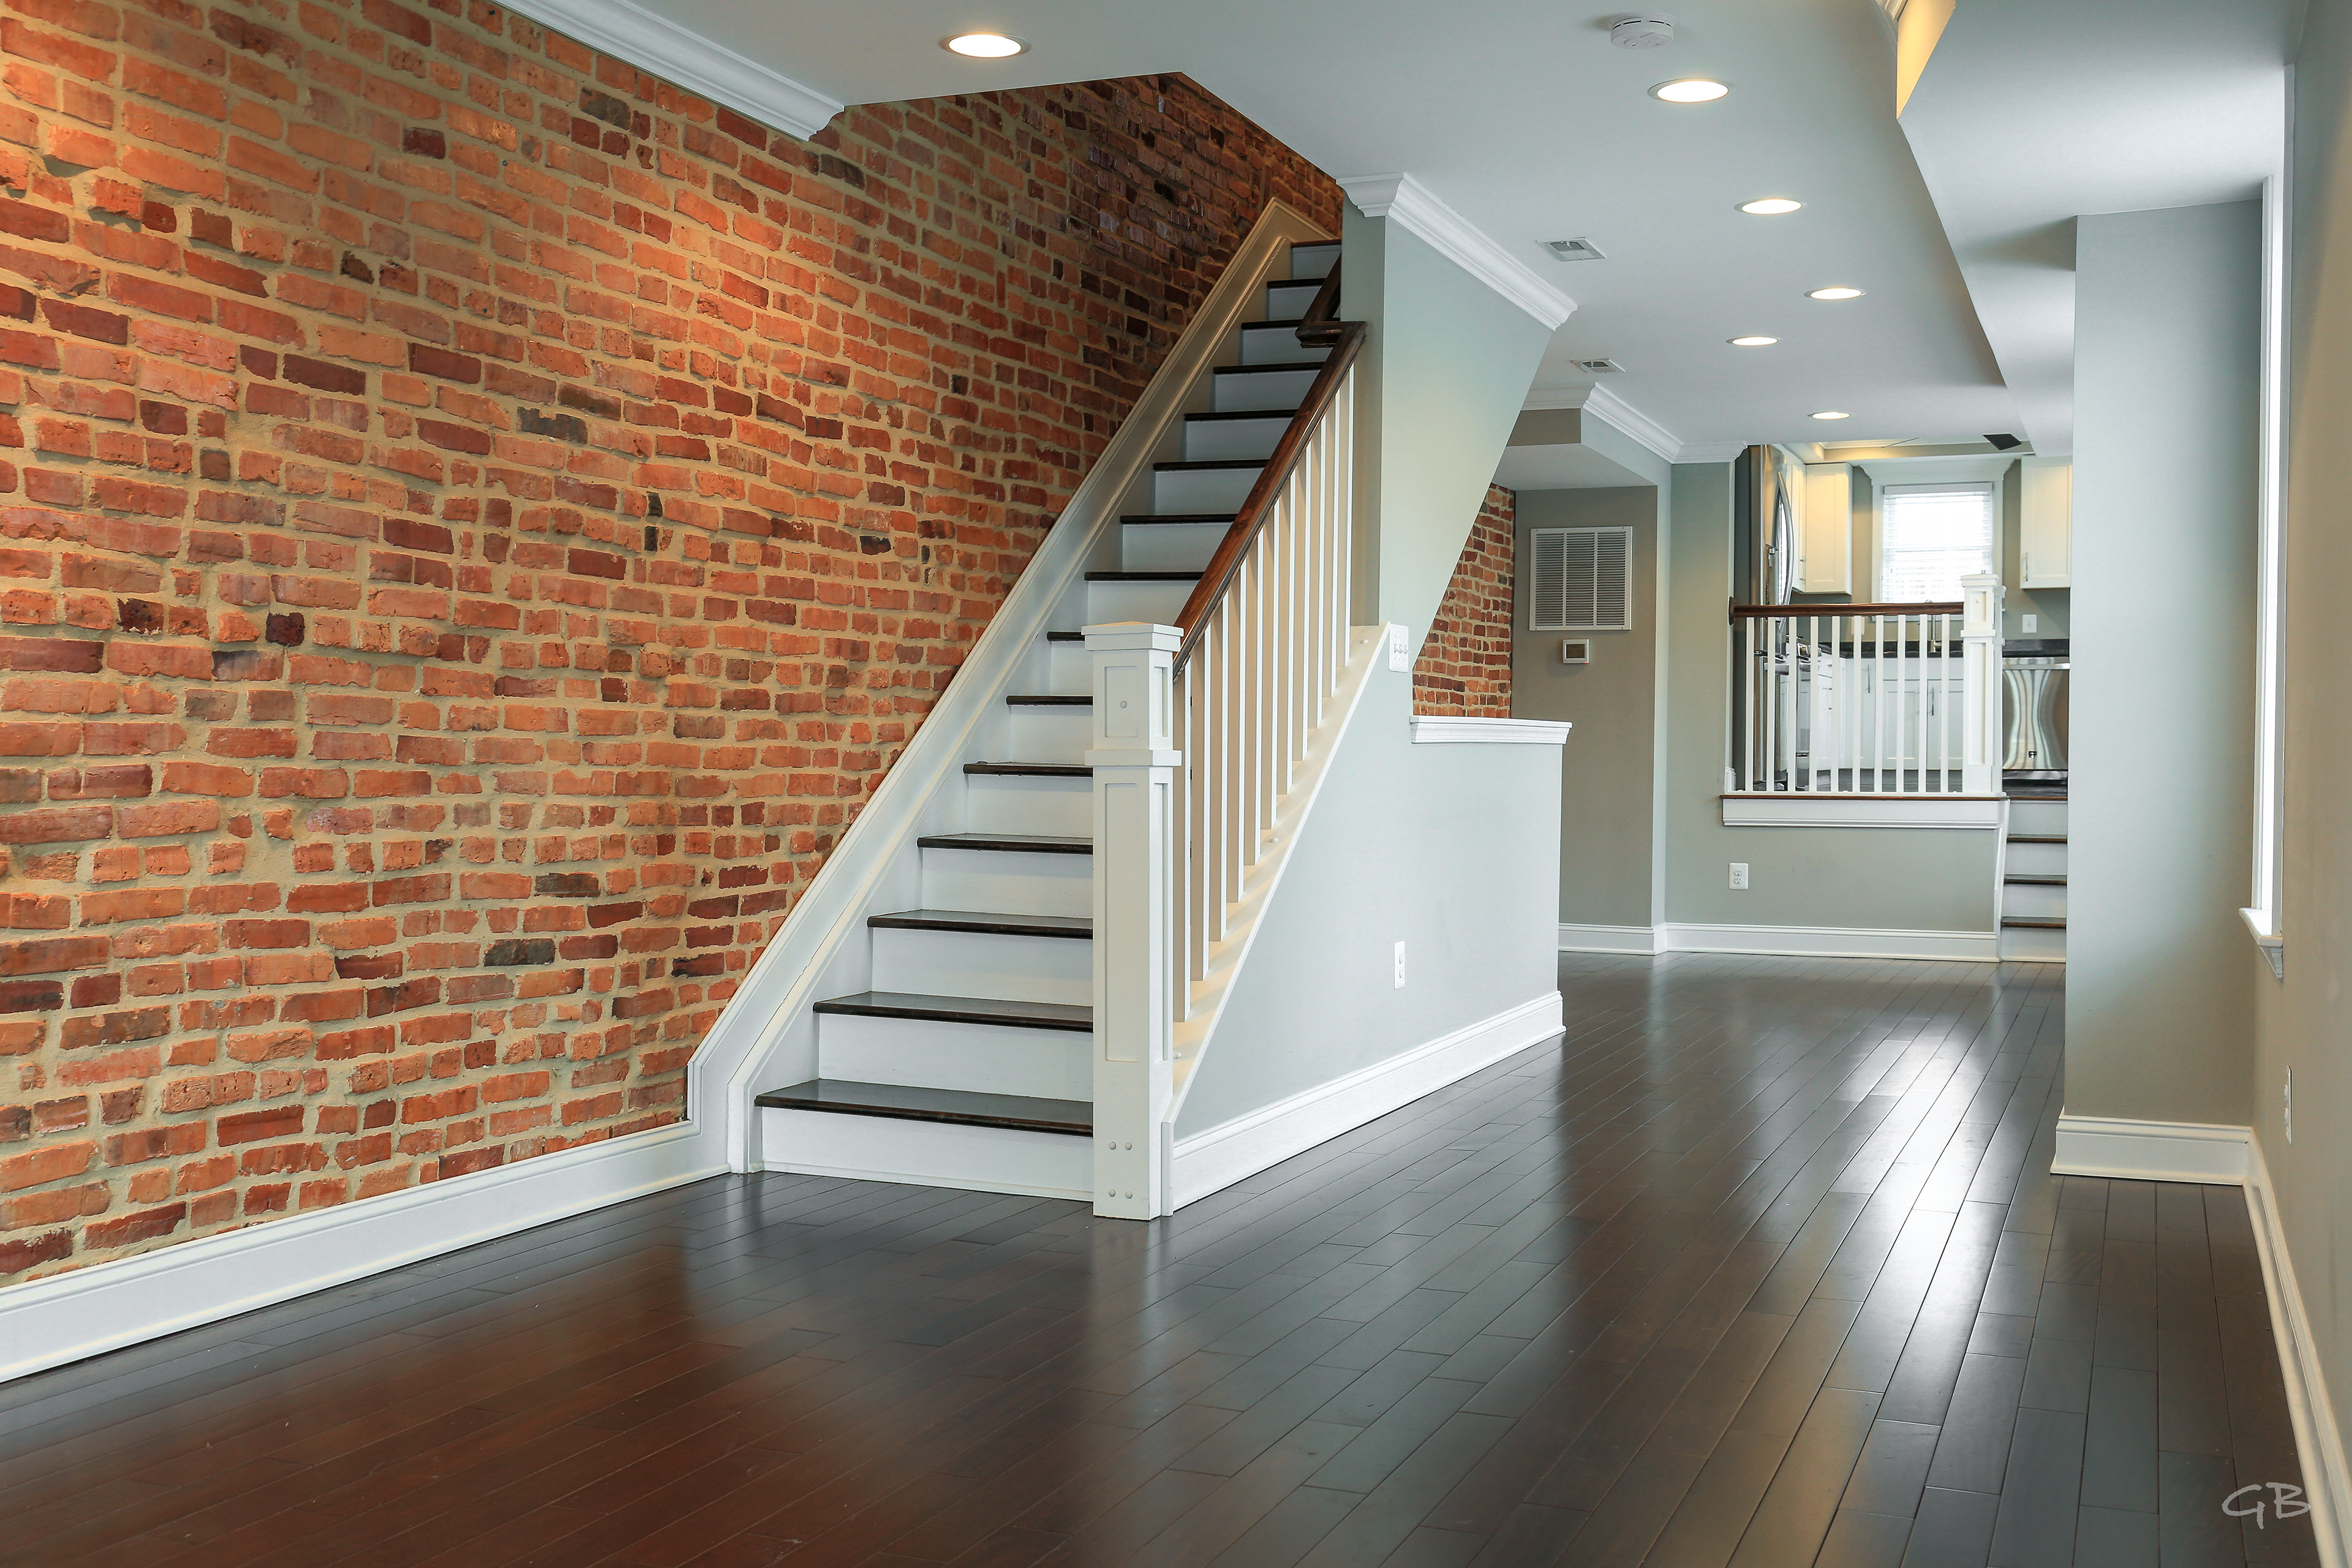
4. Taking the Shot
Take your shots at roughly the same height in each room, slightly below eye level, and keep the horizon as level as possible. This ensures vertical lines, like corners, appear straight, avoiding too much ceiling or floor in the frame—just the right balance. This approach creates a smoother, more immersive flow between photos, giving potential buyers a seamless virtual walkthrough experience. Whenever possible, use a tripod for stability and consistency, though modern handheld smartphone cameras can deliver impressive results. Regardless of your equipment, always shoot in landscape orientation (wide rather than tall). Wide-angle shots are more visually appealing, feel natural to the human eye, and showcase more of the room.
Maintain Level Shot & Verticals
Fluid Transition from Shot to Shot
Capture Images At Same Height
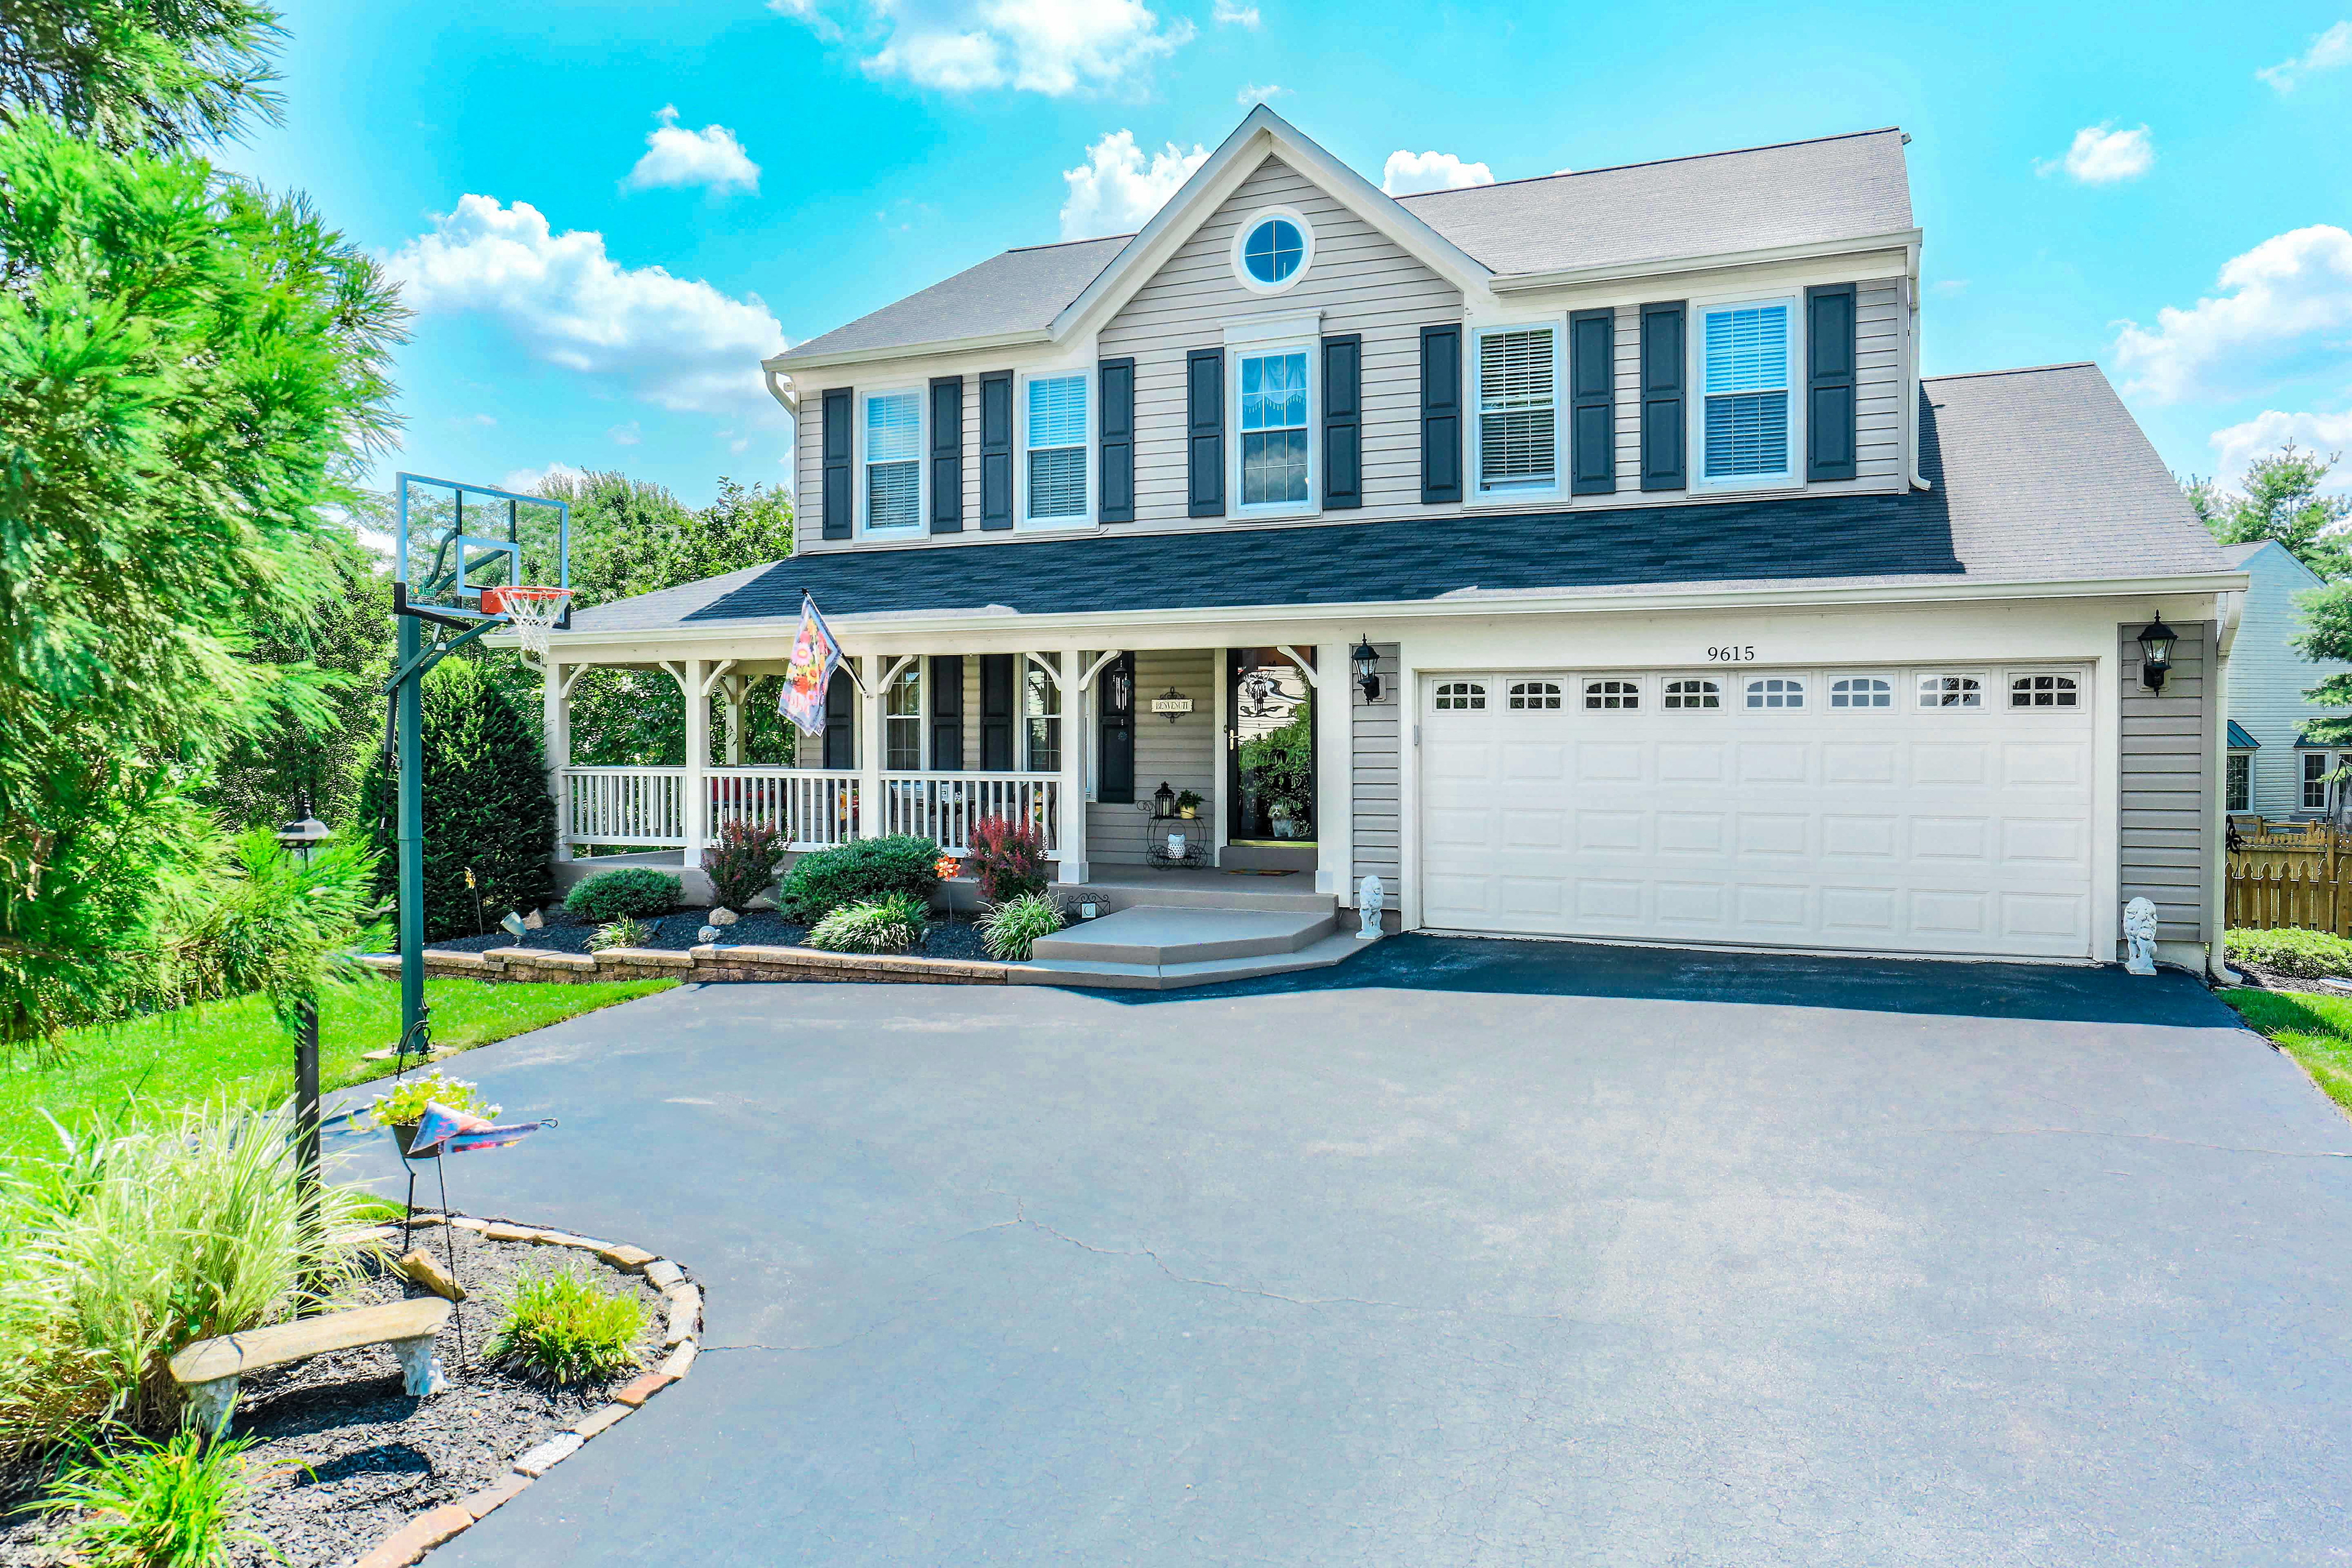
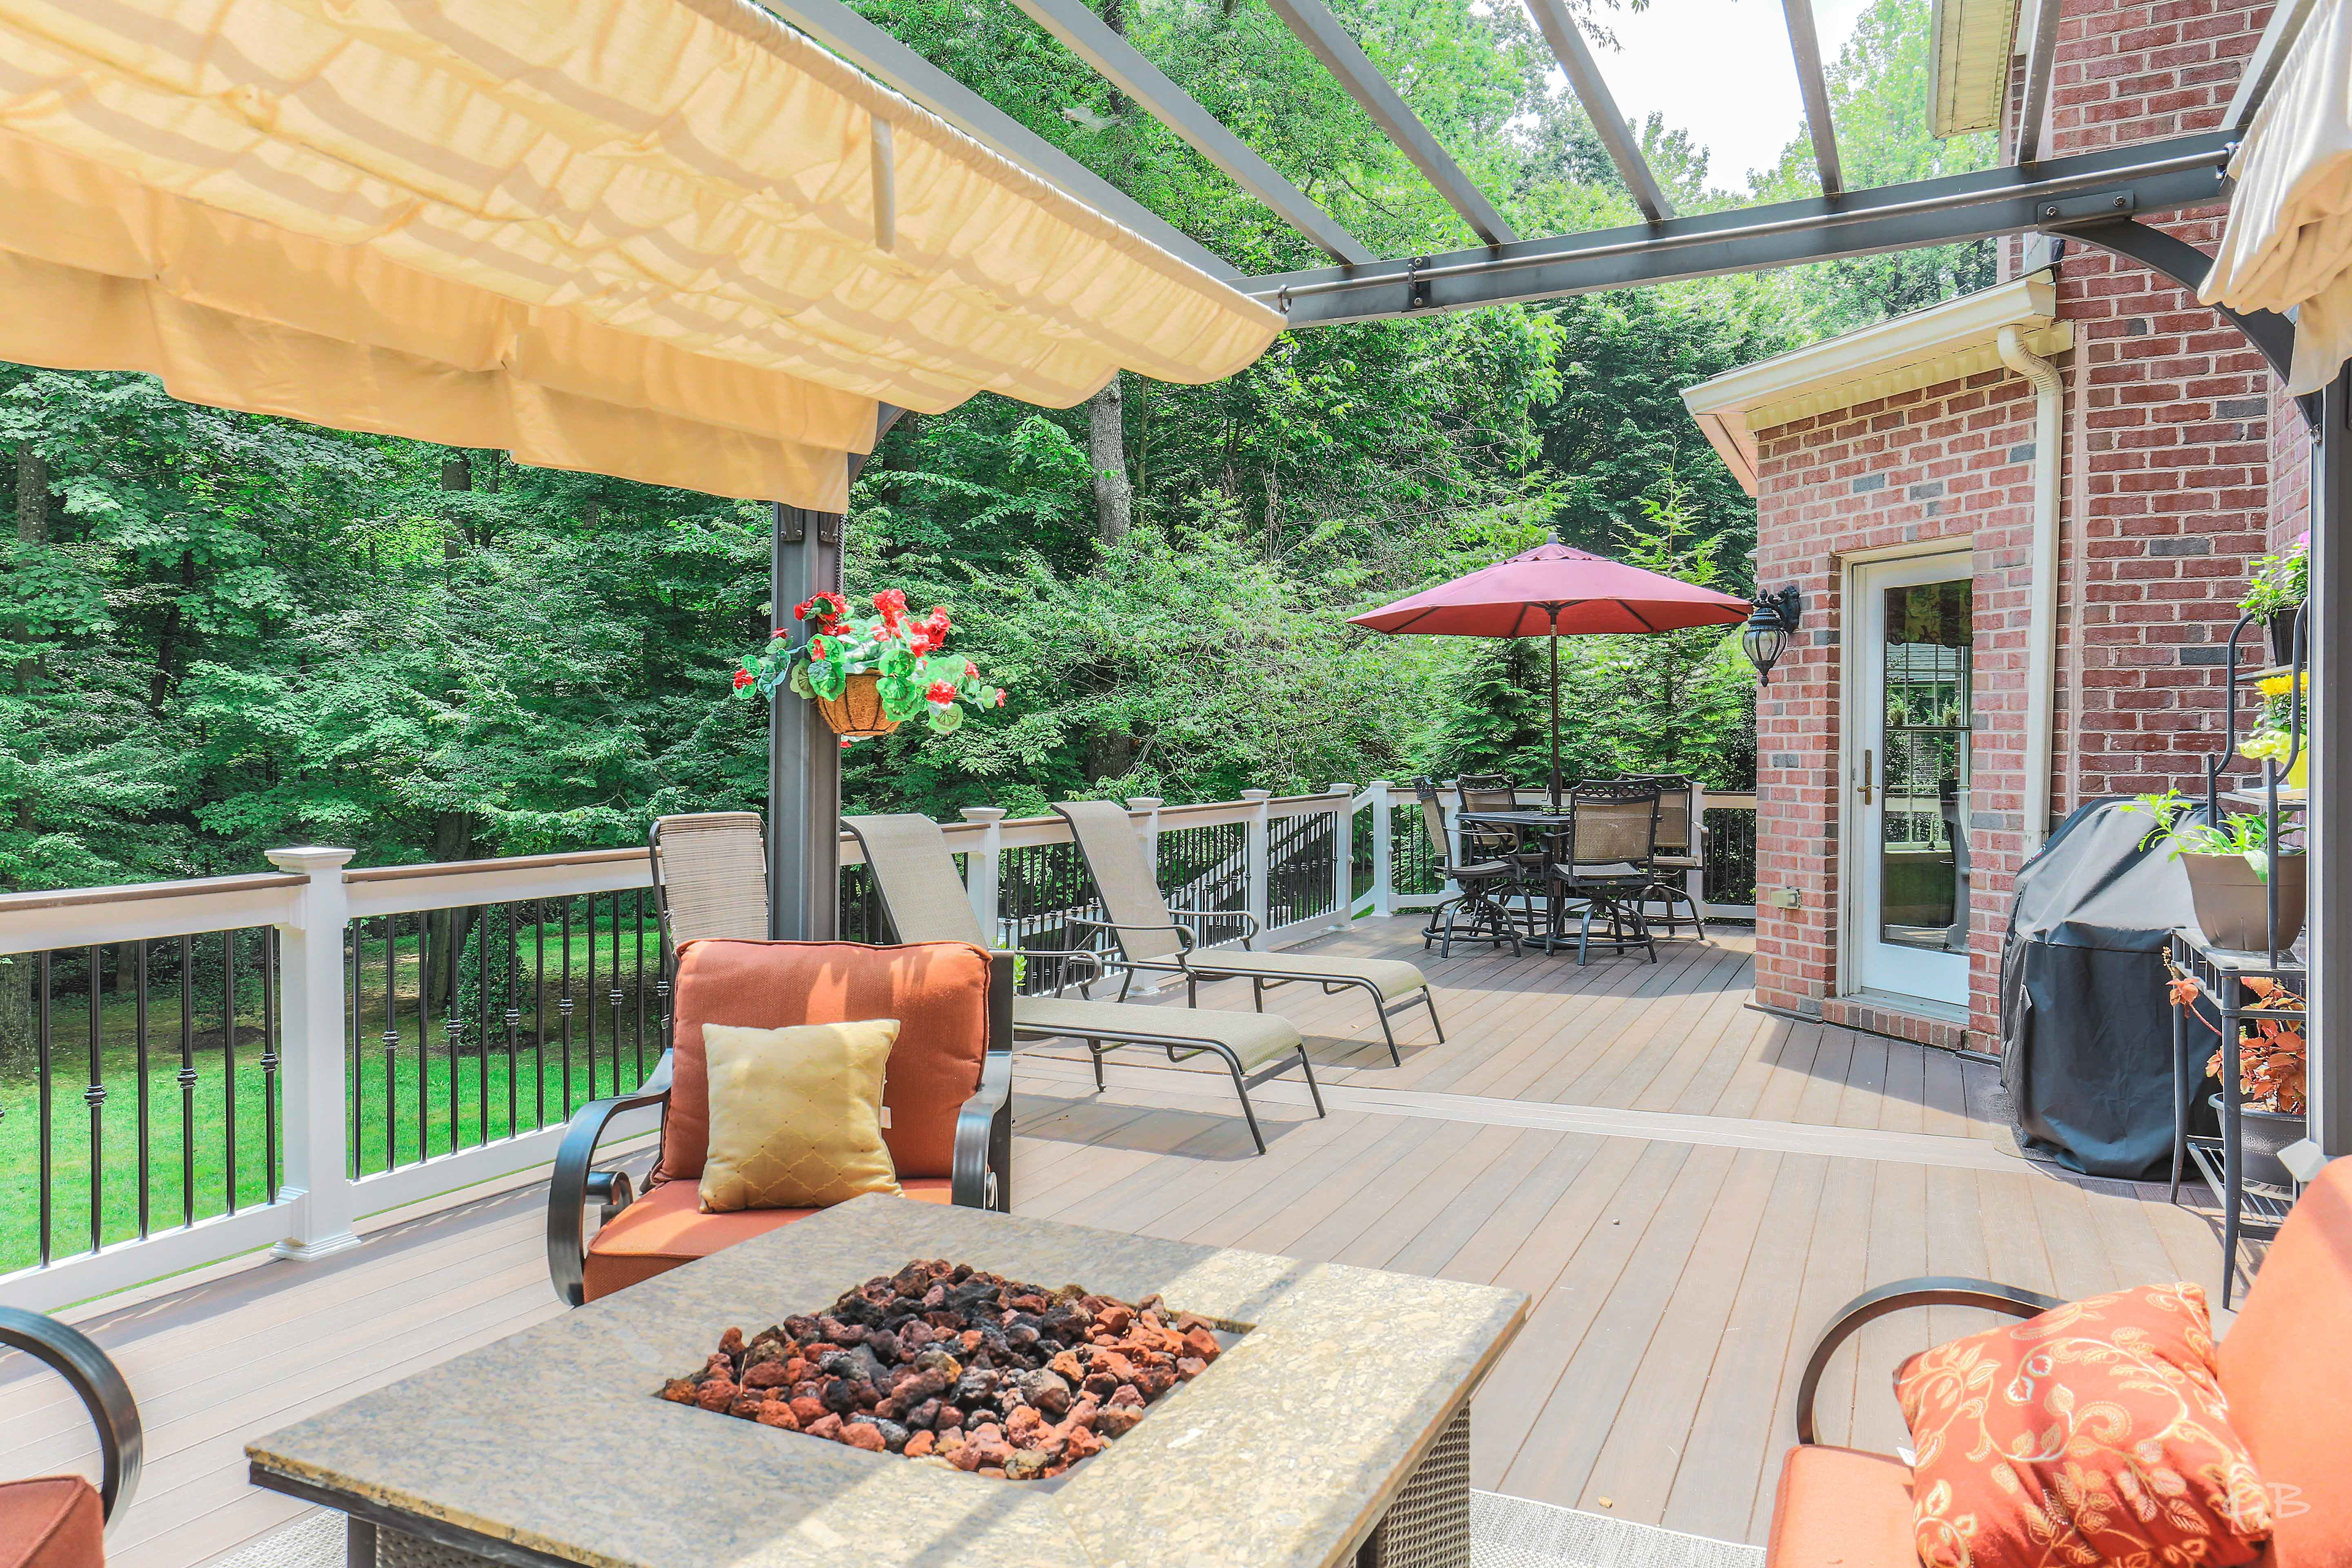
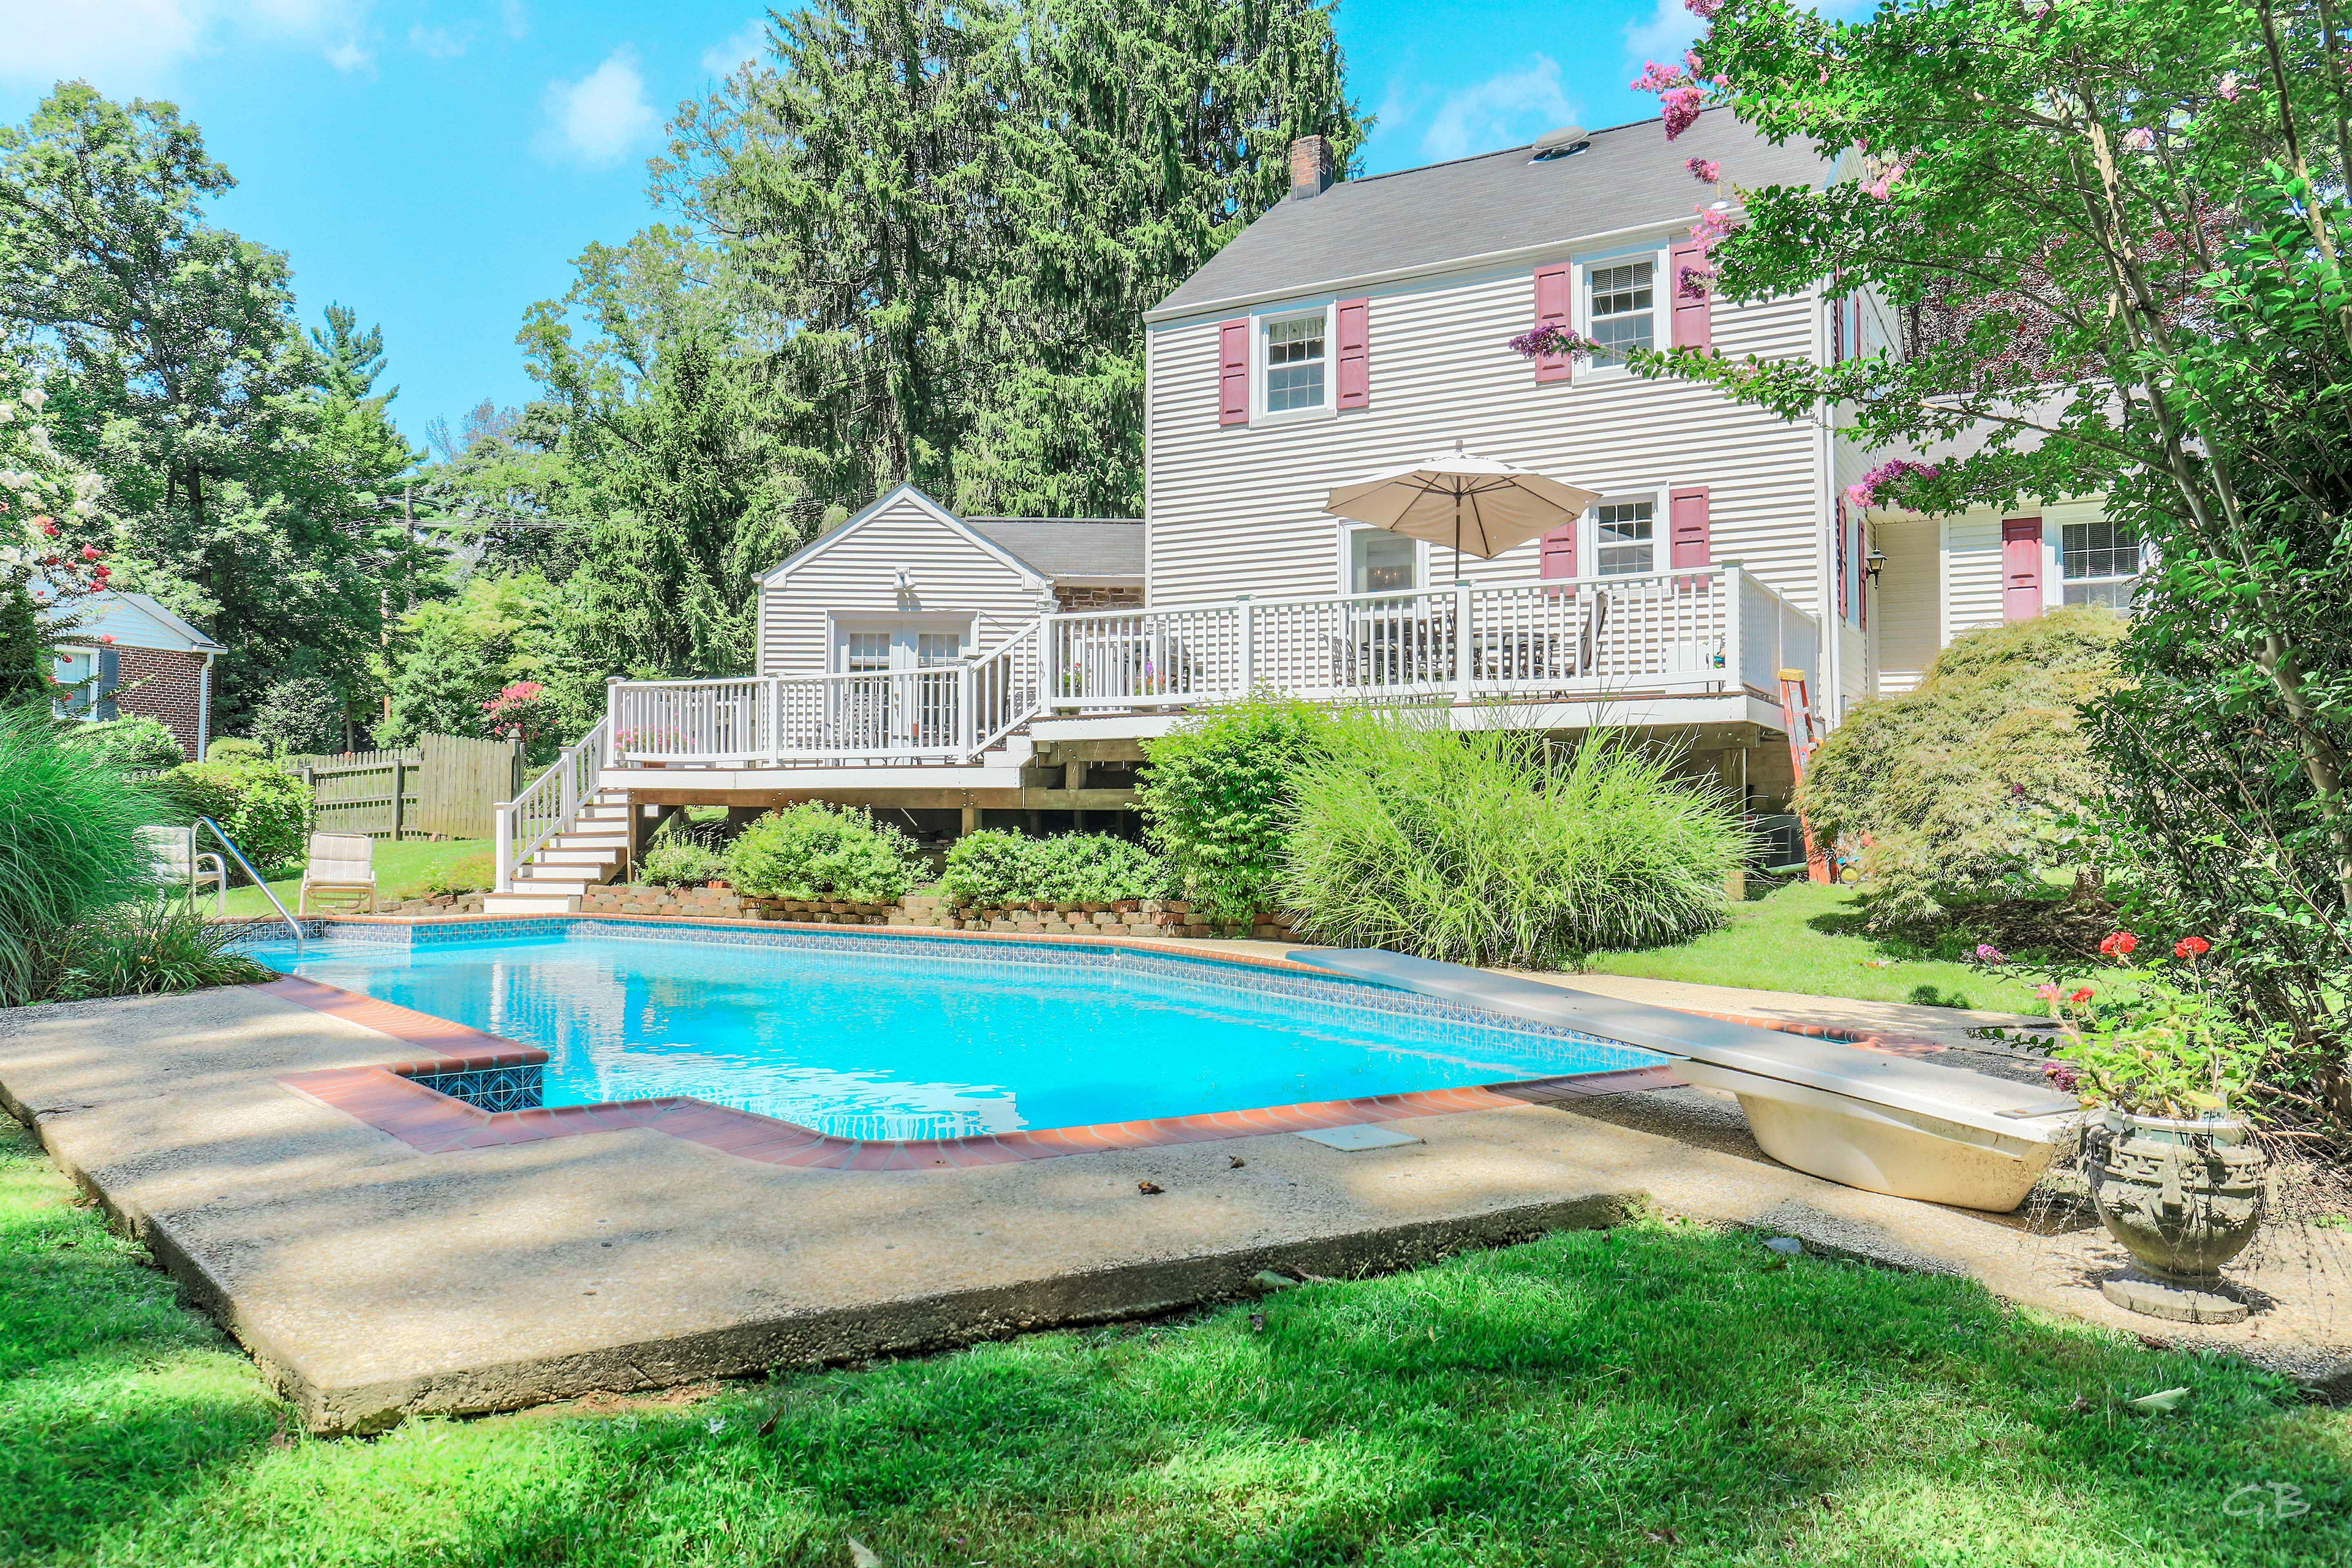
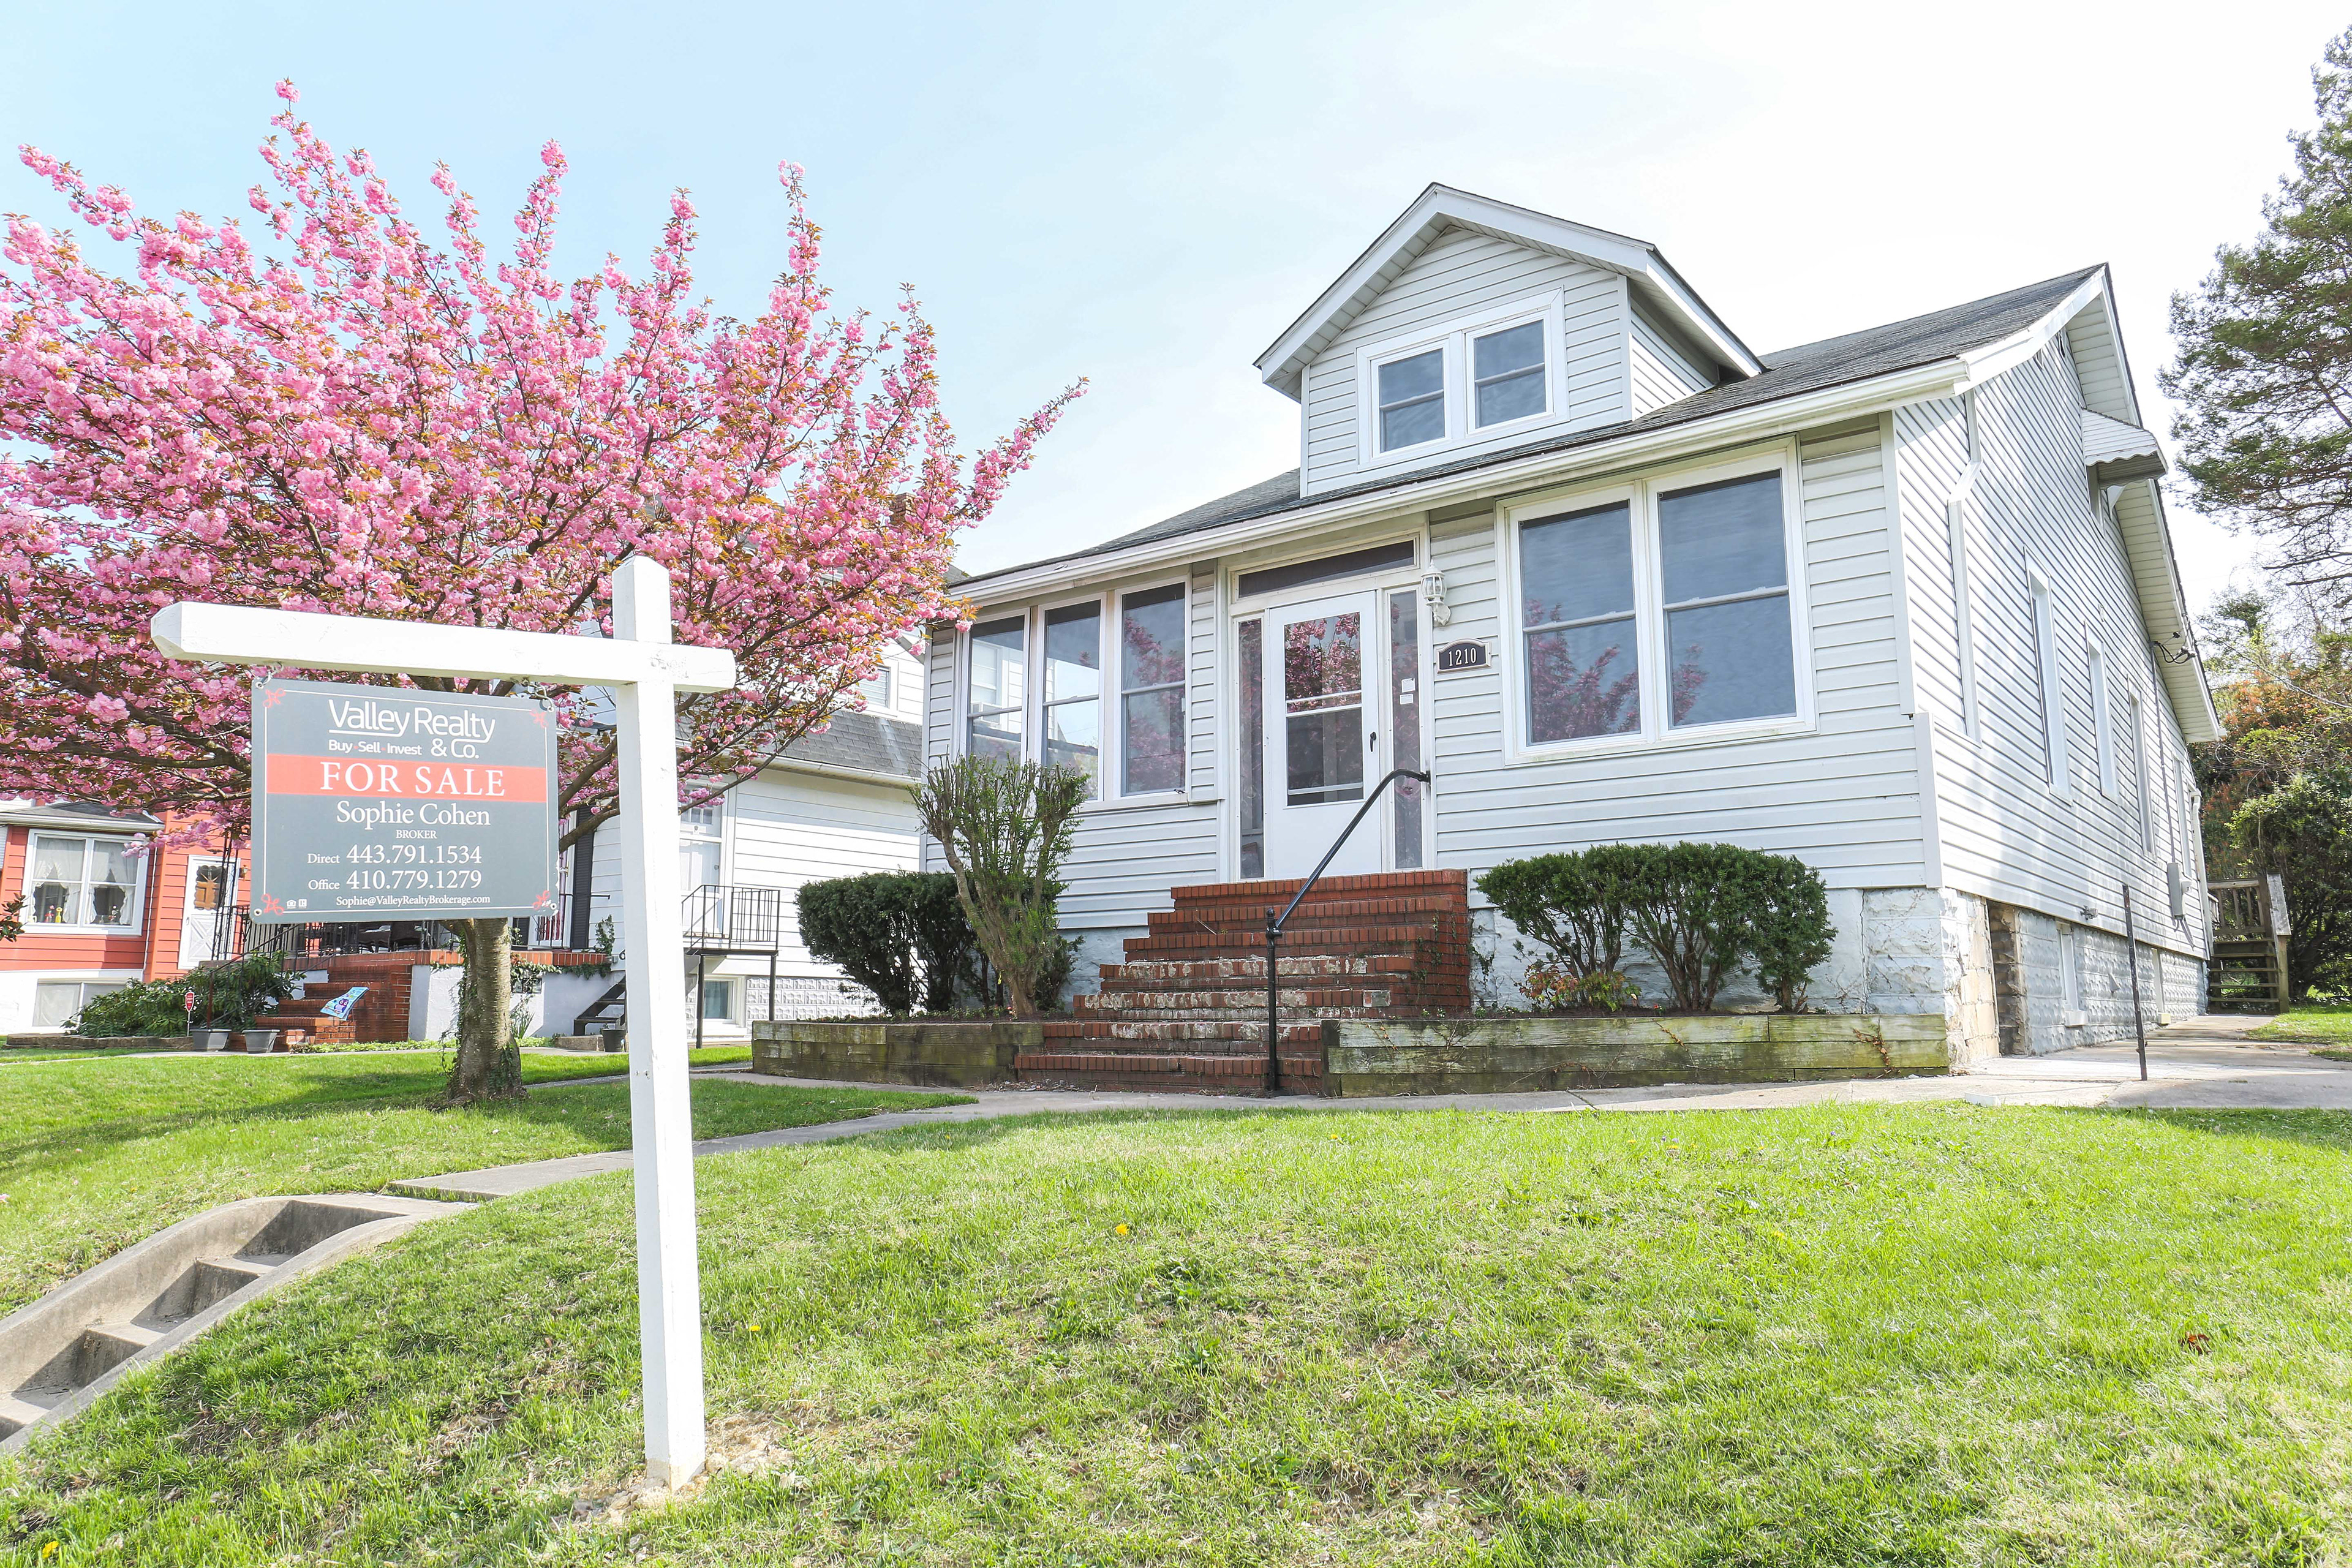
5. Shooting Outside
Sometimes, we have to work around others' schedules, which can limit our options for the day and time of a shoot. It’s simply part of the job. When you arrive at the property, take a moment to assess the exterior lighting. Do the shadows look inviting and ‘friendly’? Is the front of the house well-lit and welcoming, or does it appear dark and uninviting? It might make sense to start by photographing the rear of the house, move to the interior, and save the front for later when the sunlight is more favorable.
These are important considerations since the front of the house is often the first image potential buyers see—it needs to leave a positive impression. If possible, avoid shooting on heavily overcast days, as this can dull the vibrancy and liveliness of the final image. However, if the weather doesn’t cooperate, some adjustments can be made during post-production.
If you're shooting closer to evening or dusk, ensure all interior and front porch lights are turned on. This will enhance the warmth of the image and add a touch of charm.
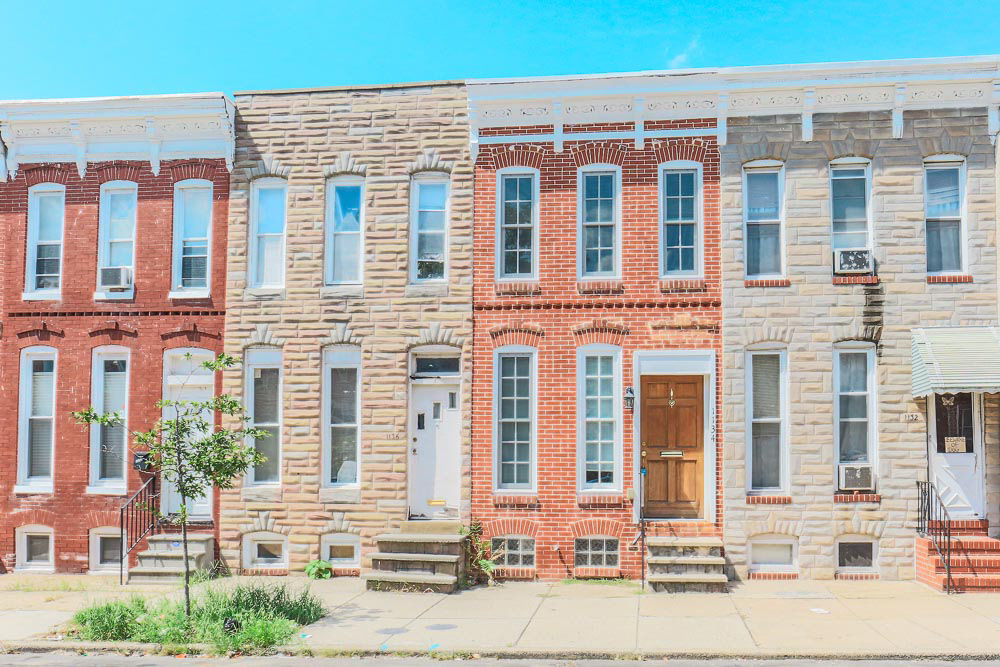
Now, consider the properties below. Which one stands out to you the most? Why? Focus on the surface lighting, the richness of the colors, and the interplay of shadows. Where do your eyes naturally gravitate, and how welcomed do you feel?
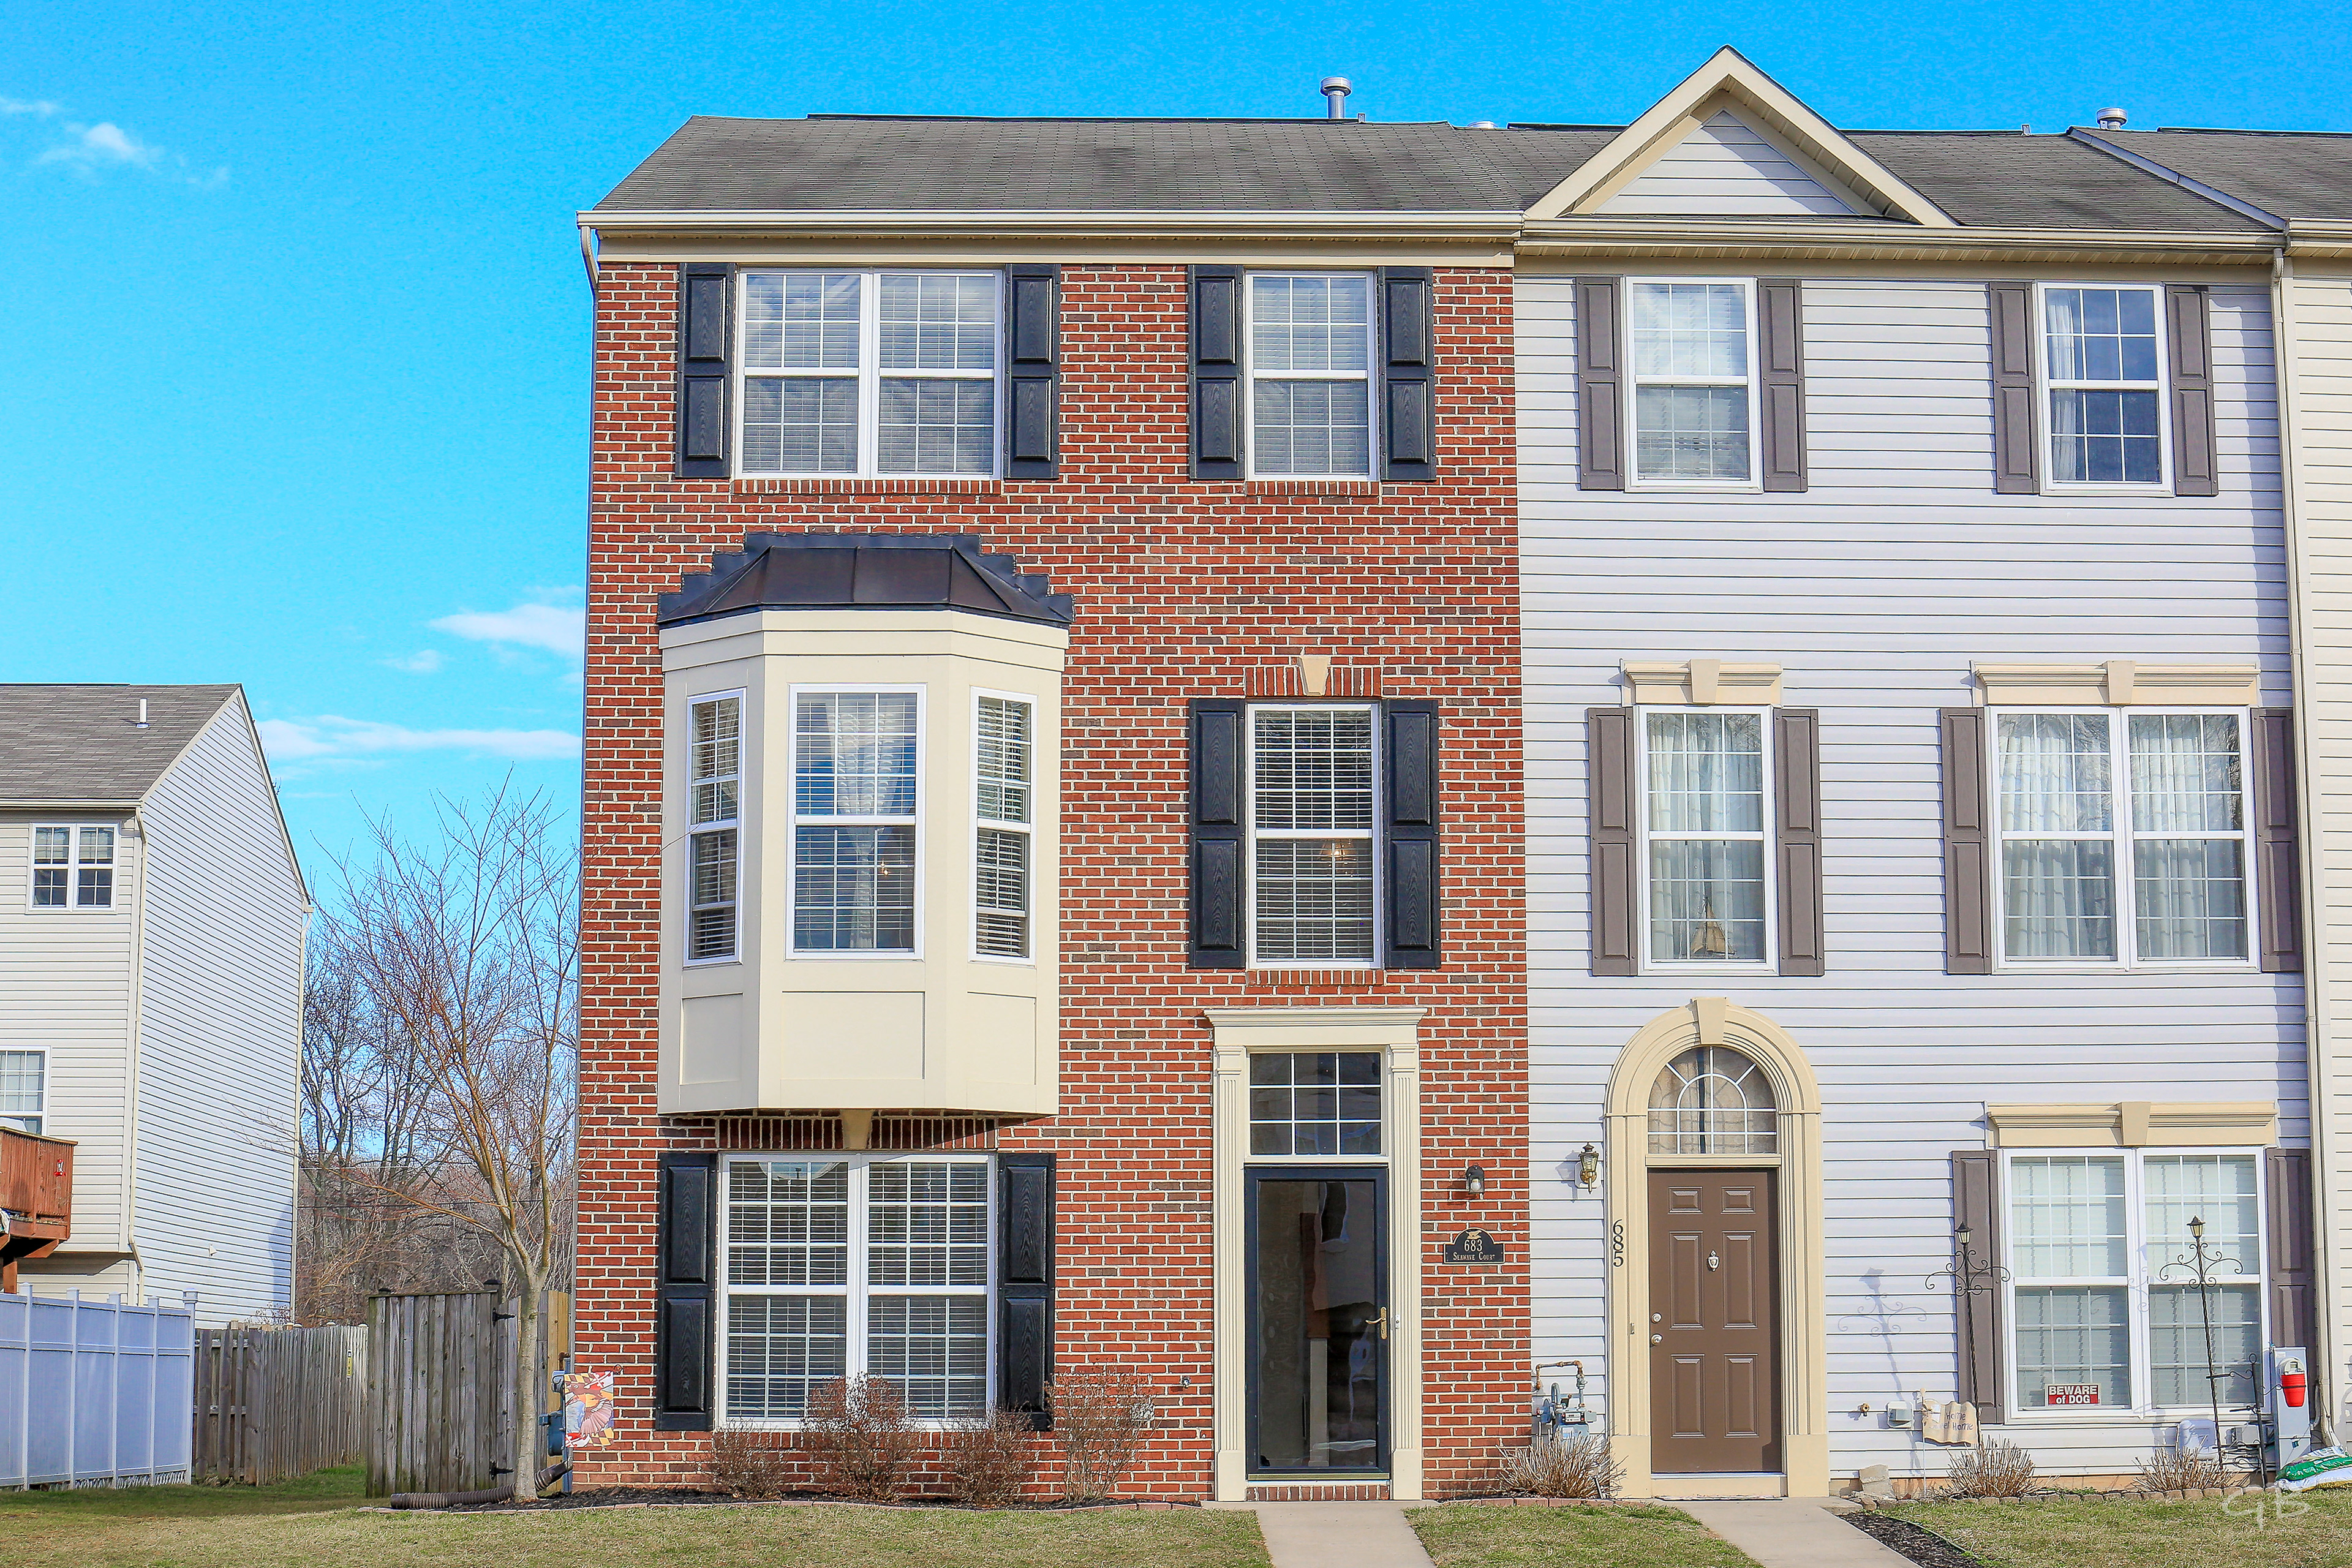
Morning Light. Front Lit.

Mid-Morning Light. Front Lit.
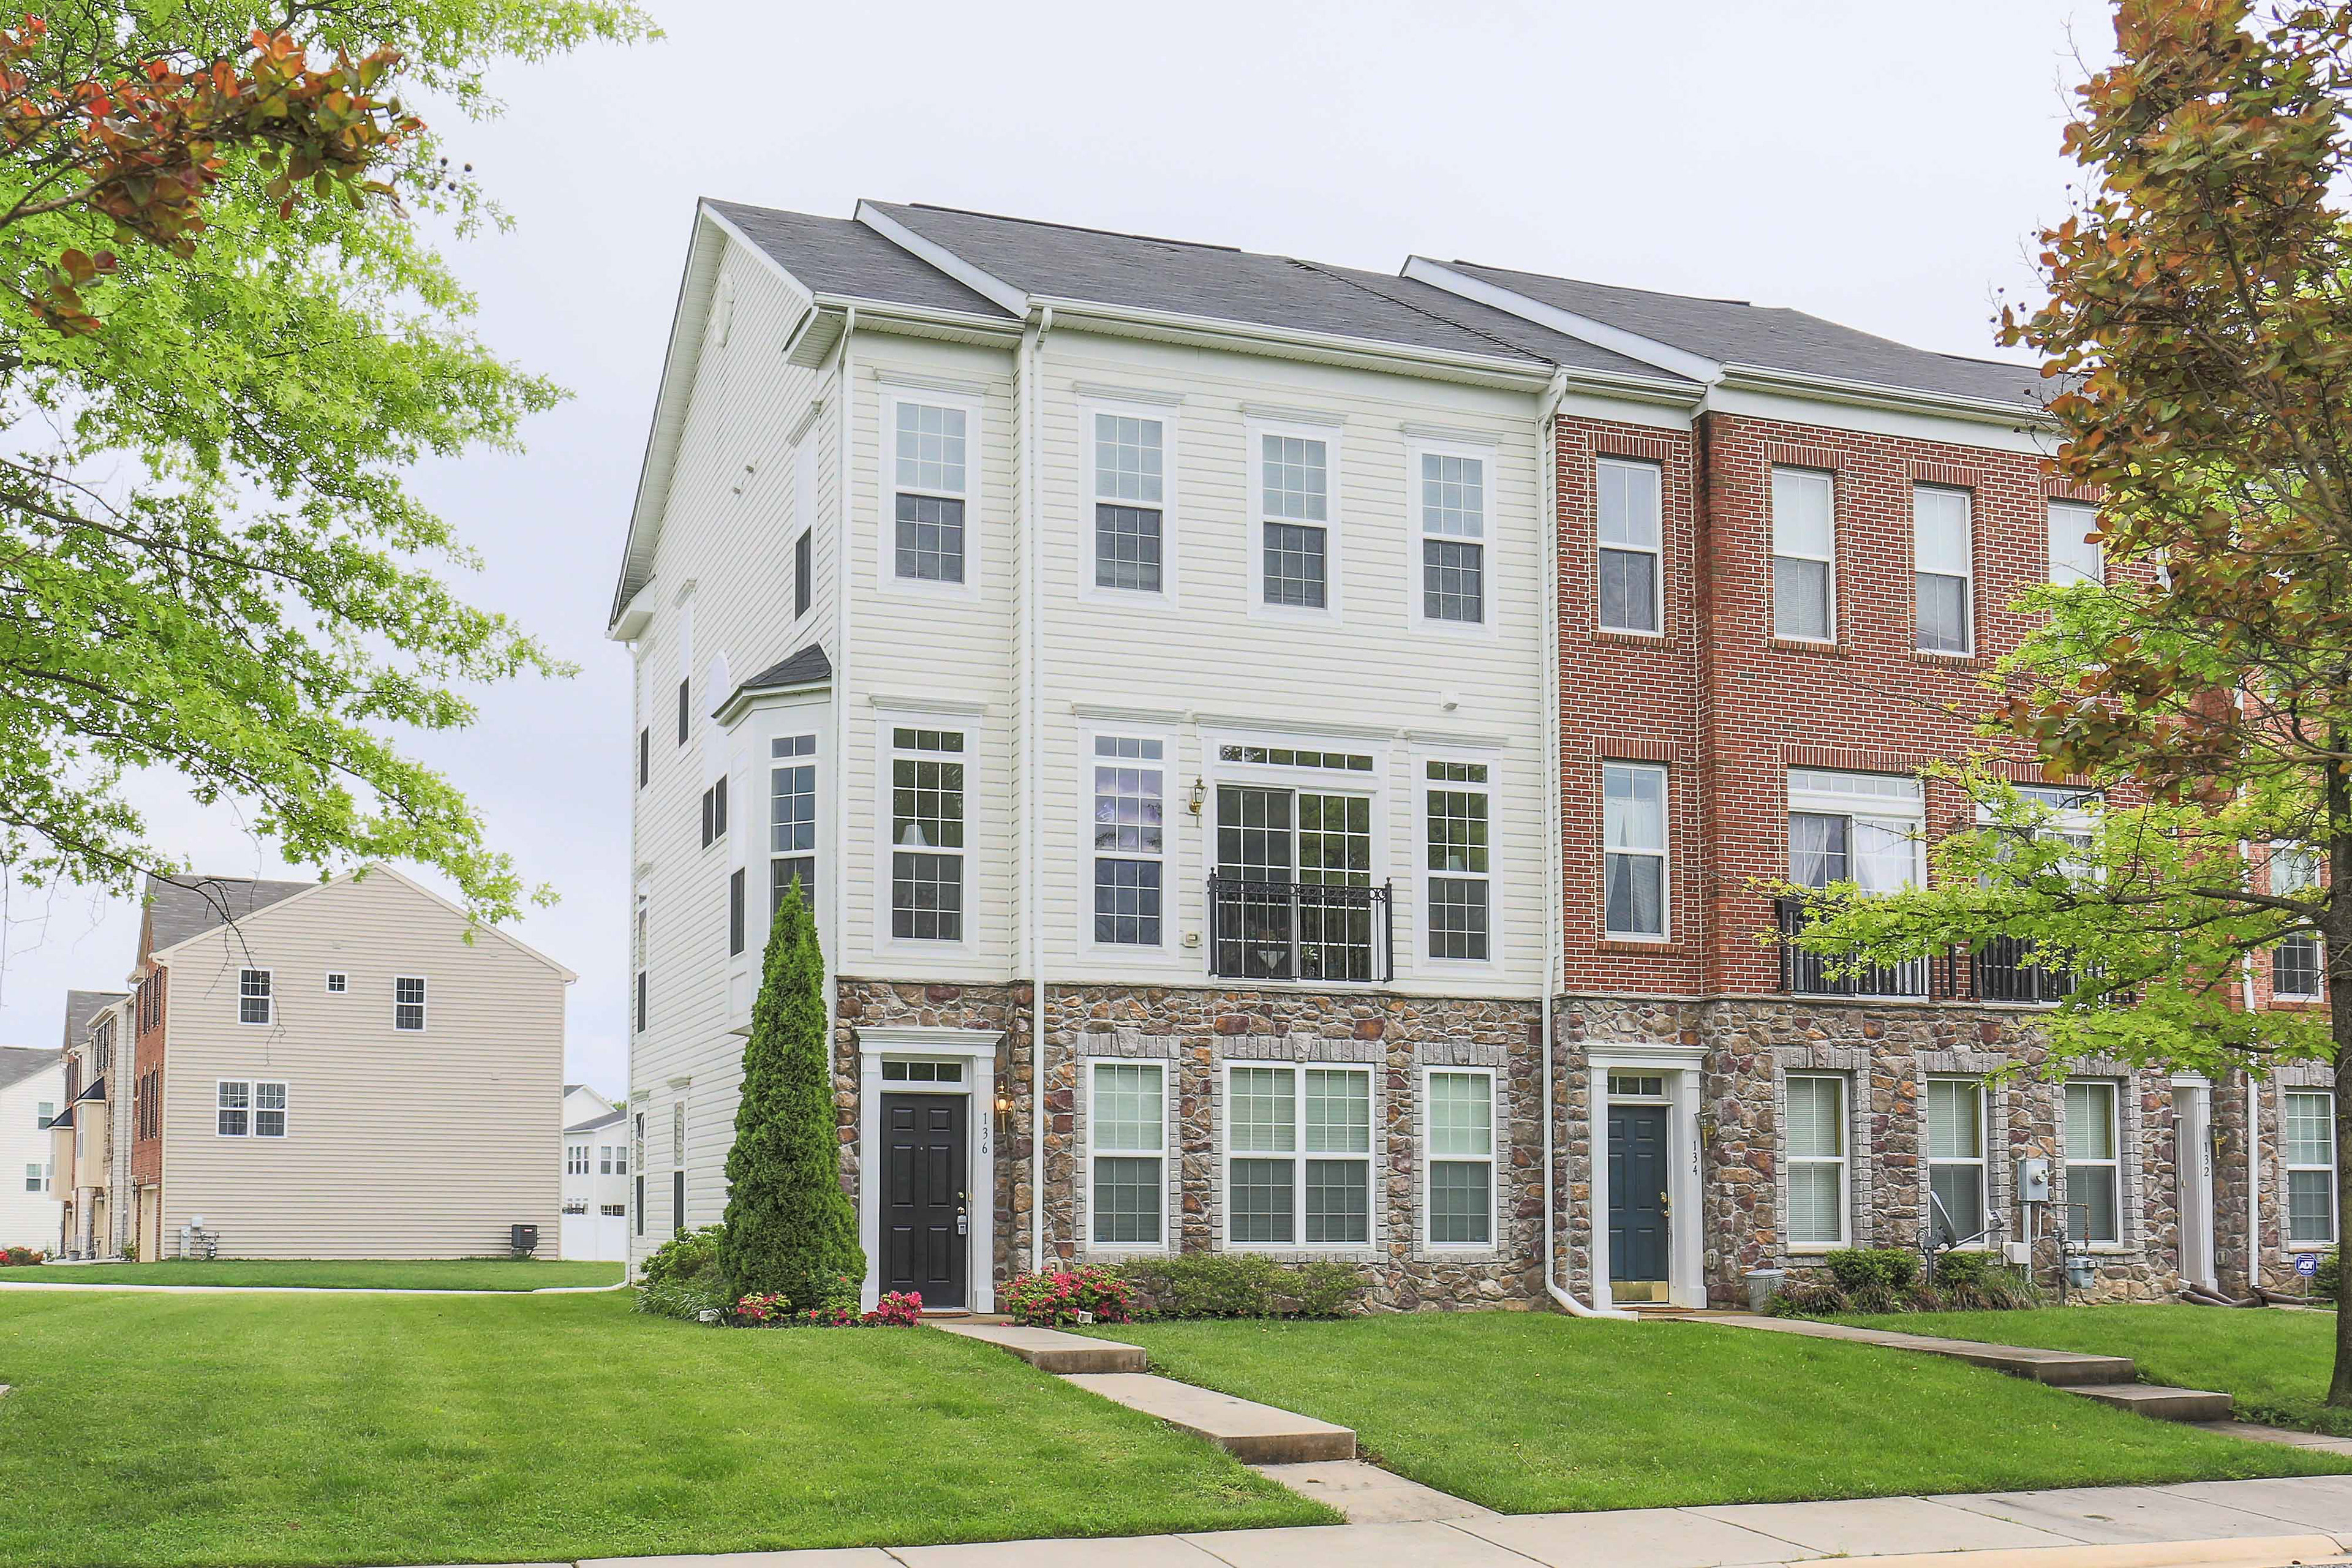
Cloudy Day. Soft Even Light.

Midday. Shadows Forming.

1PM. Heavy Shadows Forming.
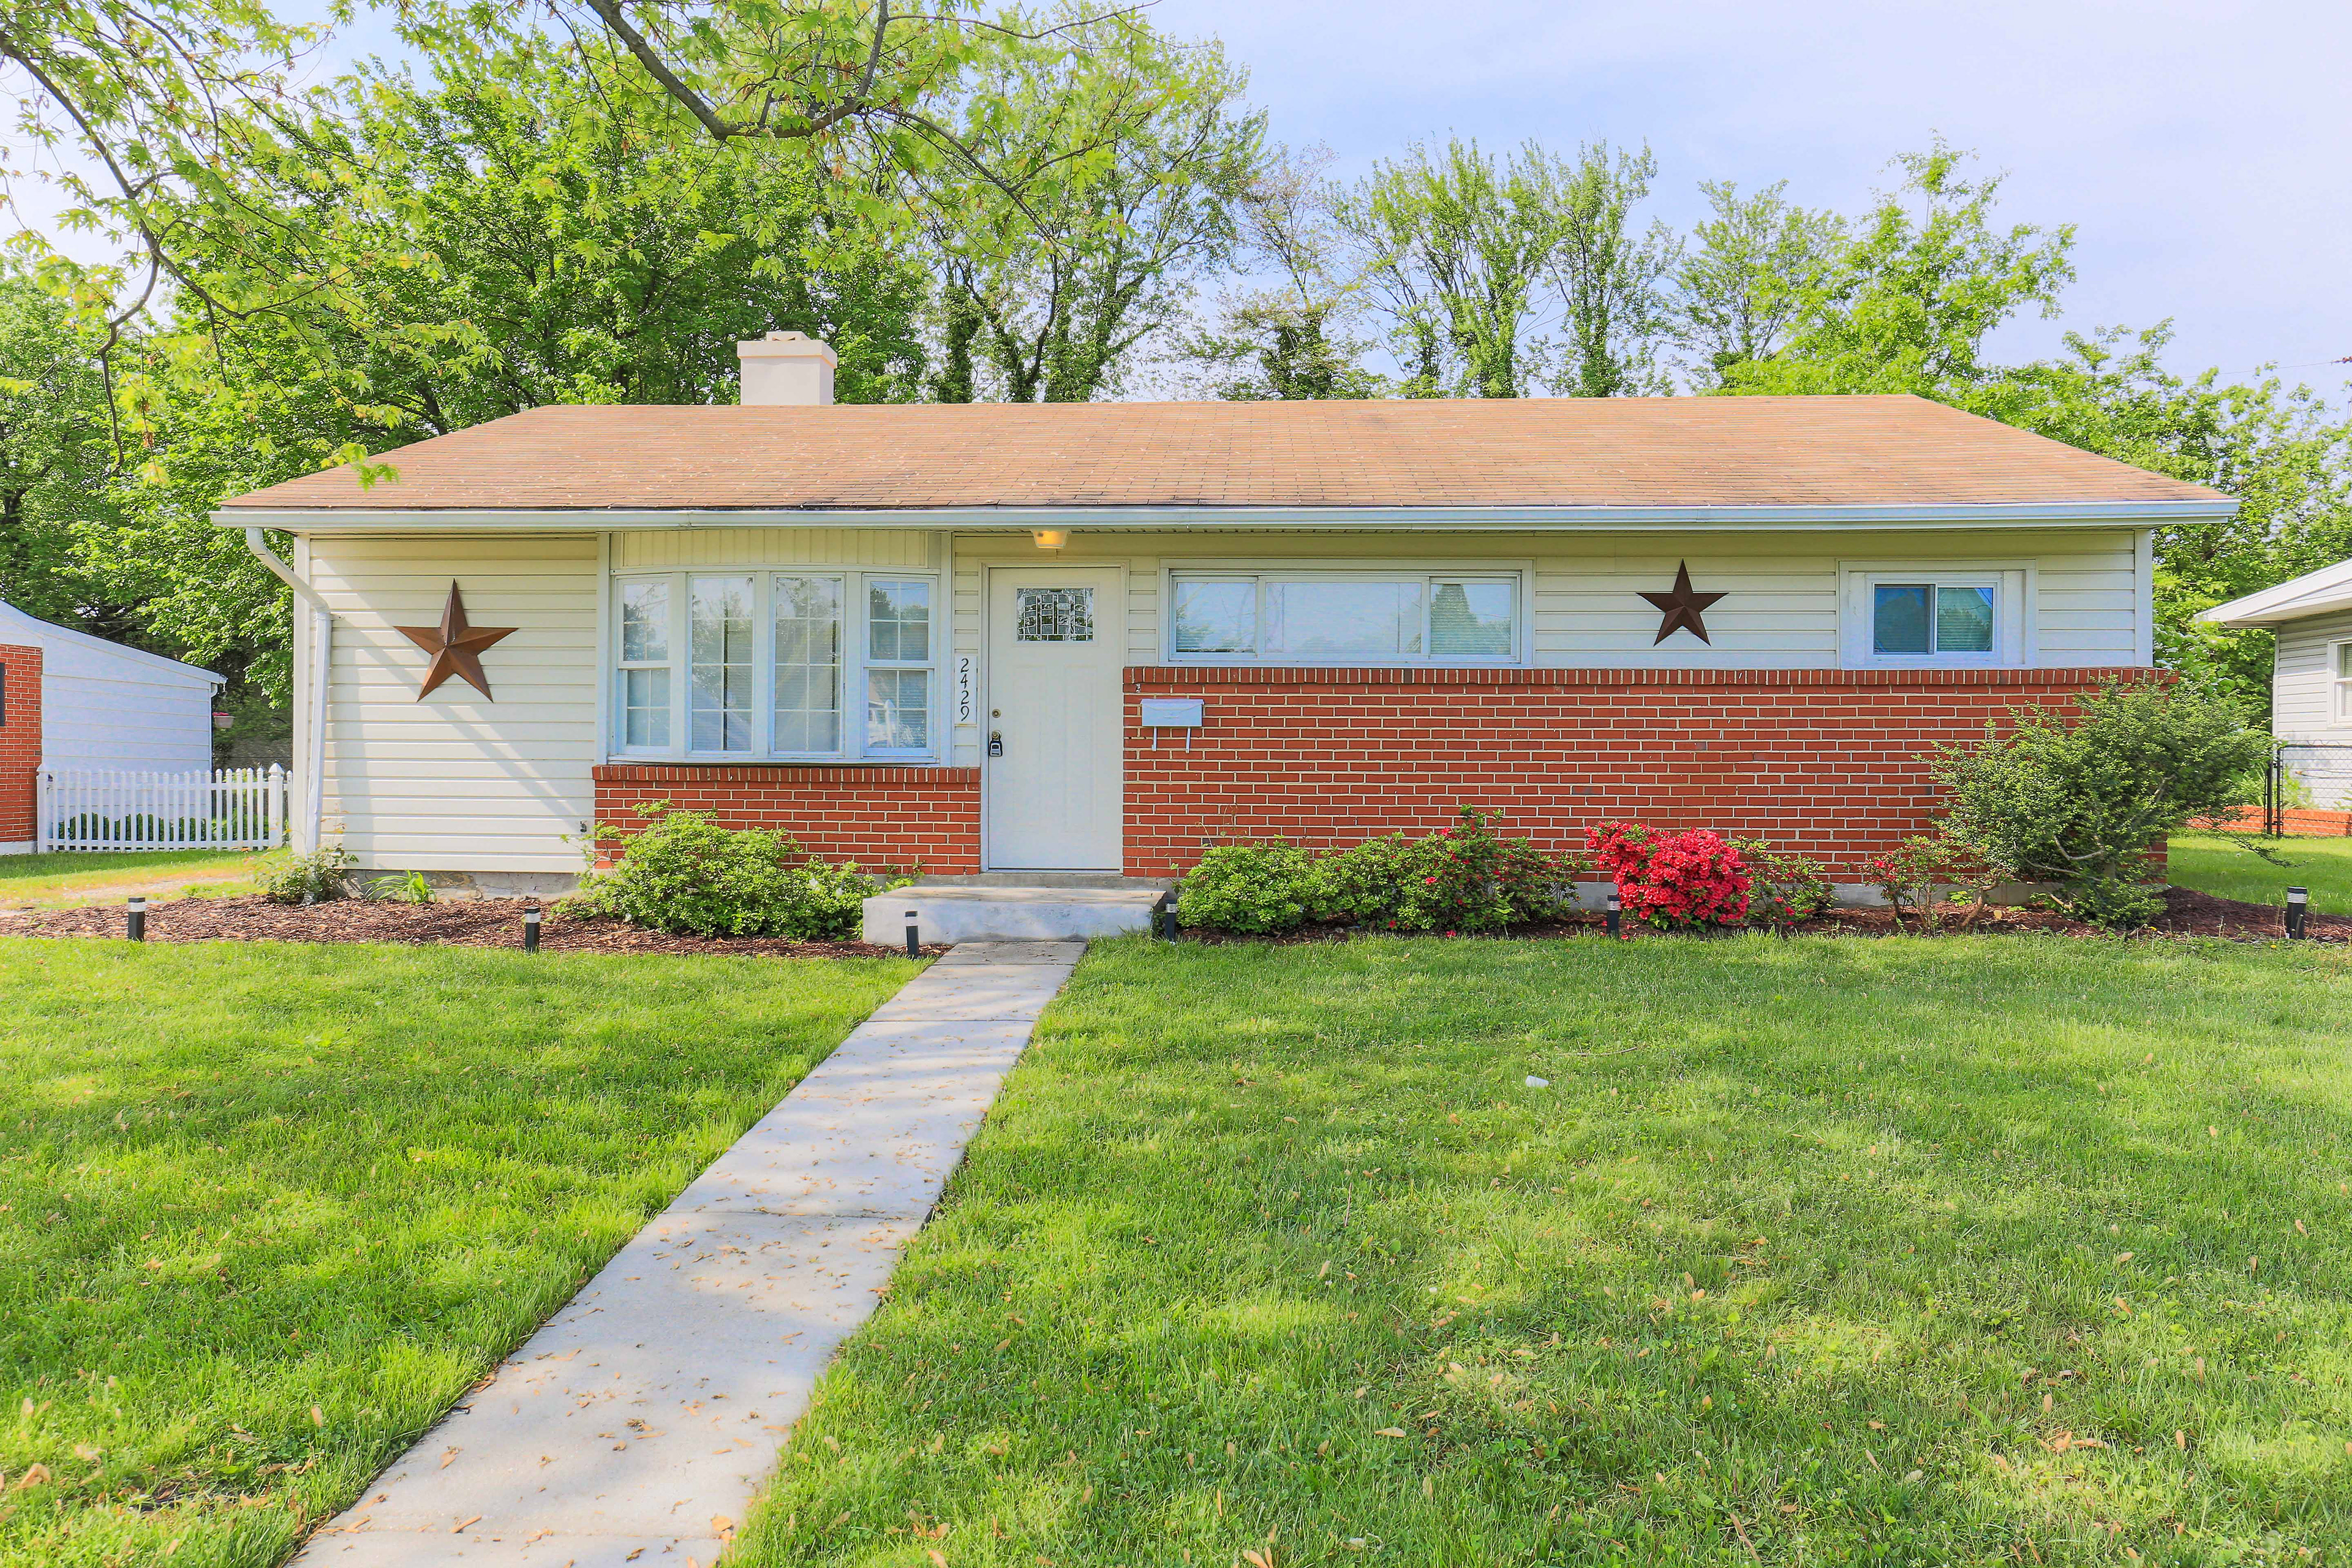
Sun on Opposite Side of House.
6. Final Touches
Editing can make a significant impact. Whether you're using your phone or a standalone camera, something as simple as enhancing your images with a free editor can transform a 'bad' property into a 'good' one or elevate a 'good' property to 'great'! Adjusting the shadows and highlights can help create a more balanced and evenly lit image. By reducing intense highlights and softening deep shadows, you maintain contrast while avoiding overexposure or overly dark areas.
Take some time to explore the free editing tools available on your phone or computer for quick and simple adjustments, or consider downloading another user-friendly editor app. Most free or affordable options are intuitive and easy to learn, so don’t worry—you’ll get the hang of it quickly! And if you're unsure where to start, simply use the "Auto" function to let your device handle the adjustments for you.
Note: All proFessional real estate photographers edit their images. It makes a huge difference.
You’ve got everything you need and are ready to roll! If you have any questions or concerns, don’t hesitate to reach out to me. Even if you’re not using my services, I’m more than happy to help in any way I can!

